PSDTUTS Updates |  |

| Create a Bulletin Board With Realistic Shadows, Part II – Basix Posted: 17 Apr 2010 08:00 AM PDT Shadows and lights can make or break a composition. Bulletin boards (or corkboards) are popular types of graphics to use in web and print designs but often times they look unrealistic due to the way they are lit and shadowed. In today’s tutorial we will demonstrate how to create a wooden texture and then how to create authentic-looking shadows and light using the still life objects that we will include on our board. Let’s continue this series (or jump over to Part I to get started), and place more elements on our board and finalize this design.
Step 12 – The Pin and HighlightsWe will now need a pin to stick the paper onto the corkboard. Tip: Hold SHIFT while dragging out a selection with the Marquee Tool to make the selection proportional. Make a new layer, select the Elliptical Marquee Tool, draw out a circle selection and fill in the selection with any color, we chose black as shown below: 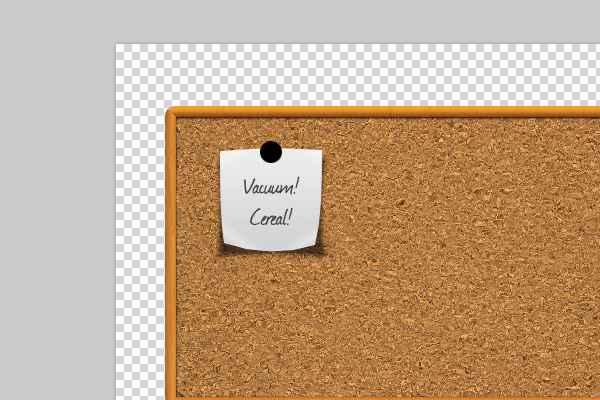 In the Blending Options of the pin layer, Put a Gradient Overlay on the pin (First Gradient Slider: #9a9600, Second Gradient Slider: #e2dc00). The image below is the result. 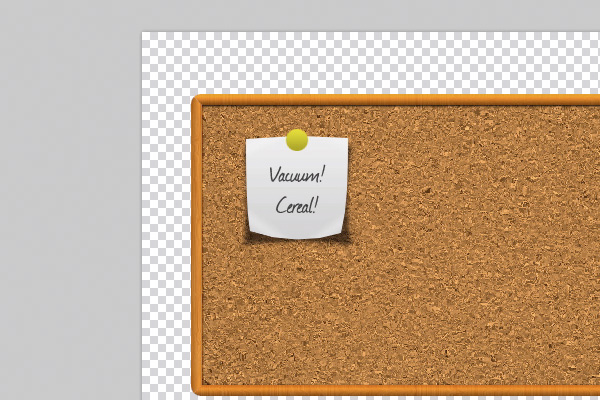 Let’s give highlights on the pin. Apply an Inner Glow on the pin (Blend Mode: Screen, Opacity: 40%, Glow Color: #ffffc8, Size: 7px). Make a new layer on top of the pin, CTRL or CMD + CLICK on the thumbnail of the pin layer and with the Brush Tool (Size: 20px soft), paint a white spot on the top of the pin inside the selection to represent a highlight. Step 13 – The Pin – ShadowsNow, let’s give the first shadow to the pin. Put a Drop Shadow on the pin (Opacity: 14%, Angle: 90 degrees, Distance: 1px, Spread: 0%, Size: 2px). Adding only a drop shadow to the pin is not enough so let’s add a second shadow. Make a new layer under the layer "pin" and rename it as "pin shadow". Draw out an elliptical marquee selection and fill it in with black. Go to Filter > Blur > Gassian Blur (Radius: 5.1 pixels). Duplicate the layer "pin shadow" and use the Free Transform Tool (CTRL or CMD + T) to resize the shadow to be longer and more narrow and lower down the opacity until it looks realistic. Keep duplicating the shadow layers, resizing it and lowering down their opacity until the shadows of the pin look authentic enough. The image below is the result you would like to obtain. 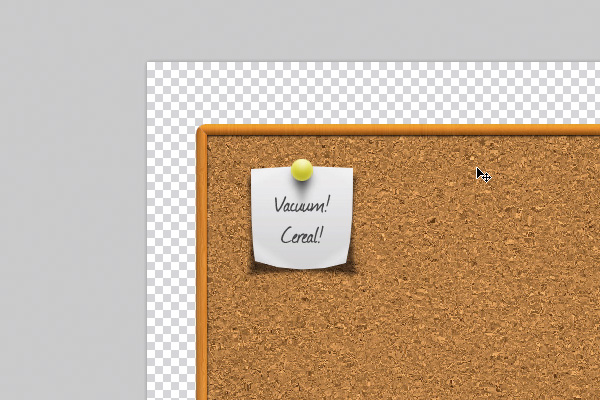 Step 14 – The PhotographThe techniques used to create the highlights on the Sydney Opera photo are similar to those used in Step 8 – The Paper – Highlights. Step 15 – The Popsicle StickUsing the Rounded Rectangle Tool, create an outline of a popsicle (Radius: 10px), right click, select Make Selection and fill in the selection with the color #b9752a. Go to Filter > Noise > Add Noise (Amount: 28.33%). CTRL or CMD + CLICK on the thumbnail of the popsicle layer, go to Filter > Blur > Motion Blur (Angle: 90 degrees and Distance: 21 pixels). Go to Filter > Filter Gallery > Film Grain (Grain : 3, Highlight Area: 6, Intensity: 2). Apply a Drop Shadow on this layer (Opacity: 32%, Angle: 90 degrees, Distance: 2px, Spread: 0%, Size: 1px). Then, apply an Inner Shadow on this same layer (Shadow Color: #784206, Opacity: 100%, Angle: 90 degrees, Distance: 1px, Spread: 0%, Size: 5px). Duplicate this layer, lower down the opacity of the new layer to 10% and group these two layers. Duplicate this group to make another Popsicle stick and create the letter ‘A’ by rotating the two Popsicle sticks with the Free Transform Tool. The image below is the result. 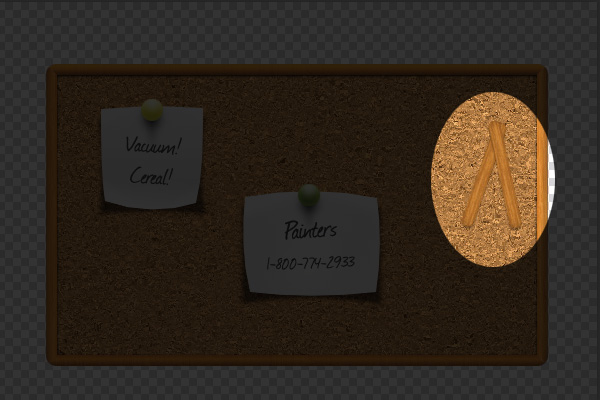 Step 16 – The Popsicle Stick – The GlueChoose the Brush Tool (Brush Master Diameter: 9px hard). Make your Foreground Color white and draw out some glue on the Popsicle stick. Give the glue a Gradient Overlay (First Gradient Slider: #b9b9b9 and Second Gradient Slider: #ffffff), a Drop Shadow (Opacity: 48%, Angle: 90 degrees, Distance: 1px, Spread: 0%, Size: 1px) and lower down the opacity of this layer to 40%. Draw some more glue to give it an overflowing look if you would like. The image below is the result. 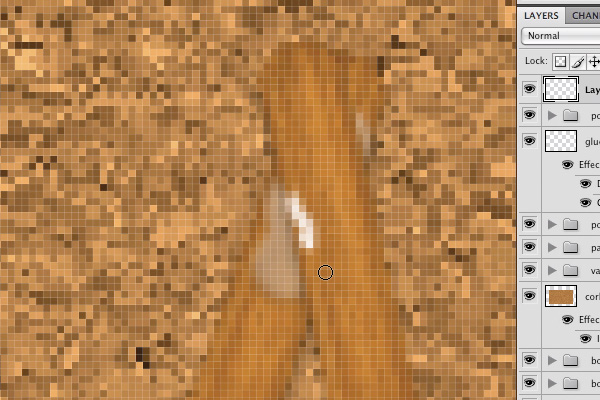 Step 17 – The Popsicle Stick – Break itNow, create the bridging stem of the letter ‘A’ by duplicating another Popsicle stick and rotating it. After that, select all Popsicle stick layers, right click and select "Merge Layers". Choose the Pen tool and draw out some zigzag lines to make it seem as if the Popsicle stick was broken apart. Right click on the path, choose Make Selection and press BACKSPACE to delete everything inside the selection on that layer. The image below is the result. 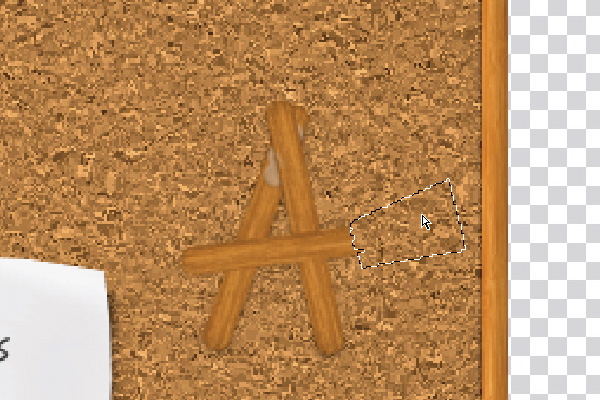 Step 18 – The Popsicle Stick – I (heart) MomMake a new layer, with the Brush tool (Brush Master Diameter: 2px hard), zoom in and paint some text on the Popsicle, we wrote "I (heart) Mom". Give this text an Inner Glow (Blend Mode: Normal, Opacity: 44%, Noise: 100%, Glow Color: #ed57ff, Size: 5px). The image below is the result. 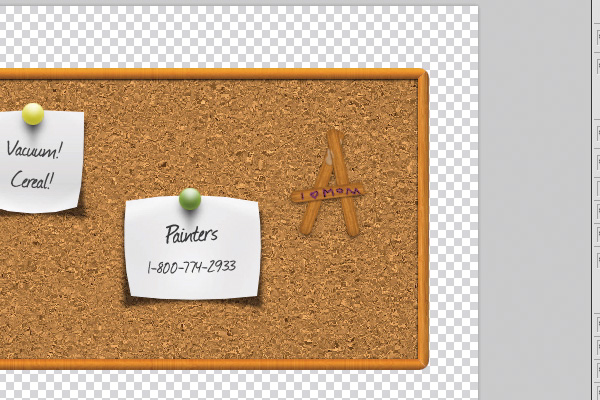 Step 19 – The Popsicle Stick – The StringMake a new layer, using the Pen Tool, draw a small string on top of the Popsicle, right click on the path and select Make Selection. Choose the Marquee Tool, right click on the selection and choose Stroke (Width: 2, Color: Black, Location: Inside). Deselect the selection. Use the Free Transform Tool to rotate the string to your liking and use the ARROW KEYS to move the string to the center of the Popsicle. Now, use the Eraser Tool (Brush Size: 20px hard) and erase the bottom part of the string as shown below: 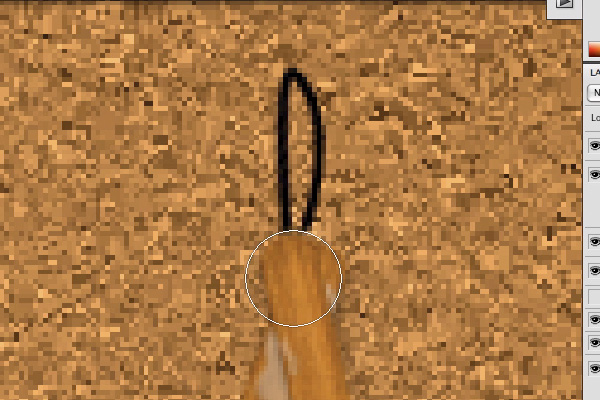 Put a Gradient Overlay on this string (First Gradient Slider: #b5b4b4, Second Gradient Slider: #ededed), a Drop Shadow (Opacity: 70%, Angle: 90 degrees, Distance: 1px, Spread: 0%, Size: 1px). Duplicate this layer, right click on the new layer produced and choose Clear Layer Style. Select the new layer, go to Filter > Noise > Add Noise (Amount: 37.74%, Gaussian and Monochromatic) and lower down the opacity of the noise layer to 10%. It is pretty impossible that a string can be stuck on a stick without any adhesive material so add some glue on the string using the same technique we used in Step 16 – The Popsicle Stick – The Glue. The image below is the result. 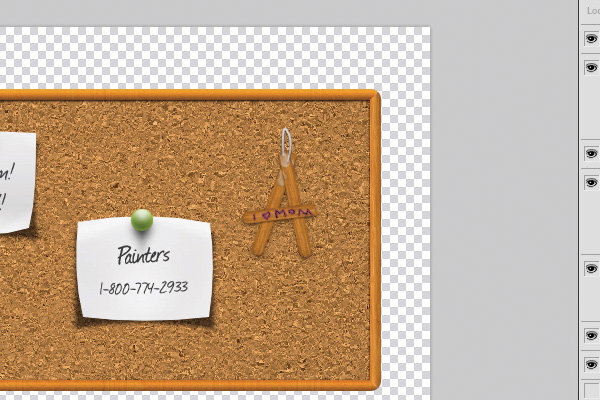 Lastly, duplicate a pin, change the color if you would like and move it over the string so it looks like the pin is holding the Popsicle stick onto the corkboard. The image below is the result. 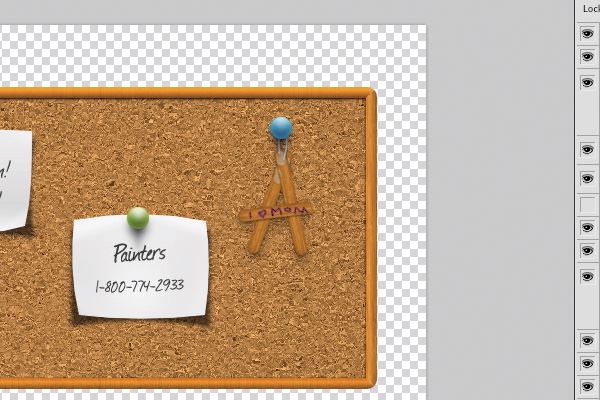 Step 20 – The BackgroundMake a new layer under all the other layers, rename it as "background" and fill it in with the color, #8e4917. Feel free to add some texture and effects to the background. Make another layer on top of the layer "background", choose the Brush Tool (Brush Master Diameter: 600px soft), make your Foreground Color #ffc000 and paint some highlights on top. Group these two layers together The image below is the result. 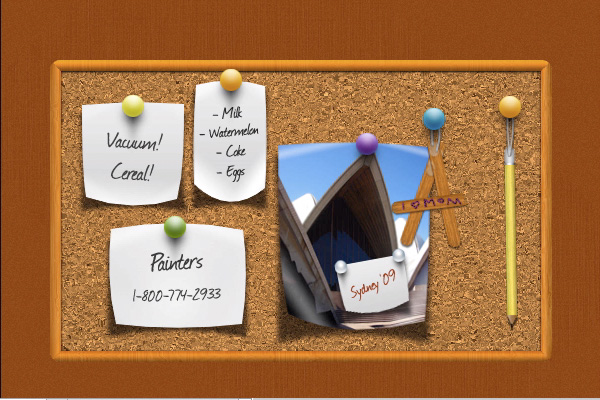 Step 21 – The Shadow of The CorkboardIn this last step, we will create the shadow of the corkboard. Make a new layer above the background but below all things on the corkboard, make a rectangular selection roughly 20 pixels smaller than the size of the corkboard and fill it in with black. Next, go to Filter > Blur > Gaussian Blur (Radius: 8.8 pixels), move the shadow downwards. The image below is the result.  ConclusionAdd more objects to give your corkboard more variation. 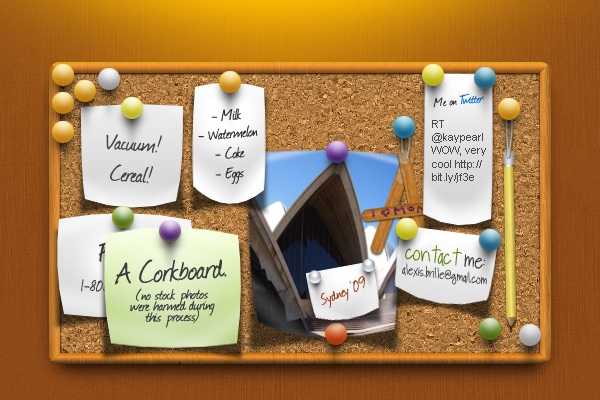 Congratulations, we are finished! As you can see, producing realistic shadow and light effects in Photoshop is easy. Subtleness is key. Thanks and please don’t forget to post your results!
|
| You are subscribed to email updates from Psdtuts+ To stop receiving these emails, you may unsubscribe now. | Email delivery powered by Google |
| Google Inc., 20 West Kinzie, Chicago IL USA 60610 | |
0 comments:
Post a Comment