1stwebdesigner |

| 35 Professionally Made Flash Websites for Your Inspiration Posted: 27 May 2010 02:00 PM PDT
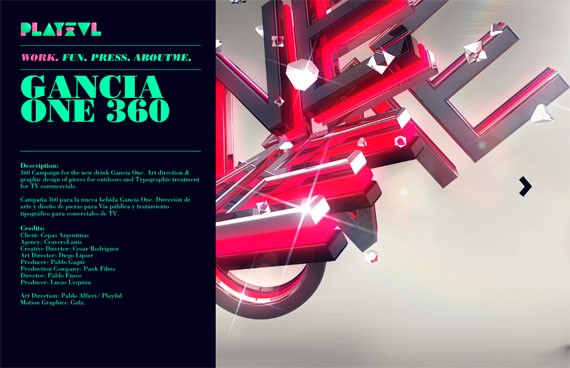
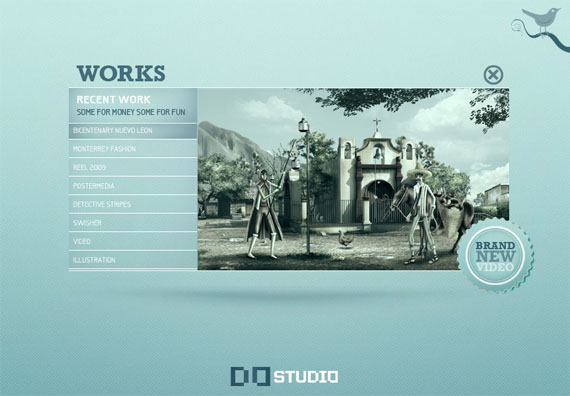
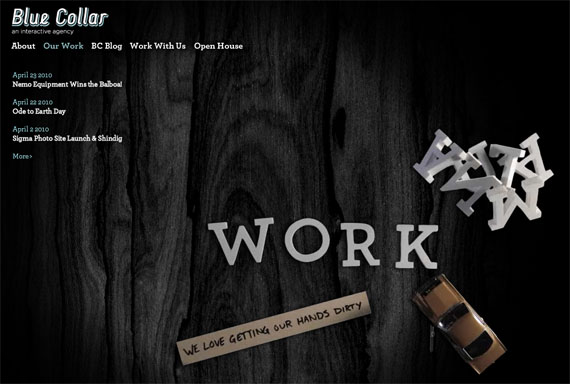
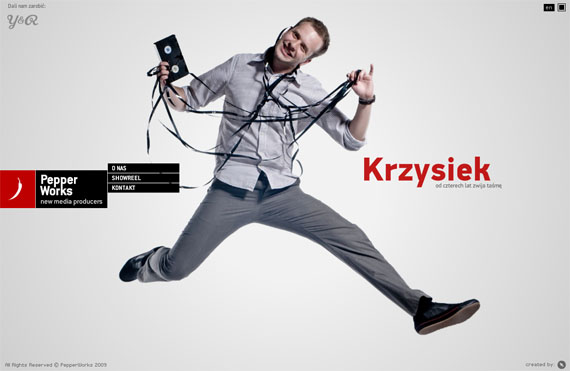
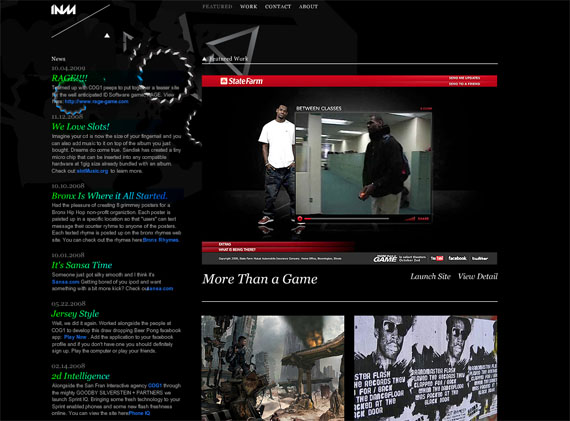
There are tons of information written on the subjects “to use or not to use…”, “advantages and disadvantages…", etc. I think it’s not the point Flash is good or bad, – it just certainly has its place – that’s it. And the “members” of the "two camps" should understand that there is nothing to argue about. If you are a photographer or designer and you need motion, interactivity, – Flash will definitely be the right choice. If you wish to express your originality, with Flash you will achieve that. But if your website is about delivering straight up information, then CSS/(X)HTML will work good for you. In other words, HTML is great for informative websites, and Flash is perfect for creating unforgettable effects. Since I myself am a little partial to Flash, this showcase will not be devoted to "the best HTML websites":) The Flash websites I have selected for this post are all professionally developed; they are not only visually attractive, but are also functionally correct, load in a few seconds and disprove most of the existing mistaken opinions as for Flash that have been spread around, i.e.:
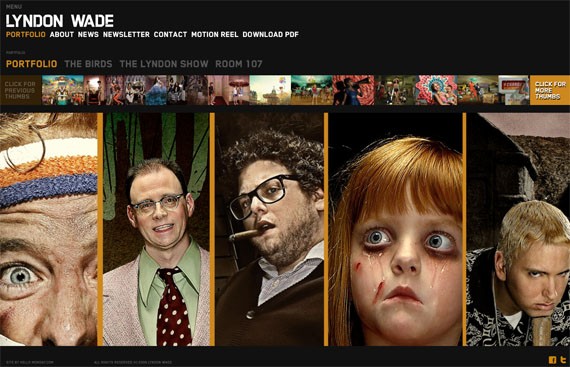
So, view the showcase and draw a conclusion yourself… 1. Lyndon Wade
2. Myorangebox
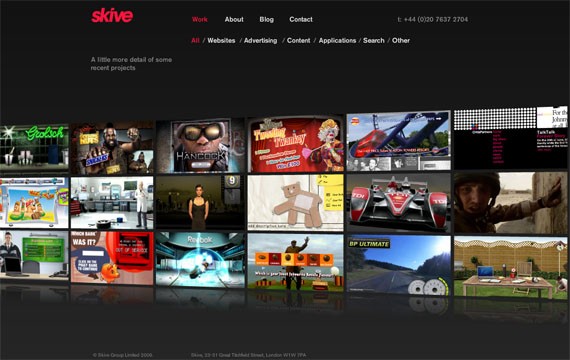
3. Skive
4. Achtung
5. 4060
6. Estudiocora
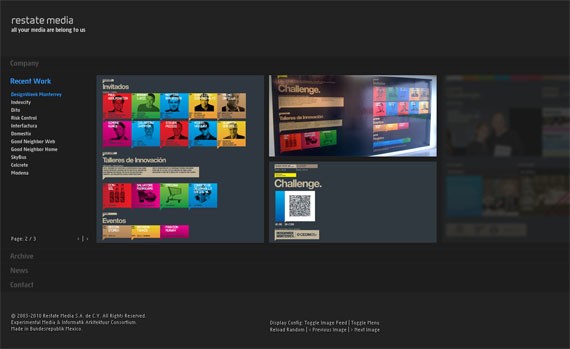
7. Restatemedia
8. Pabloalfieri
9. Marija Ivkovic
10. D10studio
11. Bluecollaragency
12. Pepperworks
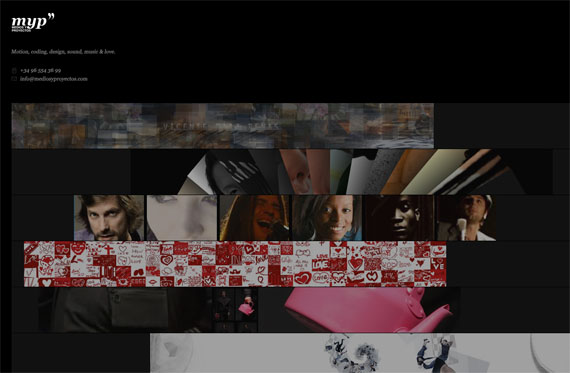
13. Mediosyproyectos
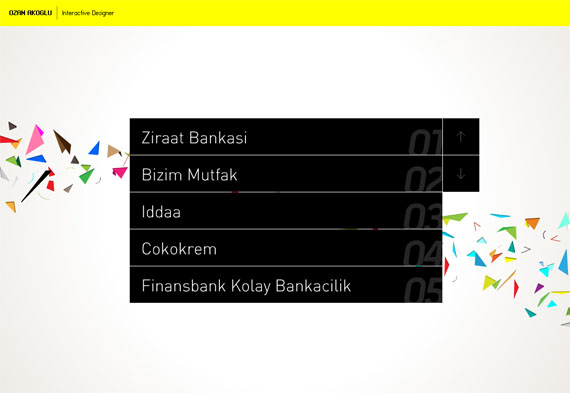
14. Ozanakoglu
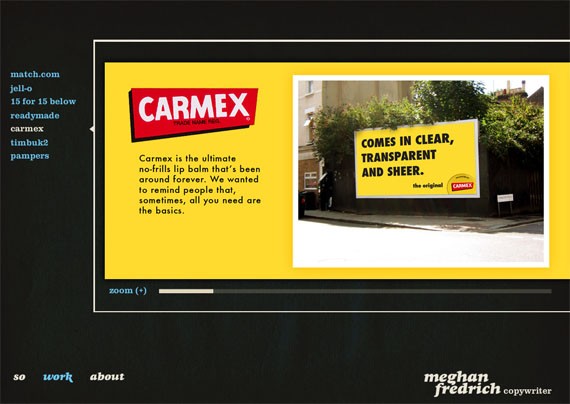
15. Meghanfredrich
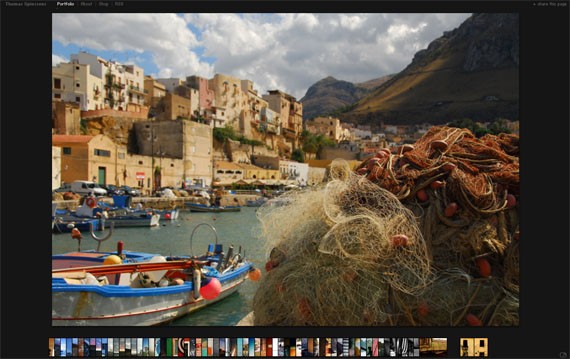
16. Thomas Spiessens
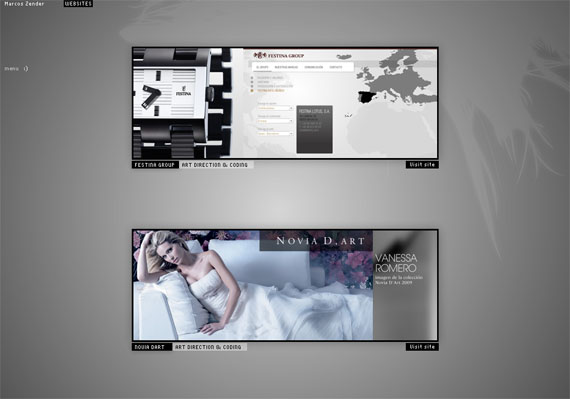
17. Marcoszender
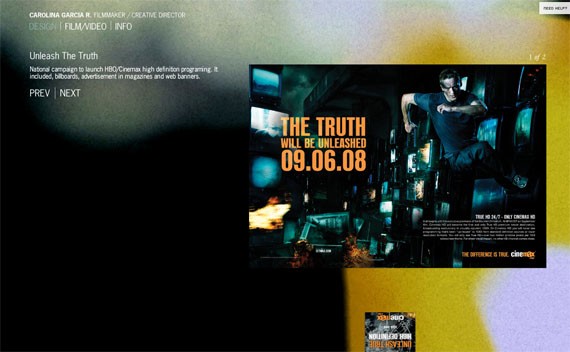
18. Carolina Garcia
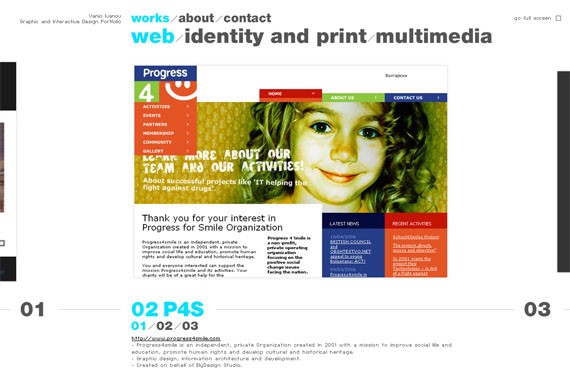
19. Vanio Ivanov
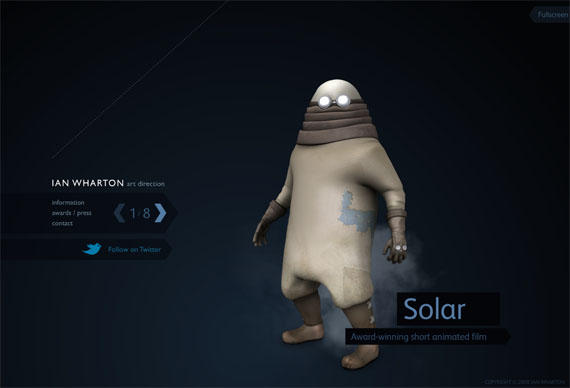
20. Ian Wharton
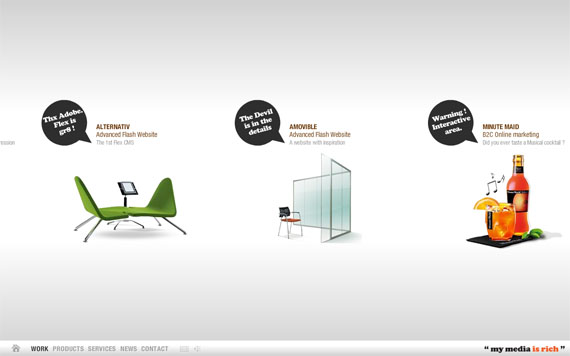
21. Mymediaisrich
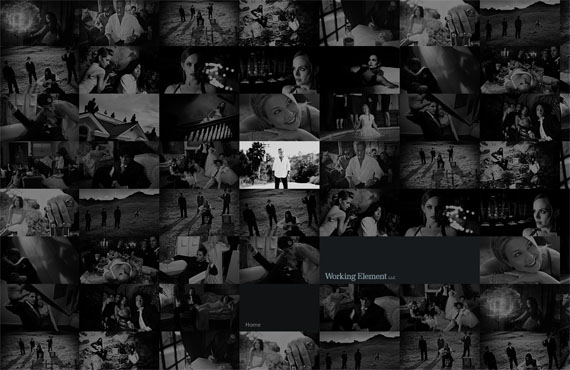
22. Workingelement
23. Superreal
24. Dikstudio
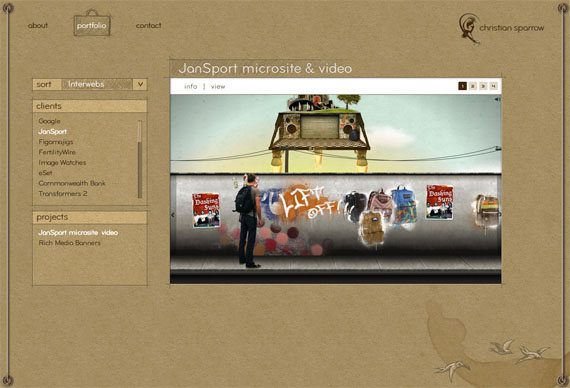
25. Christiansparrow
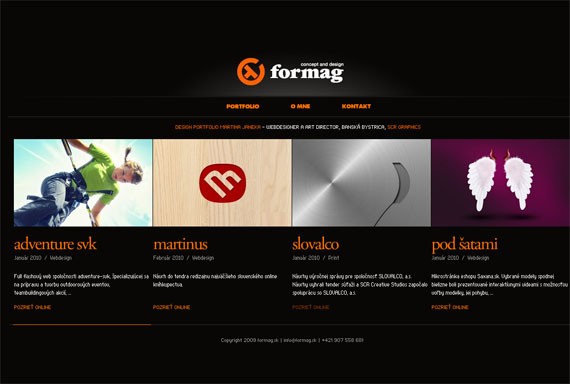
26. Formag
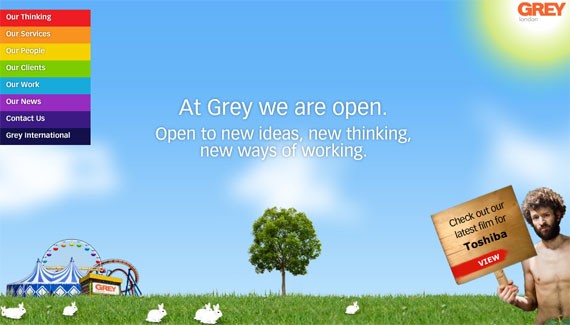
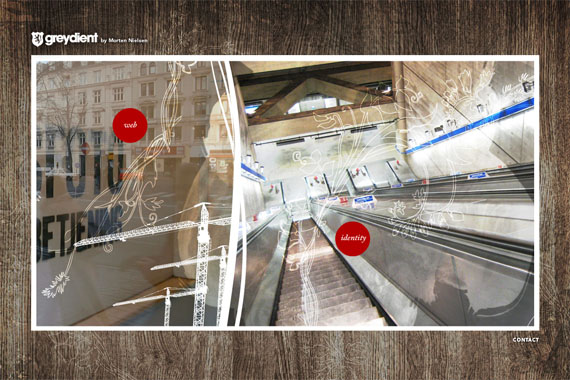
27. Grey |
| How To Create A Polaroid Photo Gallery With CSS3 And jQuery Posted: 27 May 2010 03:00 AM PDT
Let's take a look at what we will be building, here is the final result :
View The Demo, you can also download the final result by clicking here (*.zip archive). Step 1: Preparing The FilesLet’s start by creating our needed files :
In this tutorial I used some nature photos, but you can select your own:
Here is also the texture I used in this tutorial. Now create a new folder, name it ” images ” then put in your choosed photos. Step 2: The html file structureFirst of all we have to link to our css, javascript files and both of jQuery and jQuery ui, to do this simply paste this code in your head section: <script type="text/<span class="><!--mce:0--></script> <script type="text/<span class="><!--mce:1--></script> <script type="text/<span class="><!--mce:2--></script> <link rel="stylesheet" type="text/css" href="style.css" /> Now we need to show our images. To do this, add the code above into the body section of your html file : <img src="images/1.jpg" alt="" /> <img src="images/2.jpg" alt="" /> <img src="images/3.jpg" alt="" /> <img src="images/4.jpg" alt="" /> <img src="images/5.jpg" alt="" /> Step 3: Adding some styles !Now we have our html file ready, we need to add some styles to the body section and to our images: body { background: url(texture.jpg); } img { padding: 10px 10px 50px 10px; background: #eee; border: 1px solid #fff; box-shadow: 0px 2px 15px #333; -moz-box-shadow: 0px 2px 15px #333; -webkit-box-shadow: 0px 2px 15px #333; position: relative; margin:25px 0 0 15px; } Explanation: Here I added a background image. For each image I set it’s background to a light grey and used some paddings to give the traditional Polaroid shape. Also I have used some CSS3 techniques to give each image a simple shadow. Next I used some margins to make some space between the images. Step 4: Time for some scriptsNow we have our images set up, we need to have some scripts to have a working polaroid. First add this to your script.js file: $(document).ready(function(){ var zindex = 1; $("img").draggable({ start: function(event, ui) { zindex++; var cssObj = { 'z-index' : zindex }; $(this).css(cssObj); } }); }); I defined a variable with a name of zindex and assigned to it 1 as a value. Then I used the jQuery ui features to make each image draggable. When an image is dragged the zindex value will increase by 1 then I used $(this).css to change the z-index value of the dragged image. Let’s continue, ad this to the previous code : $('img').each(function(){ var rot = Math.random()*30-15+'deg'; var left = Math.random()*50+'px'; var top = Math.random()*150+'px'; $(this).css('-webkit-transform' , 'rotate('+rot+')'); $(this).css('-moz-transform' , 'rotate('+rot+')'); $(this).css('top' , left); $(this).css('left' , top); $(this).mouseup(function(){ zindex++; $(this).css('z-index' , zindex); }); }); $('img').dblclick(function(){ $(this).css('-webkit-transform' , 'rotate(0)'); $(this).css('-moz-transform' , 'rotate(0)'); }); Here I used the .each() technique, so for each image three variables are created : the rotation degrees, the top position and the left position. For each variable you have to use some math : math.random returns a value between 0 and 1 so we have to control the other values to get the numbers we need. Per example the first variable will always return a value between 15 and -15 degrees. For the left and top position I used the same formulas but I have changed the other values. After preparing the variables we have to use them. To do this we are going to use the same method we have used in the previous code ( this.css) then change the rotation degrees, the top position and the left position of each image so we can get a random appearance. After all this I used the .mouseup method so when an image is clicked it will be showed up in the front. Also you can add something useful : when the button is double clicked we are going to adjust it with rotate(0). Now all our script file should look like this : $(document).ready(function(){ var zindex = 1; $("img").draggable({ start: function(event, ui) { zindex++; var cssObj = { 'z-index' : zindex }; $(this).css(cssObj); } }); $('img').each(function(){ var rot = Math.random()*30-15+'deg'; var left = Math.random()*50+'px'; var top = Math.random()*150+'px'; $(this).css('-webkit-transform' , 'rotate('+rot+')'); $(this).css('-moz-transform' , 'rotate('+rot+')'); $(this).css('top' , left); $(this).css('left' , top); $(this).mouseup(function(){ zindex++; $(this).css('z-index' , zindex); }); }); $('img').dblclick(function(){ $(this).css('-webkit-transform' , 'rotate(0)'); $(this).css('-moz-transform' , 'rotate(0)'); }); }); That's it !Thanks for following this tutorial. I hope you liked it and could follow it step by step. If you've done everything correctly, you should have ended up with something like this. If you have any problem or you need some help feel free to write your question or request into the comments section. |


| You are subscribed to email updates from Graphic and Web Design Blog To stop receiving these emails, you may unsubscribe now. | Email delivery powered by Google |
| Google Inc., 20 West Kinzie, Chicago IL USA 60610 | |
1 comments:
First of all we have to weblink to our css, javascript information and both of jQuery and jQuery ui, to do this basically insert this rule in your go section: Fourneau Bruleur de Graisse
Post a Comment