Abduzeedo - graphic design | design inspiration | tutorials - |

| Posted: 30 May 2010 10:31 AM PDT
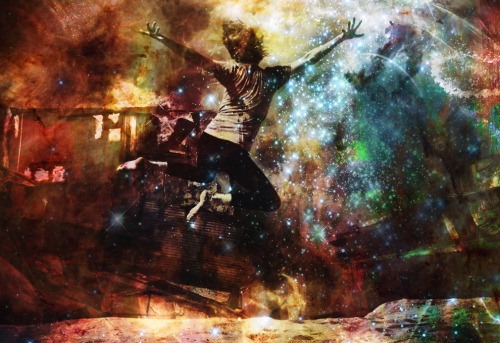
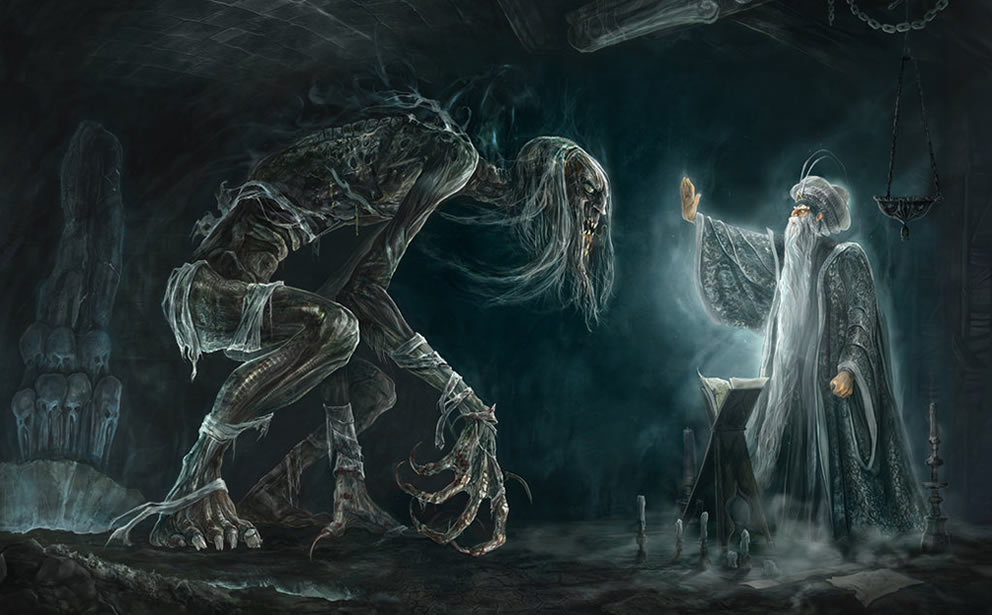
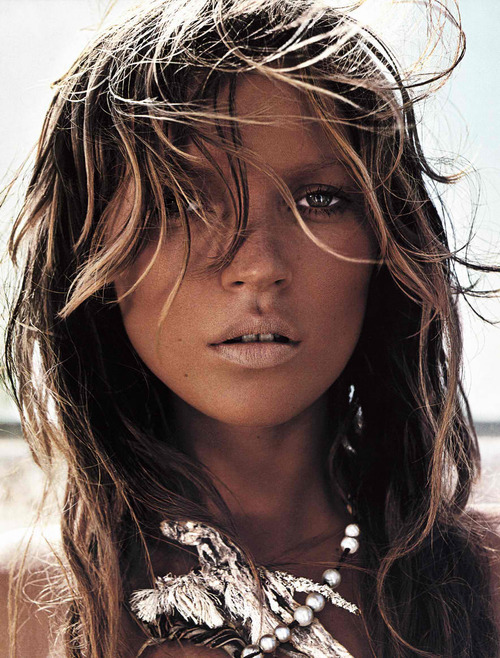
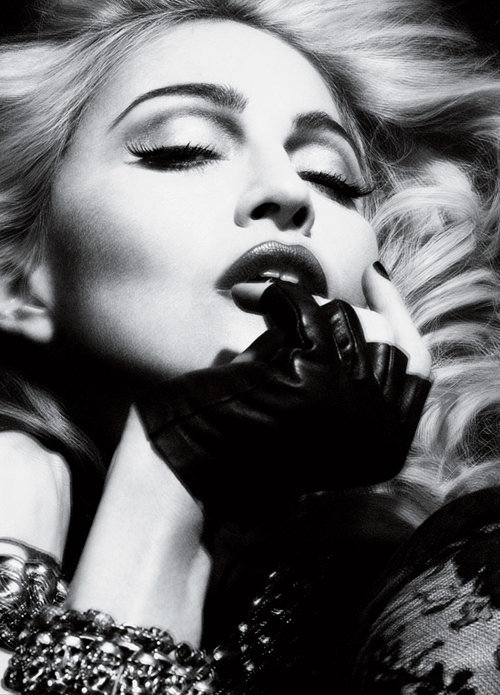
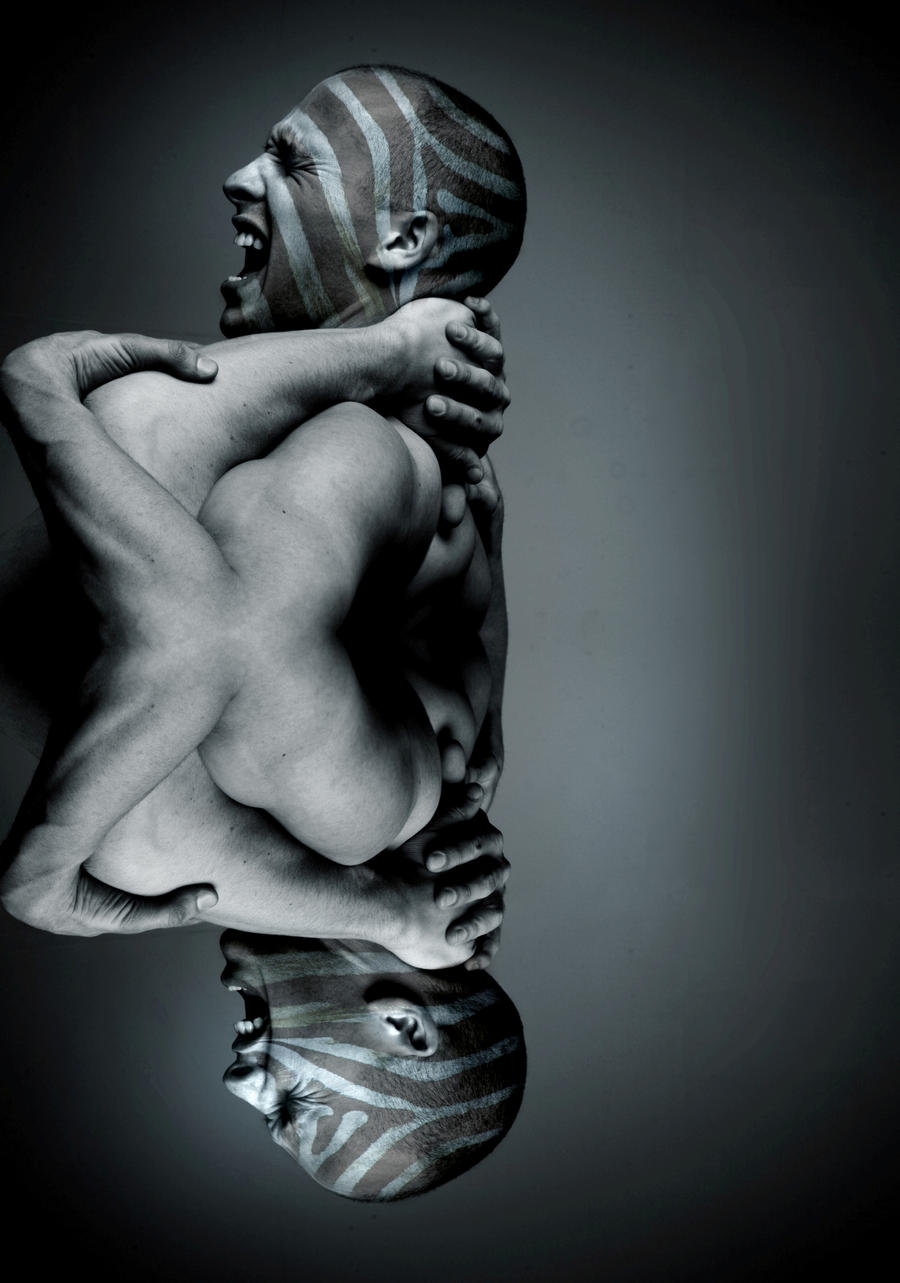
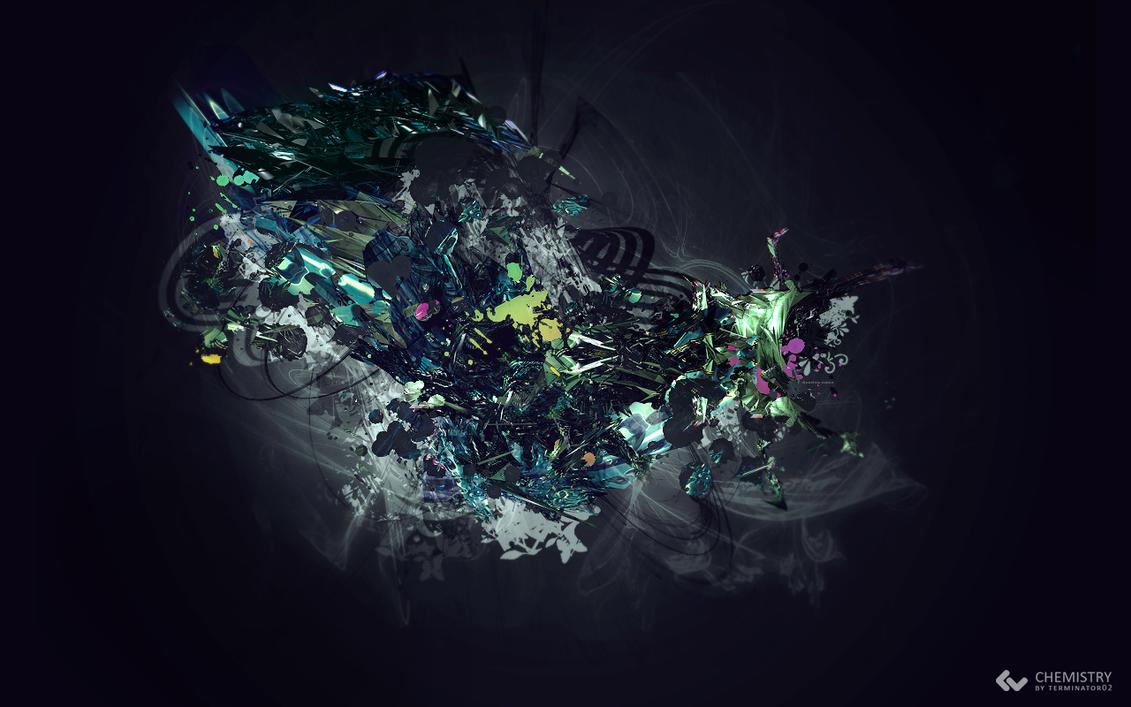
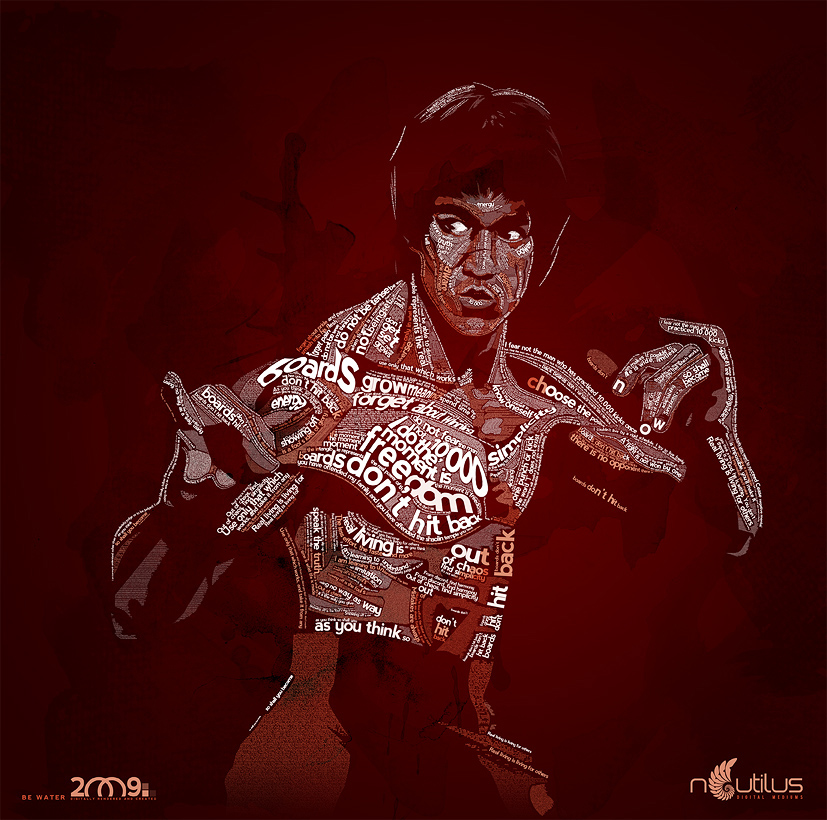
This post is part of our daily series of posts showing the most inspiring images selected by some of the Abduzeedo's writers and users. If you want to participate and share your graphic design inspiration, just send us, via email, the image with the link from where you found it, also use "Daily Inspiration" in the subject, and don't forget to send your Abduzeedo username; or via Twitter sending to http://twitter.com/abduzeedoIf possible use the HTML code: <p class="imgC"><a href="Link to the page you found the image"><img src="Link to the Image" /></a></p> Do you want to see all images from all Daily Inspirations? Check out http://daily.abduzeedo.com 1500studios
doitJEFFSTYLE
drfranken
Edlopez
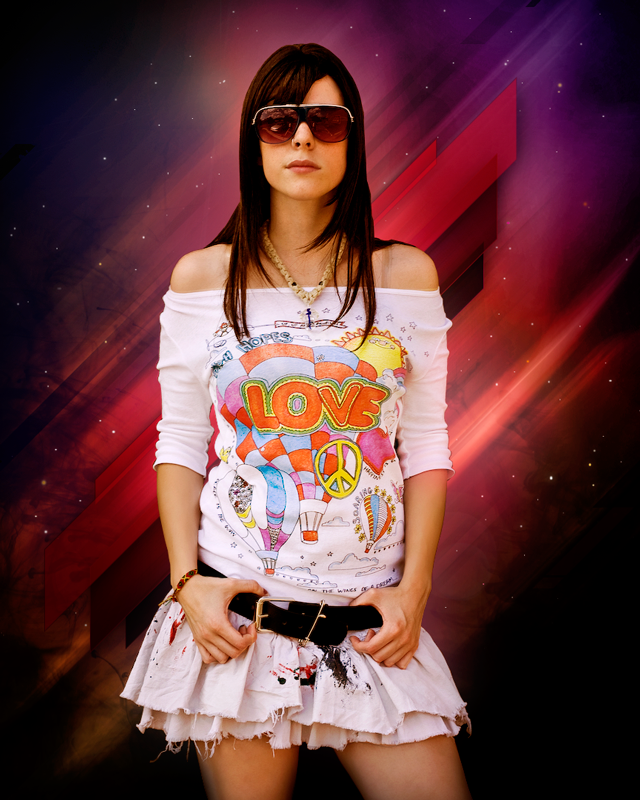
Fabio
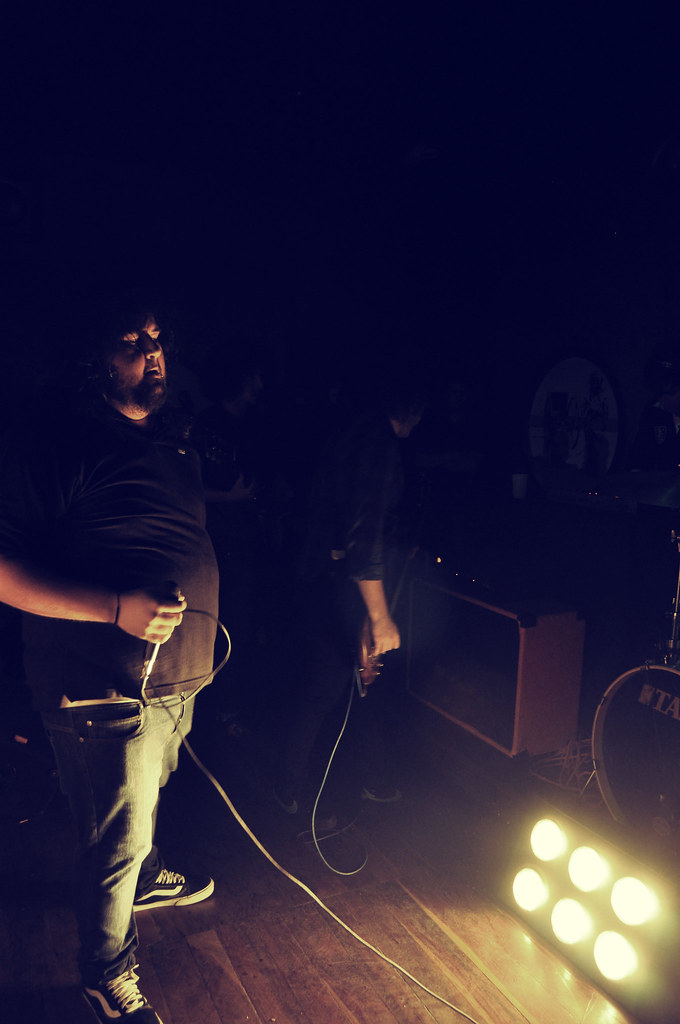
recent from kuba kossak on Vimeo.
Gisele
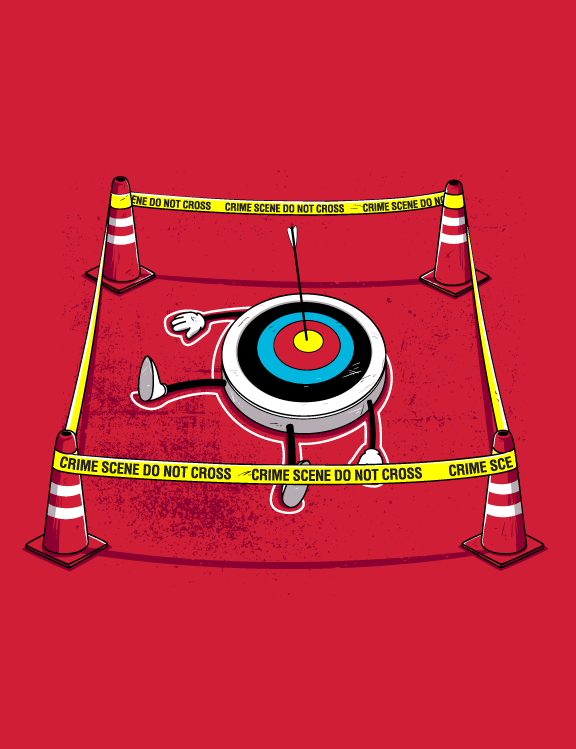
Giulian Drimba
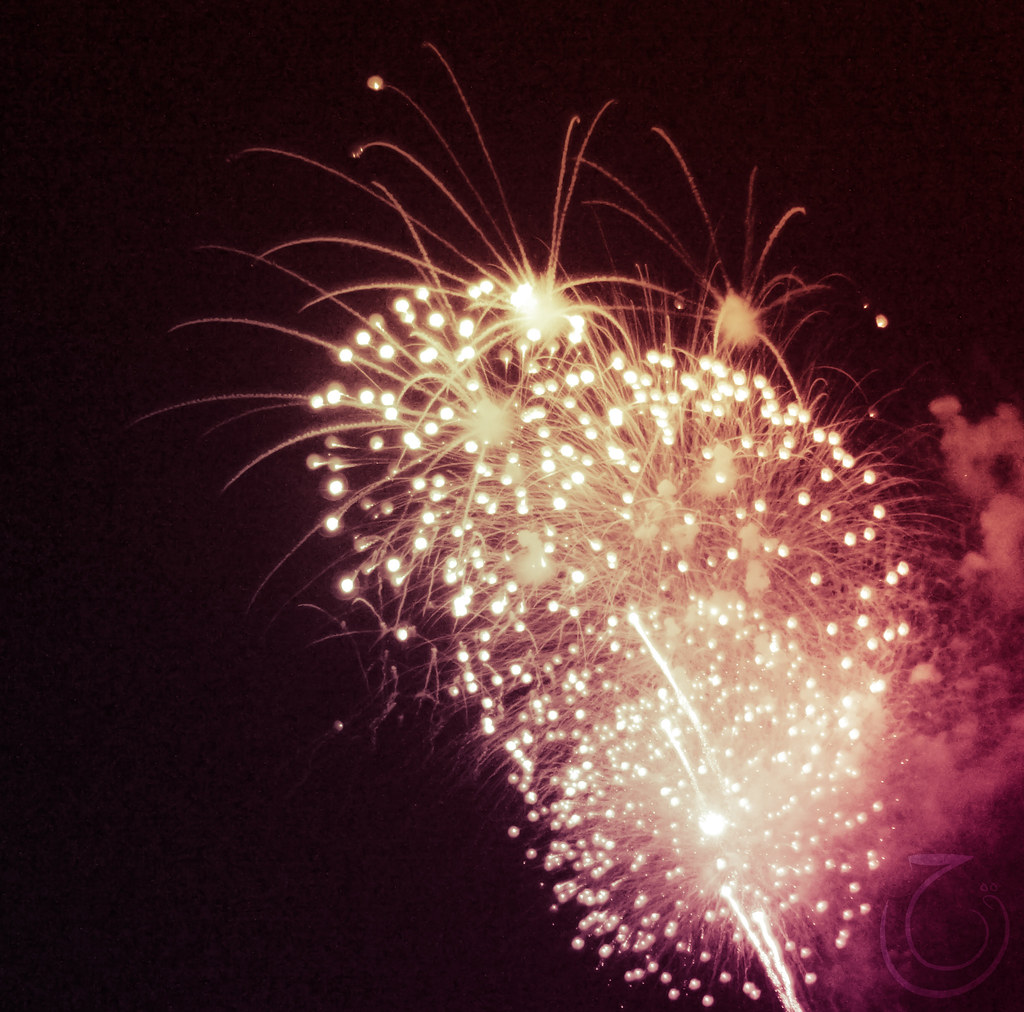
Habib Q
Khyzyl Saleem
Machiavelli
Matt M
ricardoFX
suprman79
TyroneMichael
Virlan Paul
wanderabs
Via TwitterSend your suggestions via Twitter to http://twitter.com/abduzeedo using #abdz in the end of the tweet. @DanielApt
@tiagobenevides
@thirddesign
@lawli3t
@allrox
|
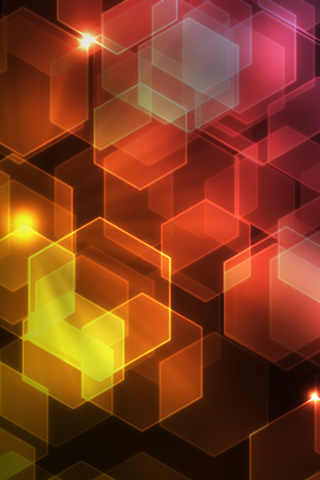
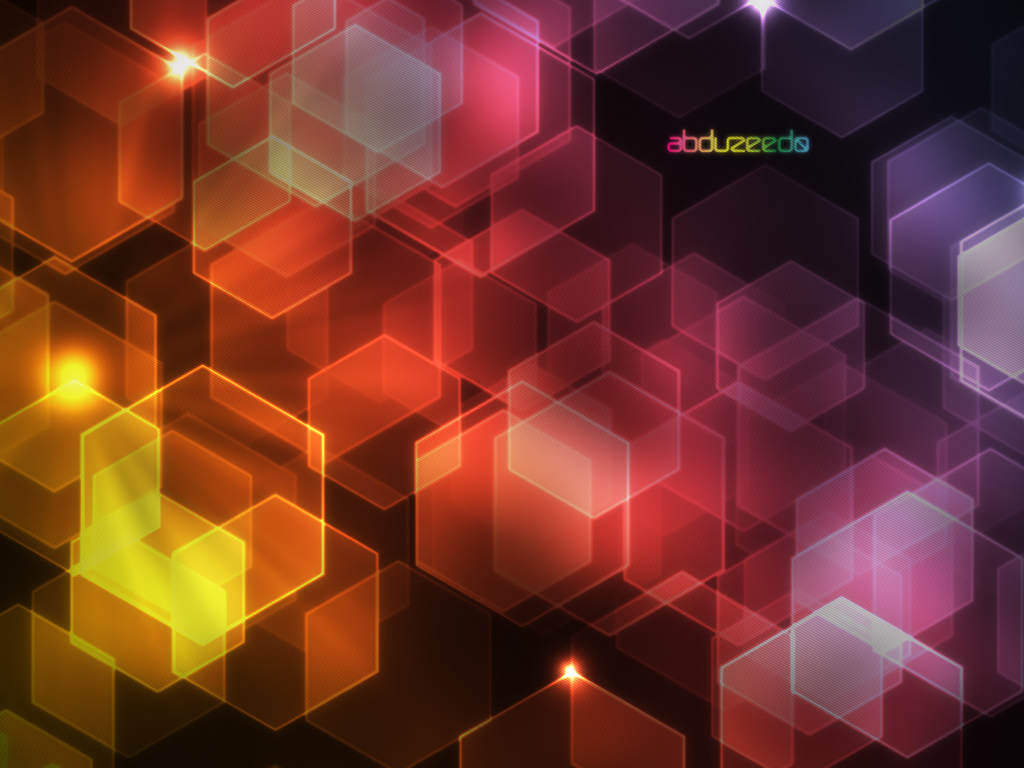
| Hexagons Bokeh Effect in Pixelmator Posted: 29 May 2010 09:33 PM PDT
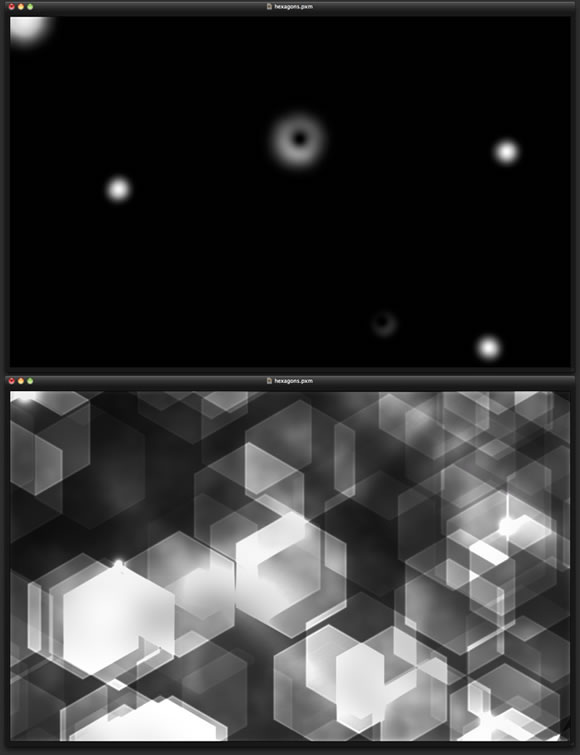
More than two years ago, I created an image of a digital bokeh using Pixelmator that became incredibly popular on the Internet. I easily created the image using Pixelmator's filter, which was new at the time, called Defocus. I simply applied the filter and added a gradient overlay layer to create the effect. Therefore, in this tutorial, I will show you how to create a bokeh effect in a slightly different, but simple manner to achieve a beautiful outcome.Step 1Open Pixelmator and fill the background layer with a very dark grey color (#0a0a0a).
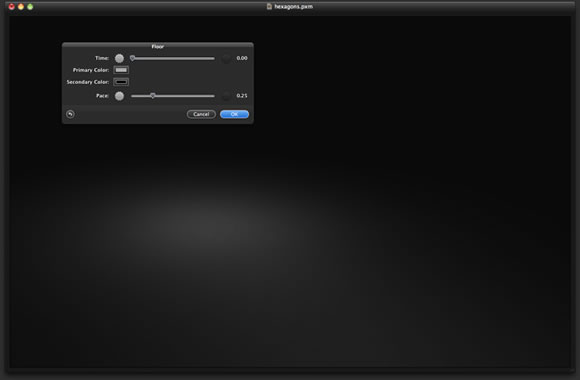
Step 2Add a new layer and change the Blending to Color Dodge. Go to Filter > Quartz Composer > Generator > Floor. Use the default values.
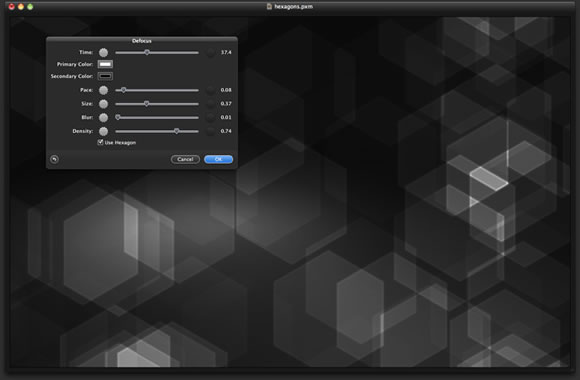
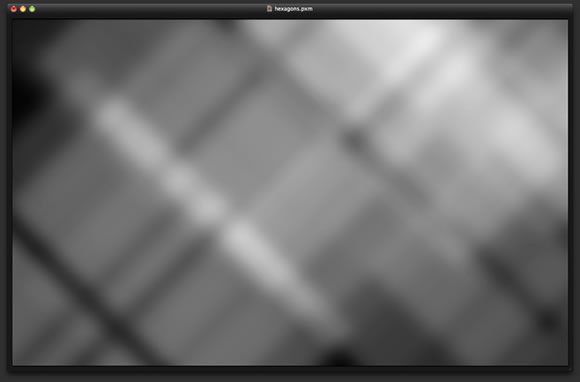
Step 3Add another layer and fill it with black. Next, change the Blending to Color Dodge. With this new layer selected, go to Filter > Quartz Composer > Generator > Defocus. This filter is random, so you will not be able to replicate the same effect I created.
Step 4Duplicate the layer with the hexagons layer. If there are some areas that are too bright, use the Eraser Tool (E) to erase them.
Step 5Duplicate the layer once again.
Step 6Duplicate the layer again and go to Filter > Blur > Gaussian Blur. Use 60 for the amount. Once again, change the Blending to Color Dodge.
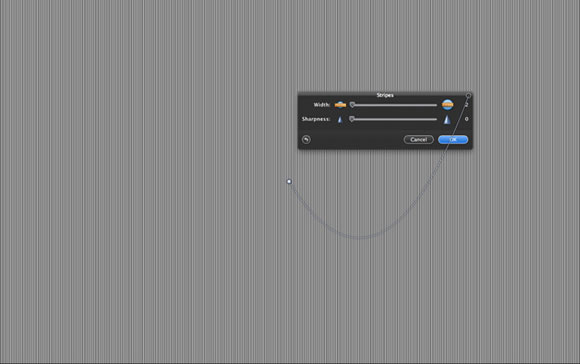
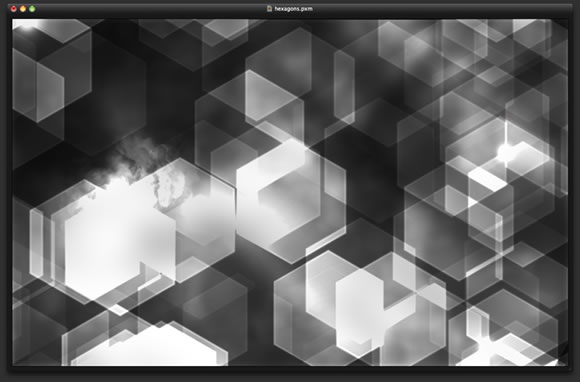
Step 7Add another layer and go to Filter > Generator > Stripes. Use 2 for the width and 0 for the sharpness.
Step 8Go to Edit > Free Transform. Rotate the stripes 30º to match the hexagons. Then, change the Blending to Color Dodge.
Step 9With the stripes layer selected, go to Layer > Add Layer Mask. Select the layer mask thumb over the layer palette and then go to Filter > Generator > Clouds. Use the clouds filter to mask the stripes.
Step 10Add a new layer on top of the others, but beneath the stripe layers. Fill this new layer with black. Then, change the Blending to Color Dodge. Next, select the Brush Tool (B). Using a basic, but very soft brush, start painting to add some white some flares to your design.
Step 11Add another layer, fill it with black, and change the Blending to Color Dodge. With the Brush Tool (B), select the clouds default brush. Then, with white paint, add some clouds over one area.
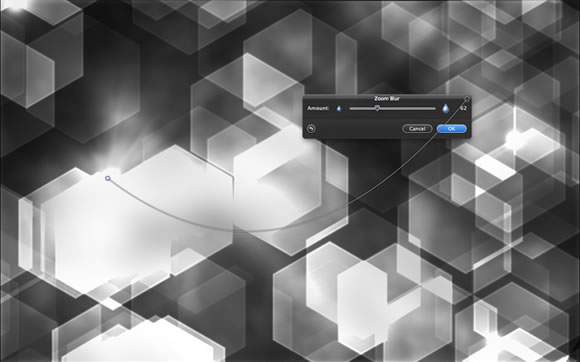
Step 12Go to Filter > Blur > Zoom Blur. Place the controller at the center of the area where you want to create the light burst. Then, change the amount to 60.
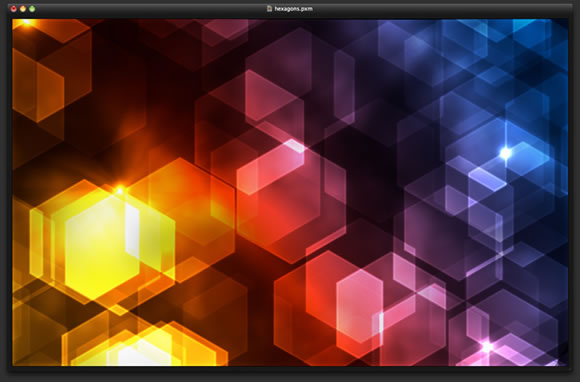
Step 13Add a new layer on top of the floor layer and beneath the other layers. Change the blending to overlay. With the Gradient Tool (G), fill the layer with a gradient. I am using a gradient with yellow, red, and blue.
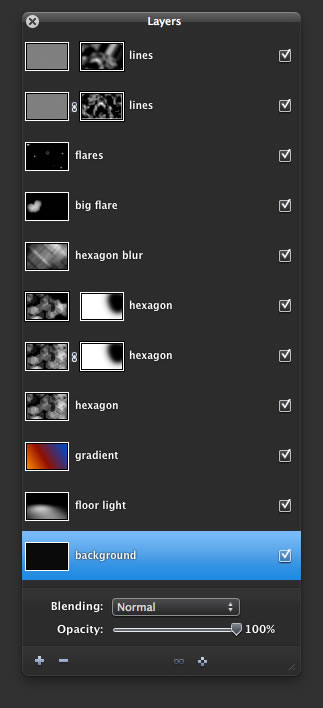
Step 14Here you can see the order of the layers.
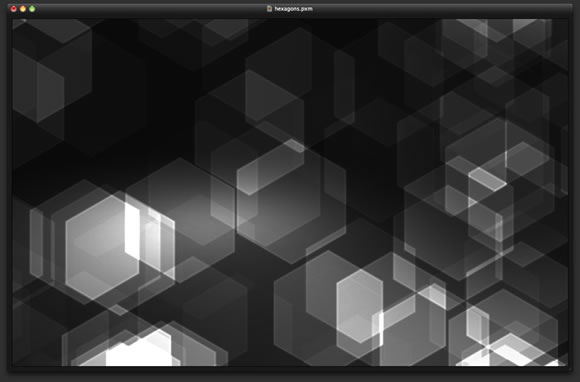
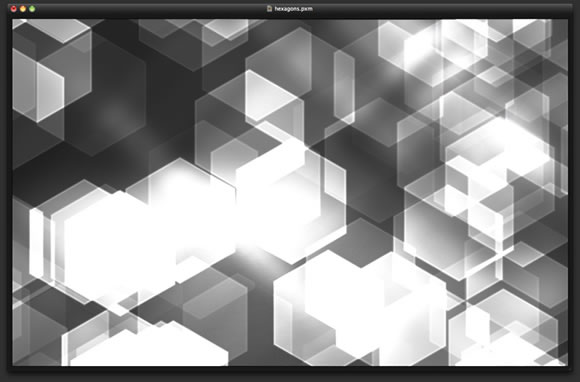
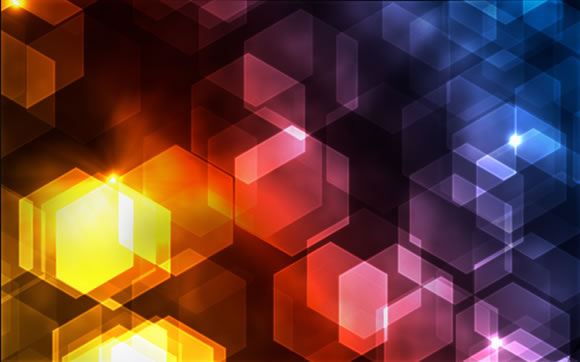
ConclusionHere is the final result of this tutorial. As you can see, we only used basic filters and blended modes to create this effect. We did not utilize any stock photo to achieve these effects. One of the best features of Pixelmator is its speed. You complete this tutorial relatively quickly because the filters are fast. Now, it is up to you.
Dowload the Pixelmator FileDownload the Pixelmator file used for this tutorial. |
| Posted: 29 May 2010 08:03 PM PDT
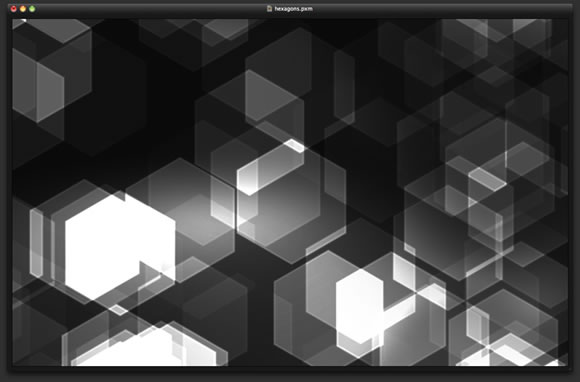
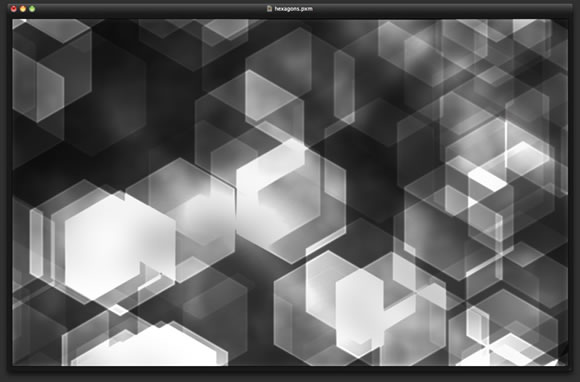
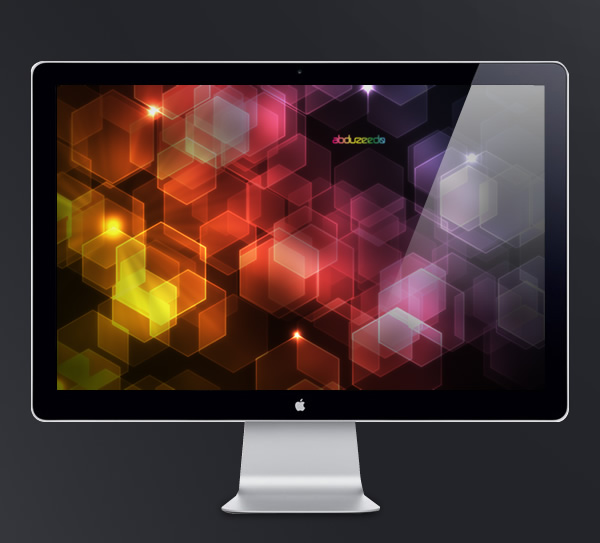
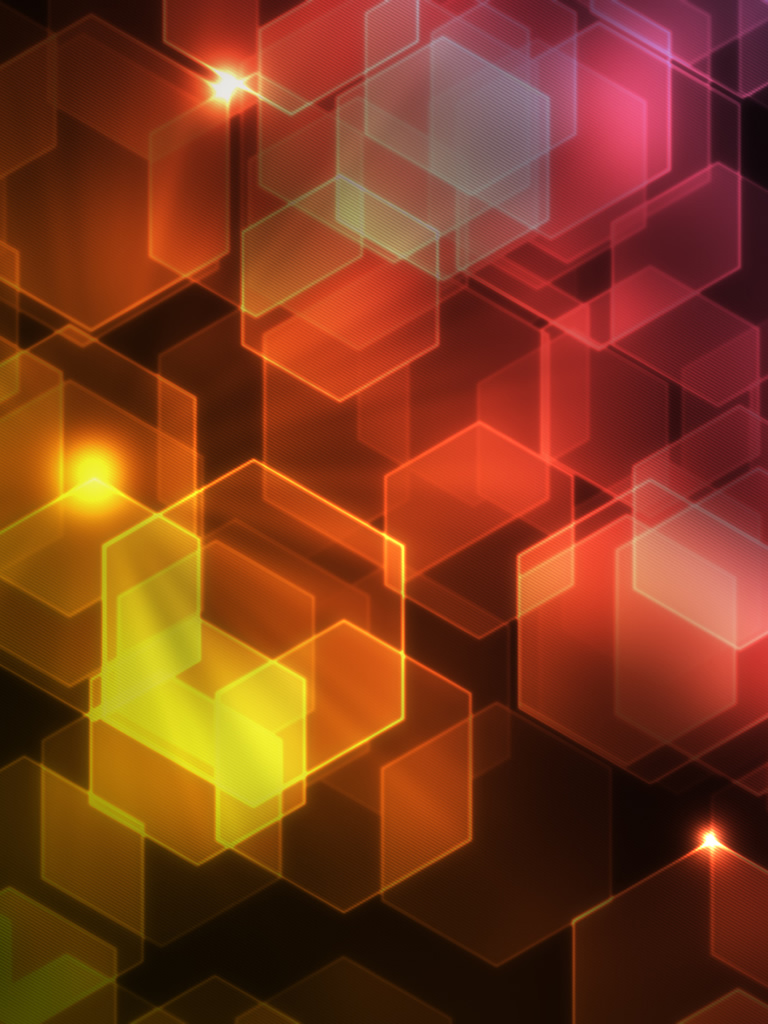
The wallpaper of this week is the image I created for the Hexagon Bokeh Effect in Photoshop tutorial and it's very similar to the one I have been using on my Twitter profile.
Resolutions: |


| You are subscribed to email updates from Abduzeedo | Graphic Design Inspiration and Photoshop Tutorials To stop receiving these emails, you may unsubscribe now. | Email delivery powered by Google |
| Google Inc., 20 West Kinzie, Chicago IL USA 60610 | |
0 comments:
Post a Comment