PSDTUTS Updates |  |

| Quick Tip: Create Metallic Text on a Concrete Background Posted: 10 May 2010 09:35 AM PDT In today’s quick tip tutorial I will demonstrate how to create some cool metallic text on a slick concrete background. This can be done in just a few steps so let’s get started!
Step 1Create new document, 1280 x 1024 and name the default layer "concrete." 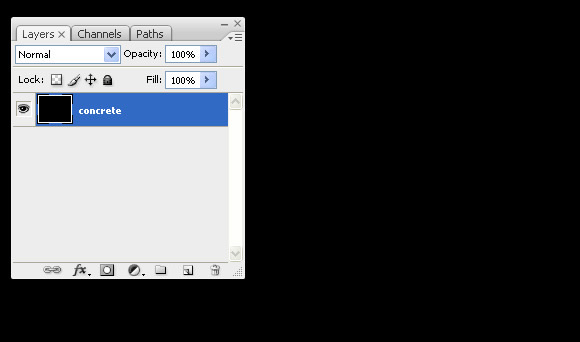 Step 2Go to Filter > Noise and apply the following settings. 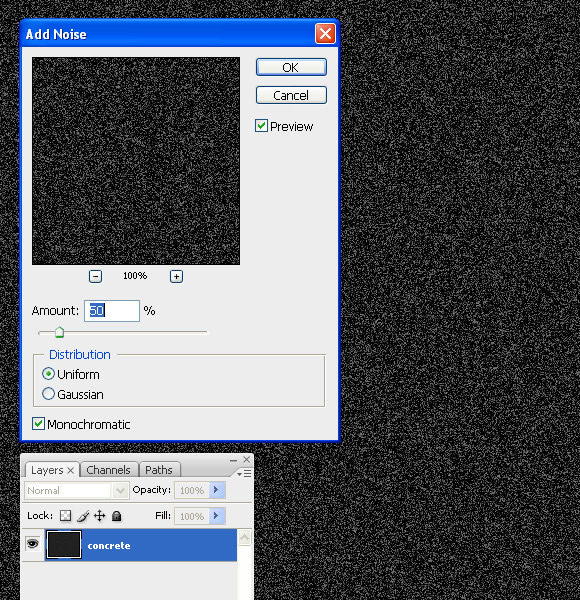 Step 3Go to Filter > Stylize > Emboss and apply the following settings. 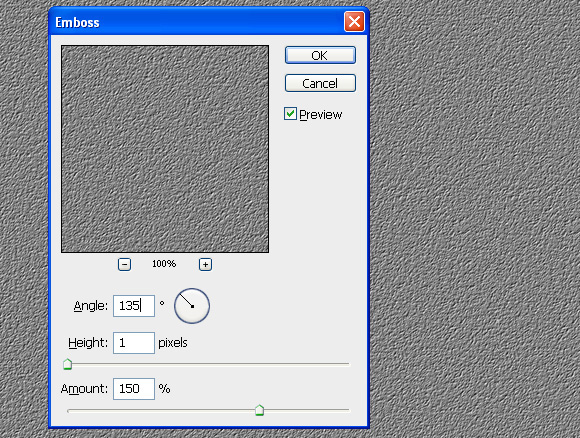 Step 4Add a Level Adjustment by clicking on the icon in the bottom of the layer palette.  Step 5Apply the following settings. 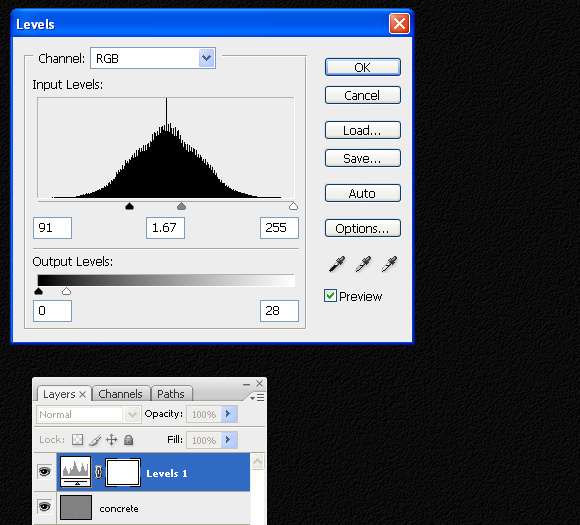 Step 6To make this more realistic press Cmd + Shift + E to merge all layers. 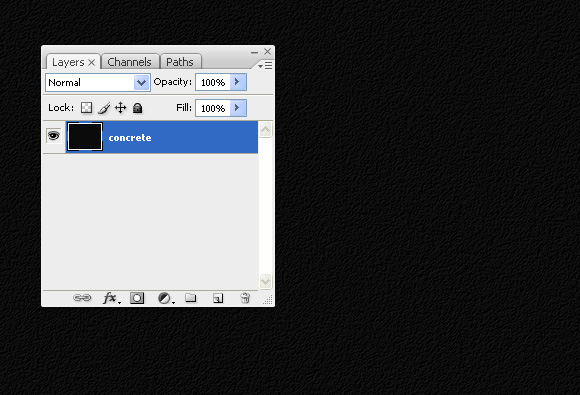 Step 7Press "W" to select Magic Wand. Set Tolerance to 5. Click on second icon to activate "add in selection option" 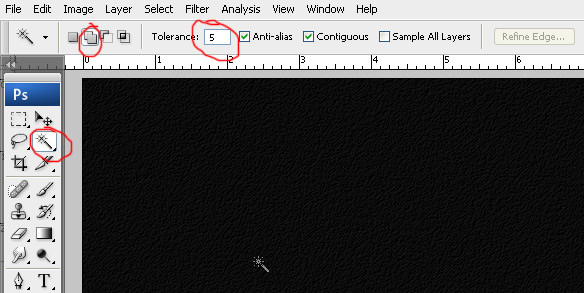 Step 8Now click anywhere on the document to get a random selection. 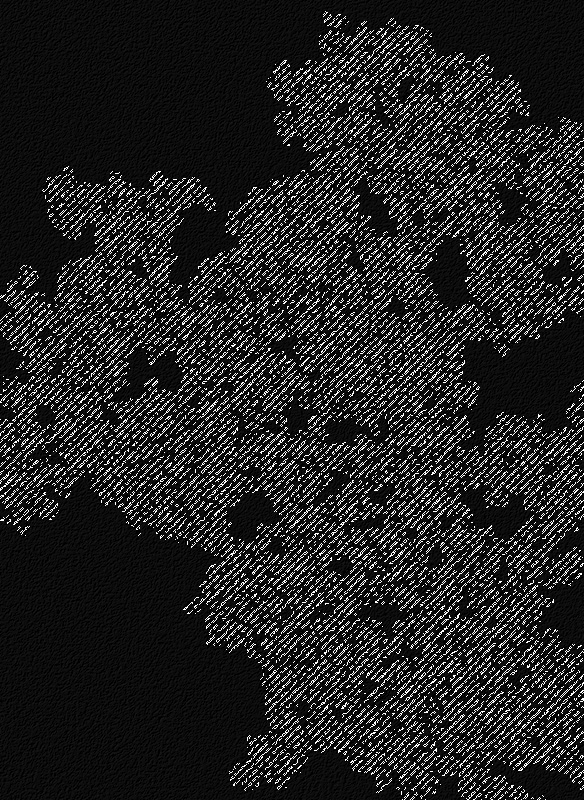 Step 9Once you have your selection, pick the dodge tool "Range: Highlights" and "Exposure: 100%" and randomly paint inside selection. You should now have something like the image below. 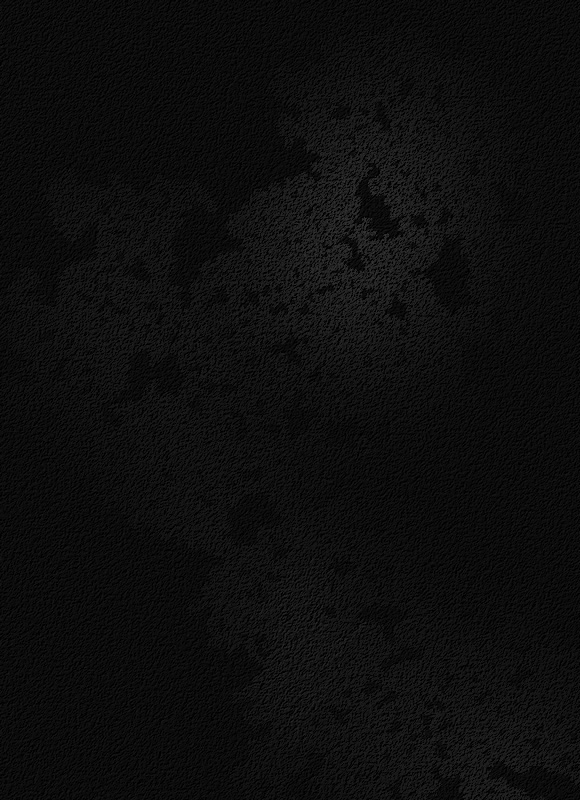 Step 10Repeat Step 9 a few more times with different selections and brighten up selected areas using the dodge tool. 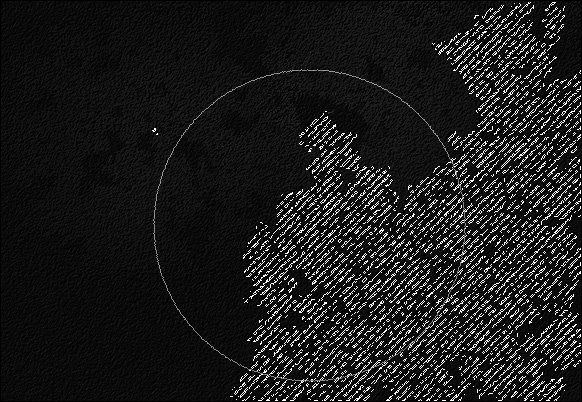 Step 11Now press "T" to select the type tool. Type out whatever text you like. I chose the Planet Kosmos font. 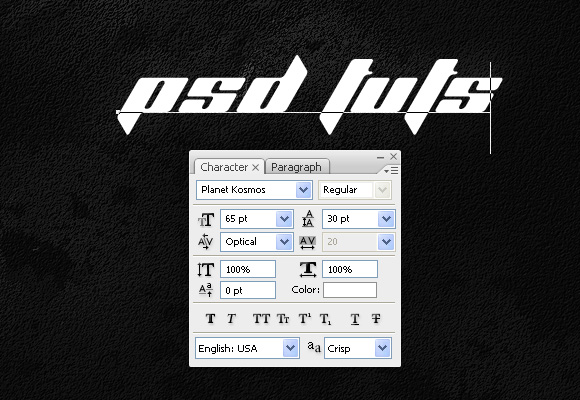 Step 12Go to Layer > Layer Style > Gradient Overlay and apply the settings below. 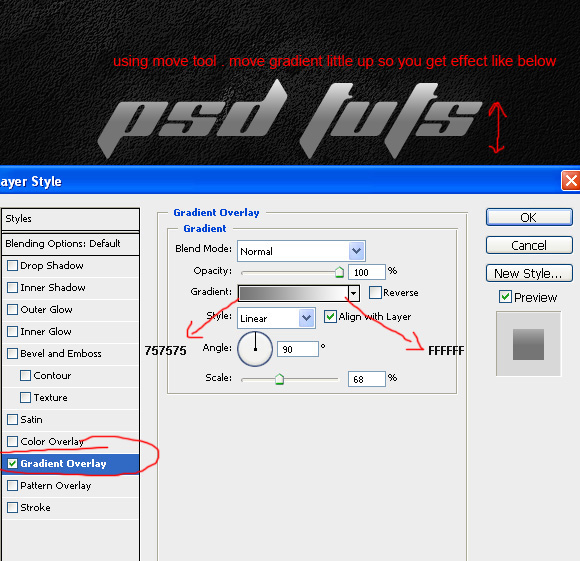 Step 13Add a Layer Style using the following settings. 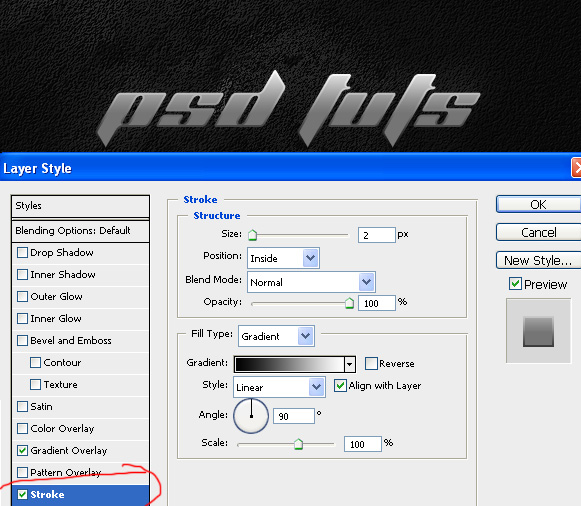 Step 14Download this metallic texture and paste into your document. Then, make a selection of your text. 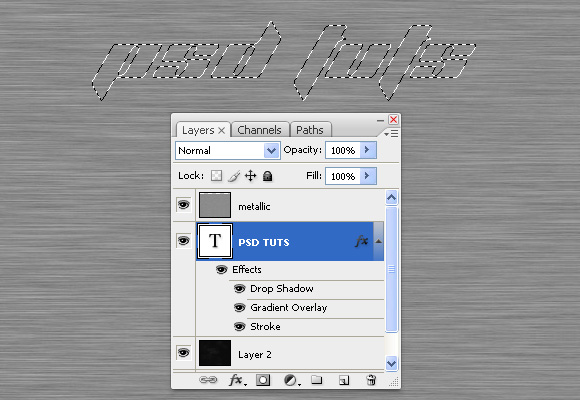 Step 15Press the layer mask icon to add a mask onto the metallic layer and set its mode to overlay and opacity to 70%. That’s it! You are finished! 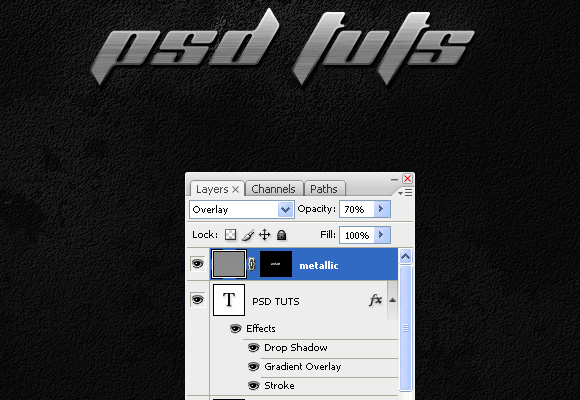 Final ImageTake a look at the final image that we will be creating. 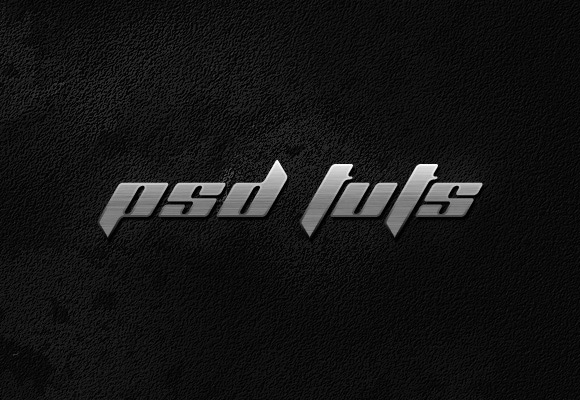
|
| You are subscribed to email updates from Psdtuts+ To stop receiving these emails, you may unsubscribe now. | Email delivery powered by Google |
| Google Inc., 20 West Kinzie, Chicago IL USA 60610 | |
0 comments:
Post a Comment