PSDTUTS Updates |  |

| Quick Tip: Create Your Own Leather Texture Using Filters Posted: 27 May 2010 09:45 AM PDT
In today’s quick tip tutorial we will demonstrate how to create a leather texture from scratch using Photoshop filters.
Step 1Create a new file with a white background. Set the foreground and background color to black and white by pressing D. Click Filter > Texture > Stained Glass.   Step 2Create new layer and fill it with white. Change its opacity to 50%. Repeat previous filter by pressing Cmd + F. If you want tweak the setting use Cmd + Alt + F.    Step 3Press Cmd + E to merge both layers. Click Filter > Noise > Add Noise.  Step 4Press Cmd + A then Cmd + C to copy all to clipboard. Open Channels panel and create new channel. Then Paste (Cmd + V).  Step 5Click RGB channel to return to Background layer. Click Edit > Fill, choose Use: Color and pick your color. You can use any color you want, just make sure it’s dark enough for the next filter.  Step 6Click Filter > Render > Light Effects. In Texture Channel choose Alpha 1.  Step 7The default light is too dark. You need to add more light sources by dragging the lamp icon to the preview box. Set its type to Omni.  Step 8Click OK and the result should look something like below.  Step 9Change the background and foreground color to white and black by pressing D then X. Activate the Gradient Tool, choose radial with white to transparent. Create a new layer and draw a gradient.   Step 10Change opacity to 4%. This will add subtle lighting to the leather.   Step 11The Lighting Effects filter will add a small border to the image (just a few pixels). To remove it, click Image > Canvas Size and reduce the size of the image.  Step 12 (Optional)You can change the color by adding an adjustment layer Hue/Saturation. Check colorize and move sliders until you satisfied with the result.  Final ImageThat’s it. I hope you like the final result and have learned some new techniques from this short quick tip tutorial. 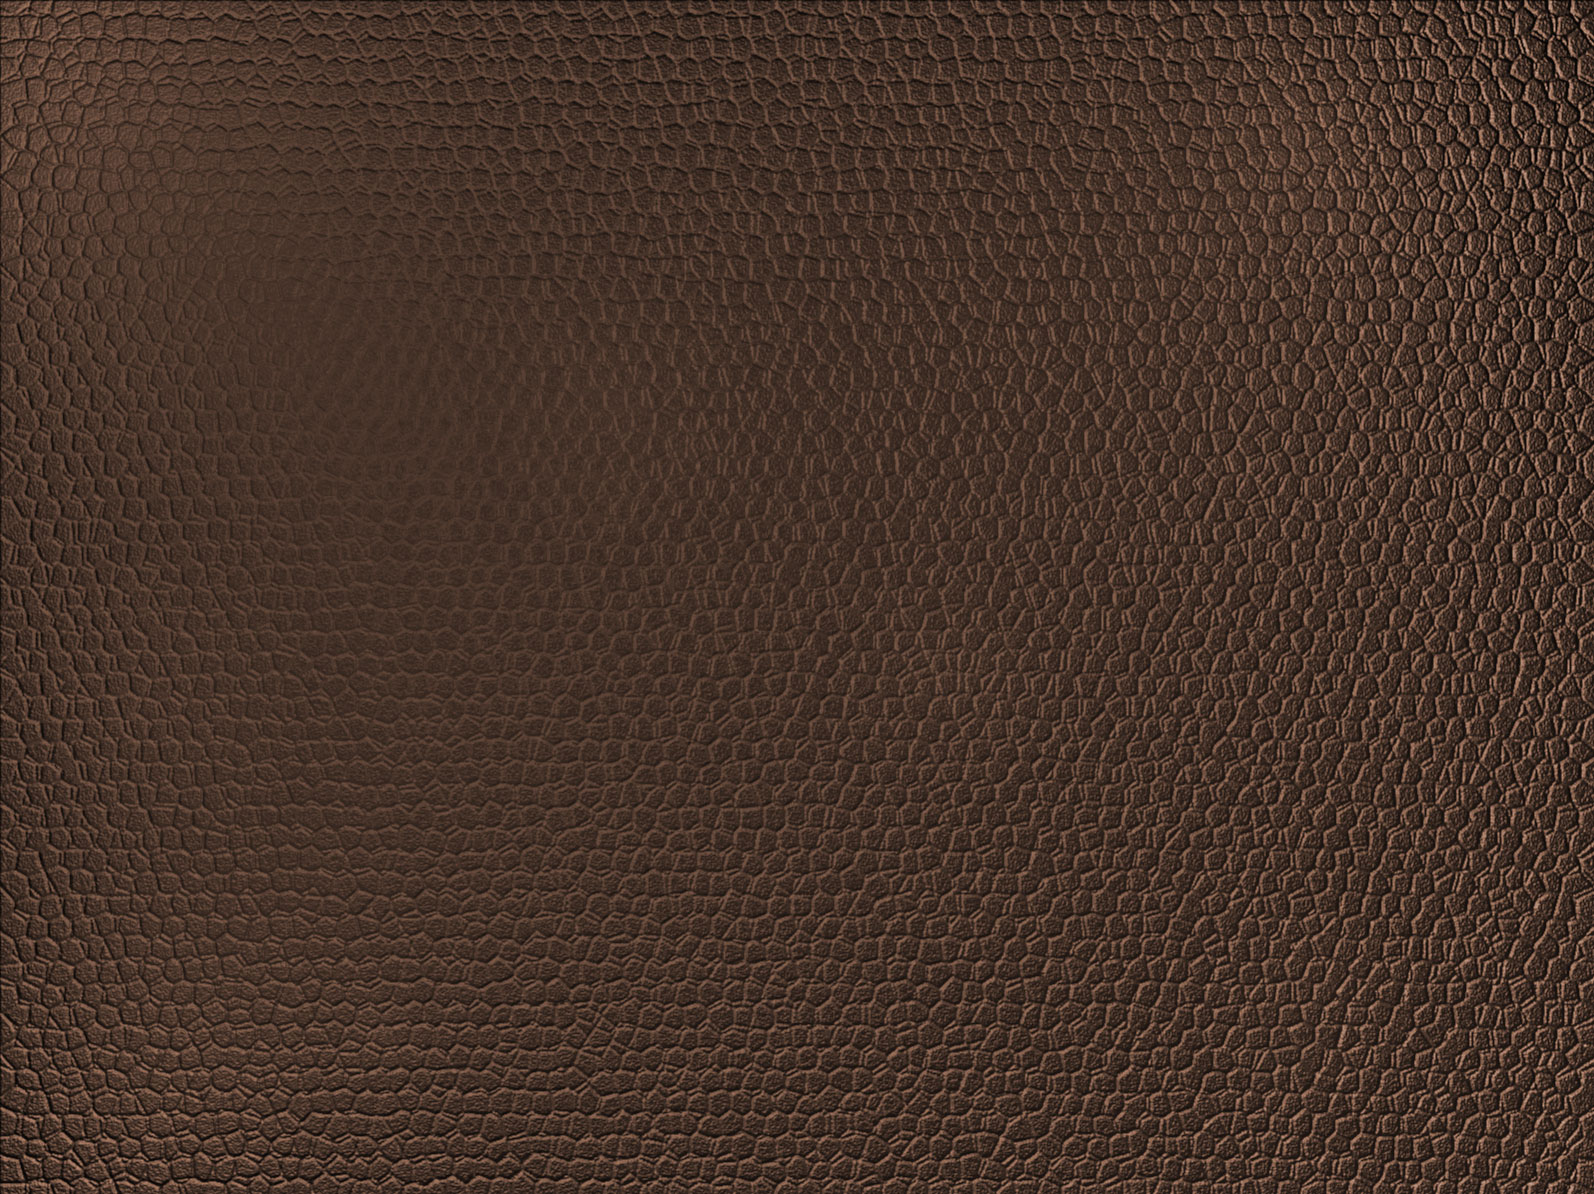 |
| How to Blend Images Together Using Adjustment Layers – Psd Premium Tutorial Posted: 27 May 2010 06:10 AM PDT
Today, we have another Psd Premium tutorial exclusively available to Premium members. If you want to take your photo manipulation skills to the next level, then we have an awesome tutorial for you. Learn more after the jump!
This Premium Tutorial is Filled with Creative TipsIn today’s tutorial you will learn how to blend different images together using adjustment layers and create simple but effective photo realistic illustrations. Professional and Detailed Instructions InsidePremium members can Log in and Download! Otherwise, Join Now! Below are some sample images from this tutorial.     Psd Premium MembershipAs you know, we run a premium membership system here that costs $9 a month (or $22 for 3 months!) which gives members access to the Source files for tutorials as well as periodic extra tutorials, like this one! You’ll also get access to Net Premium and Vector Premium, too. If you’re a Premium member, you can log in and download the tutorial. If you’re not a member, you can of course join today! |
| You are subscribed to email updates from Psdtuts+ To stop receiving these emails, you may unsubscribe now. | Email delivery powered by Google |
| Google Inc., 20 West Kinzie, Chicago IL USA 60610 | |
0 comments:
Post a Comment