1stwebdesigner |

| 50 Hand Picked Fancy and Decorative Fonts Posted: 02 Jun 2010 02:00 PM PDT
1. 101! Cacti
2. Alchemist
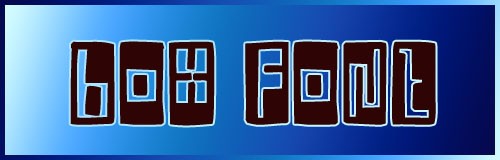
3. Box Font
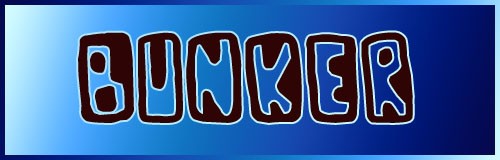
4. Bunker
5. Candy Cane
6. Fish in the bathroom
7. Holy Smokes
8. Horny Devils
9. Hypmotizin
10. In my closet
11. Loopy BRK
12. Maruto Skiing
13. Ridicule
14. Sundays are Boring
15. Swirled
16. Tom
17. Vtks Black. 18. Dutch & Harley
19. VTKS Deja Vu
20. Moon Star
21. Floral Dawn
22. Sabrina
23. Kingthings Willow
24. Floralies
25. Kingthings Pique’n'meex
26. Blossom
27. Kingthings Annex
28. Alien Crop Circles
29. Bend It
30. Boneca de Pano
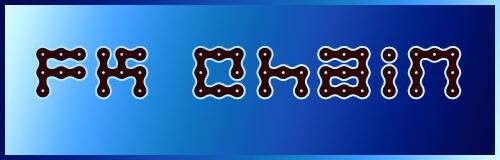
31. FK Chain
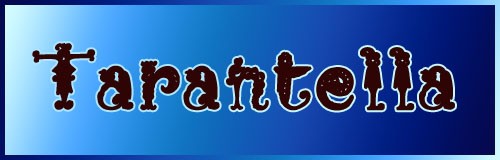
32. Tarantella
33. Blomster
34. Amerika
35. Leafy glade
36. Rothenburg
37. Ogrejuice
38. Arruba
39. Flower
40. Beauregard
41. VTKS Dear Love
42. Flores
43. Gscript
44. Hybrid Hibiscus
45. Dearest Dorothy
46. Nemo
47. Vtks Caps Loco
48. Santas Big Secret
49. Gypsy Rose
50. Hannah
|
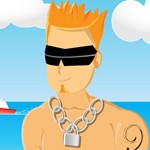
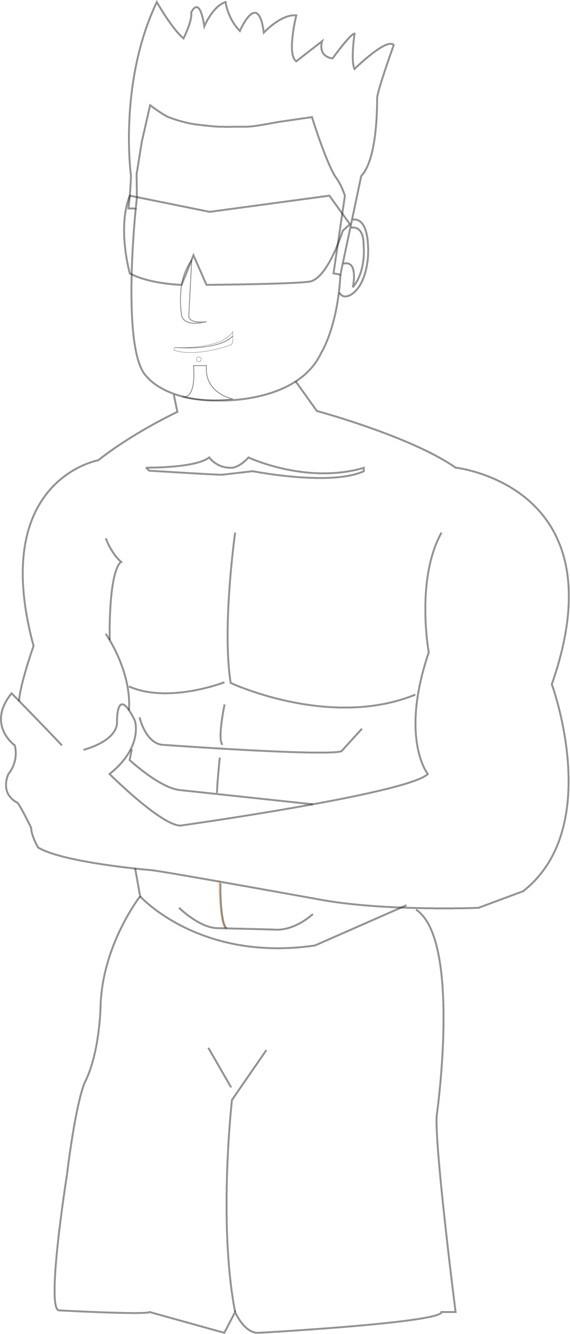
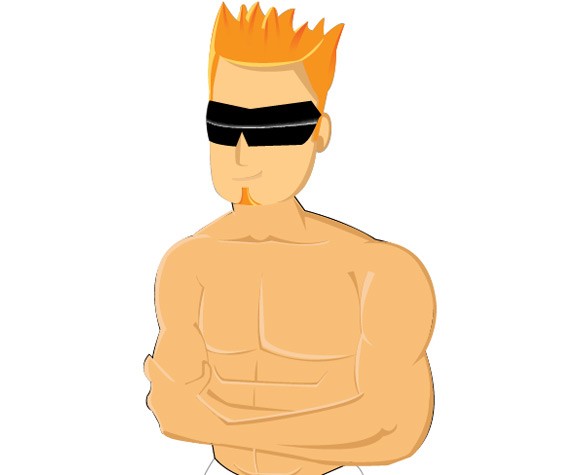
| How to Create a Beach Boy in Illustrator (Very Detailed) Posted: 02 Jun 2010 03:00 AM PDT
You can also download the source file here. Step 1Open your Adobe Illustrator. Create a new document with height 600 px and width 700 px. Step 2Open your sketch file in Adobe Illustrator. Hint: Open… > select your file and click Open. Create a new layer above the sketch picture layer, name it as hair.
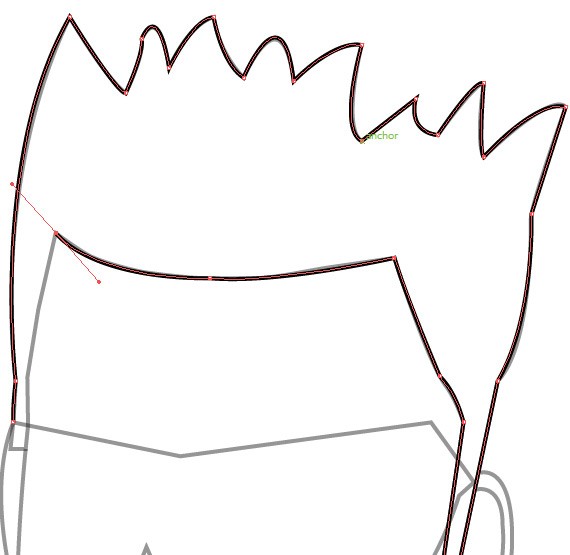
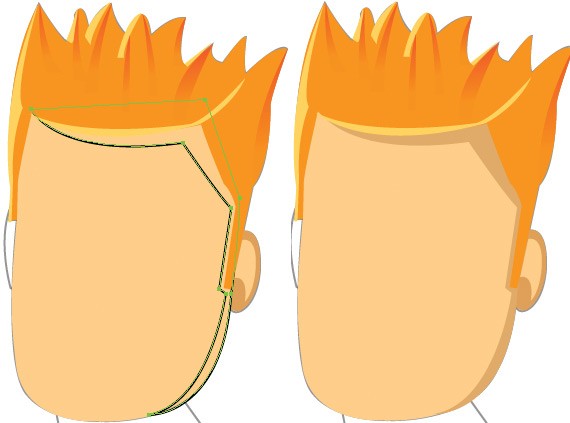
Step 3Now We are going to paint the solid colors for each parts, We will try to draw each part of the body and color them with corresponding colors. Ok, now start from hair. Take pen tool(P) with no fill color. Draw borders of the hair.
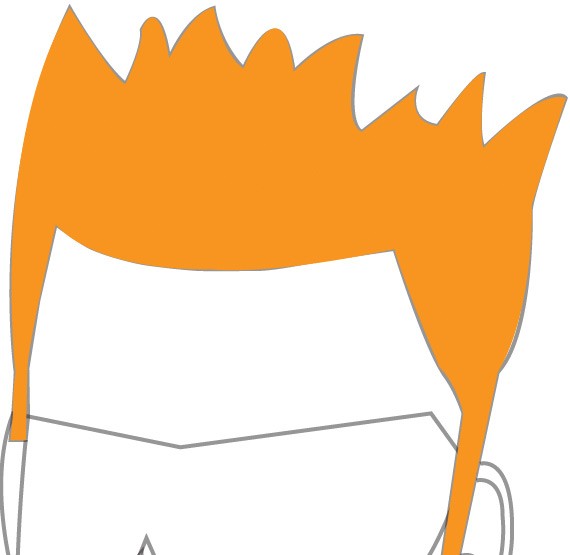
Step 4Once you drawn borders fill this objective with color #F7941E, after that you delete borders. Hint: just select none for stroke color.
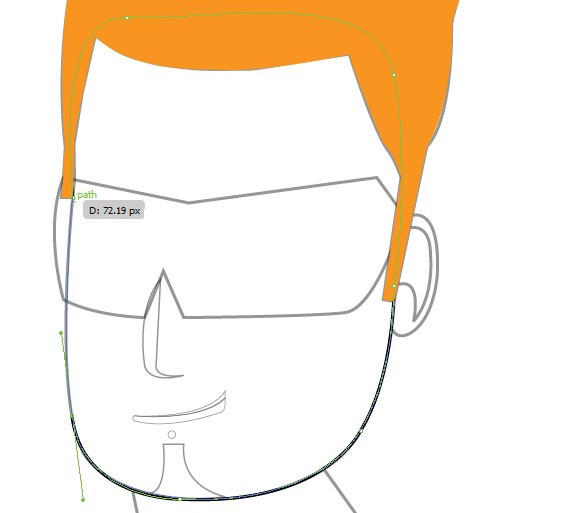
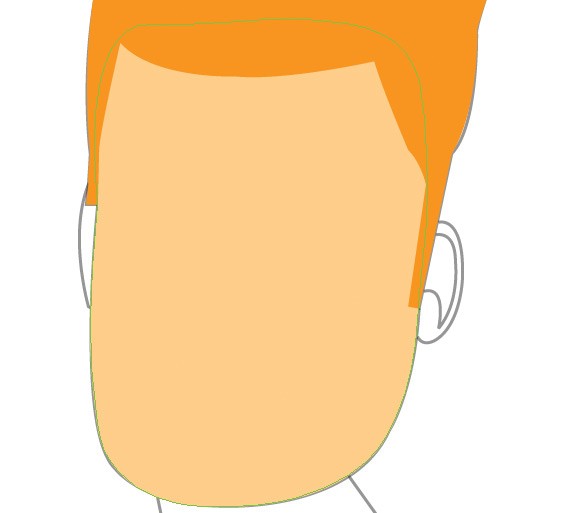
Step 5Now we will move to face. Create new layer call face which should be under of the hair layer. (No need to create new layer for every objects, this is just for our convenience) Then draw the borders of the face and fill with color #FECD8A. Once you filled you may delete border color. That is better.
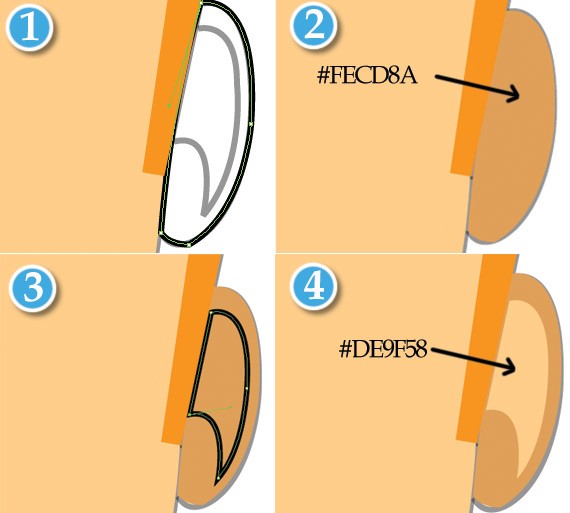
Step 6Next draw ear and color with same color #FECD8A. Delete border. (In here delete means select none for stroke color). You may follow the same technique which we used pervious steps.
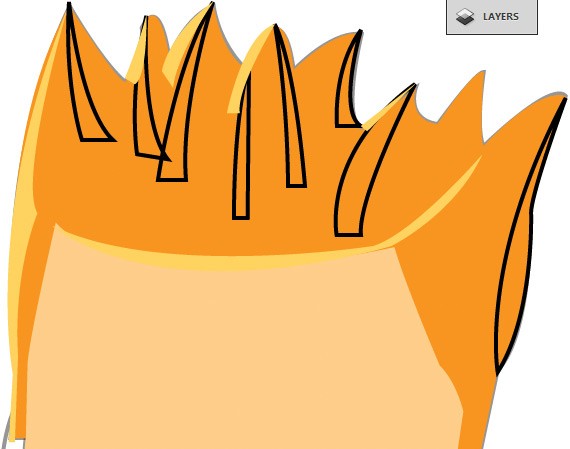
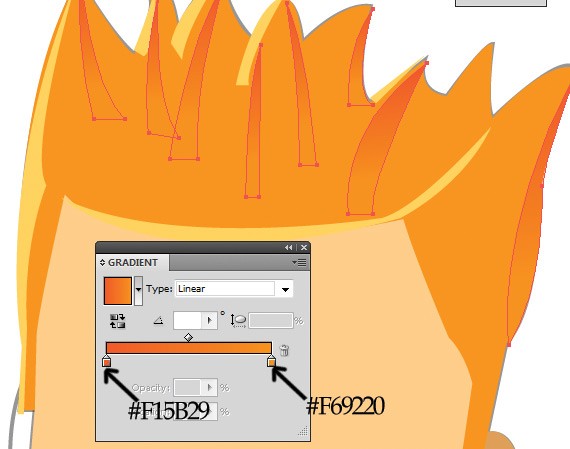
Step 7Now before moving to body shall we add some details to hair and face? Ok go to hair layer and start paint as i illustrated below. Draw some shapes and color with dark and light colors. For light color i used #FFD25F
Step 8For rest of object we will use Gradient Tool (G). Select those options as below. After that color rest objects.
Step 9Go to face layer and draw an object as below and fill with #E0AA69. this would be kind of shadow.
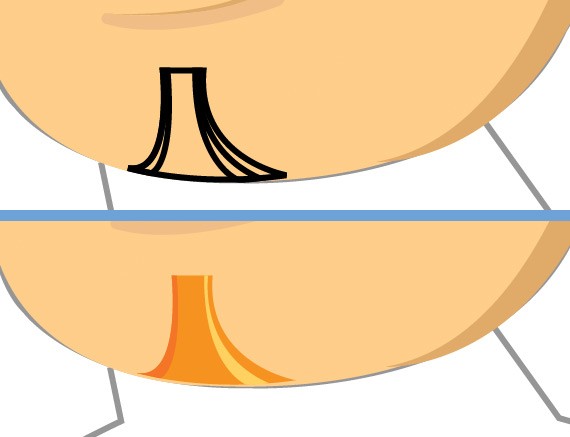
Step 10Ok now Hide face object in the face layer for a moment. We will draw nose and mouth.
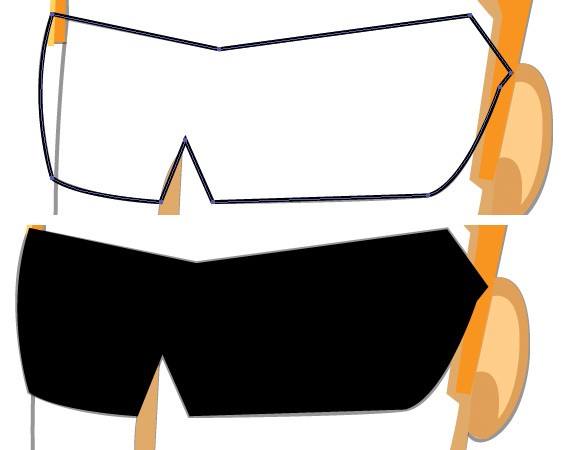
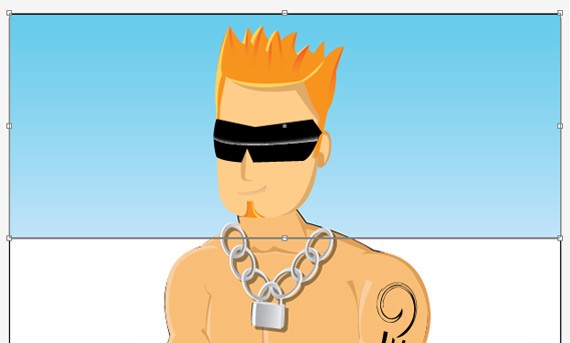
Step 11Create a new layer, rename it as sunglass. Ok start drawing sunglass and fill it with black color
Step 12Ok now We want to give a shining effect to sunglass, to do that we use Gradient mesh tool (). First draw a rectangle on the sunglass and choose Gradient Mesh Tool from tool window and click center of the rectangle. After this select downside of 3 points and color with white color. See the illustration below.
Step 13Go to face layer and draw beard. We use the same color which is used to color hair.
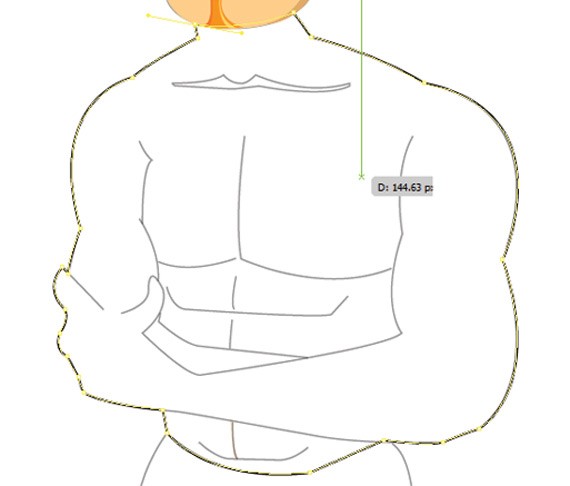
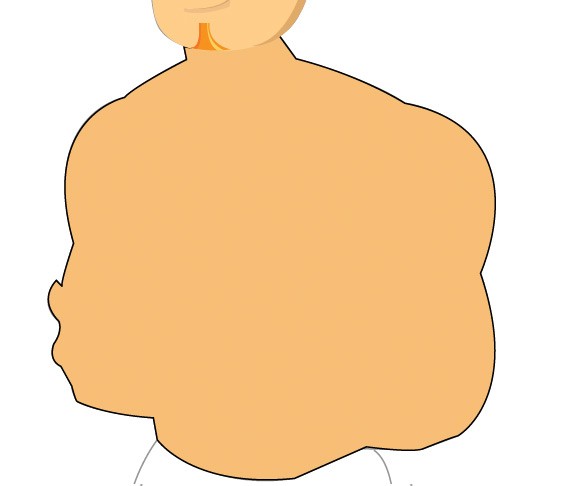
Step 14Now we are going to color his body. Create new layer, rename it as body and place it under the face layer. Ok draw border of his body including hands and all. We can draw hands later. Color that body with #F8BE77
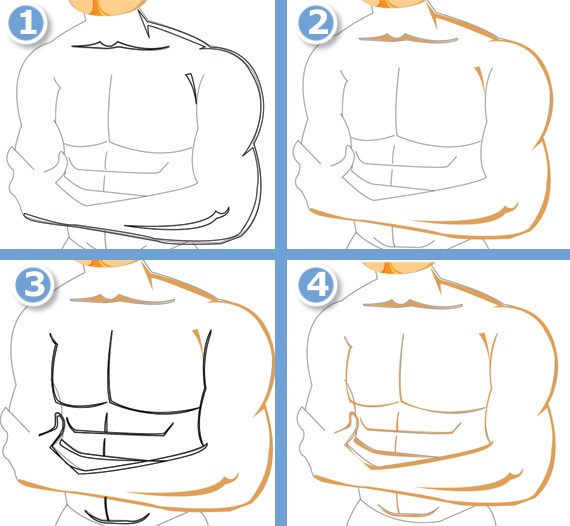
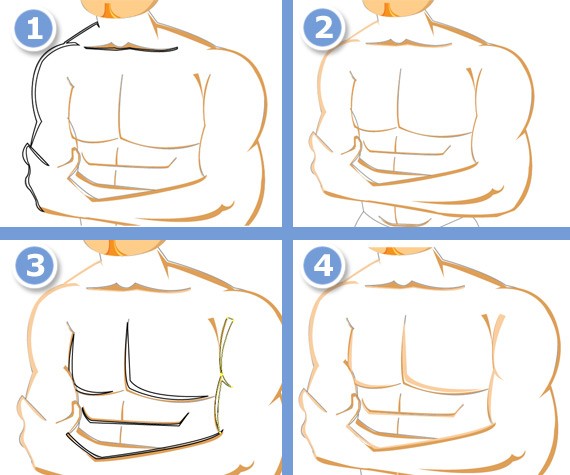
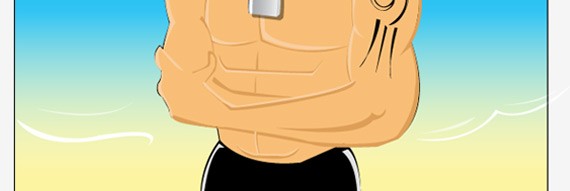
Step 15Now we need to draw other parts of the body such as chest and hands. Therefore hide body object in the body layer for a while and start drawing those parts. First we start from dark color, and then go to light color to show the 3D effect. This is the way that i follow. But you can choose light to dark. Ok lets draw. For dark brown color is used #DE9F58
Step 16Ok now lets start to make shining in body. That is very much simple friends. We follow the same technique which we used previous steps. Just draw objects and color them with #F9CEA0
Once you finished the above step you can disable hide option to show background body color. So your picture might be like this.
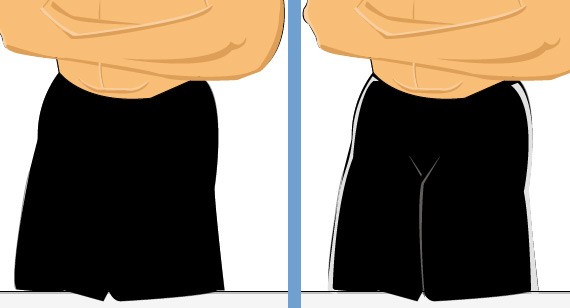
Step 17Our next step is draw and paint shorts. Create new layer and name it as short. After that draw borders of the short, and fill with black color.
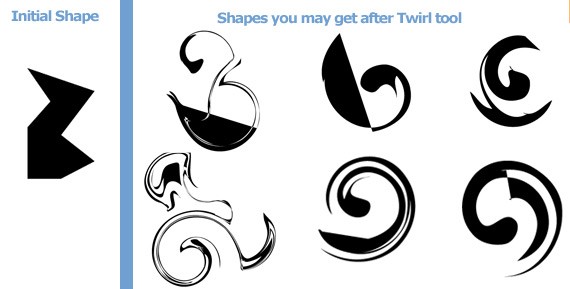
Step 18Ok friends, Now we need to give tattoo and chain. That is simple. Create new layer which must be top of all other layers, name it as gallery. Create a random shape and select Twirl tool from Tool window, this tool is hidden under the Wrap Tool (Shift+R). Now press and hold on the random shape that you have just created. You will end up with different shapes.
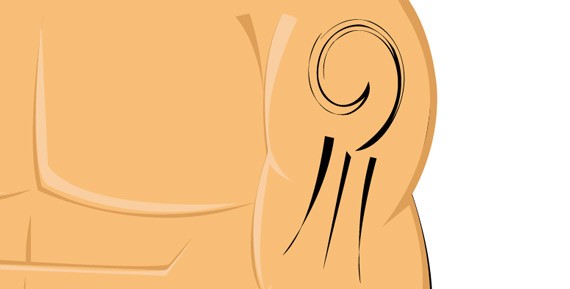
Choose a shape as tattoo and place this on his shoulder. Of course you can draw some more shapes to add beauty.
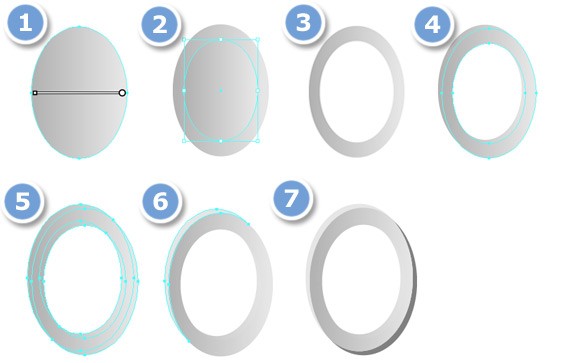
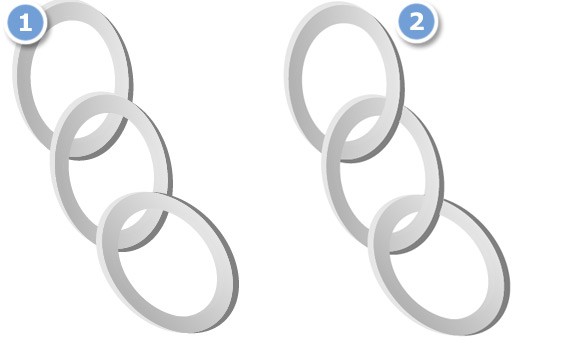
Step 19Ok lets draw chain.
1. First you need to draw an oval shape and color with Gradient tool. 2. Copy the oval, paste over there and reduce the size of oval. Select both ovals and click on Trim which is found in Pathfinder window. 3. Then select Direct Selection Tool(A) and delete the small oval. 4. Again copy the oval and paste over there, move just a bit as i illustrated above 5. Select both objects and click on Trim again. 6. Select upper side of the object with Direct Selection Tool and color with a light ash color 7. Select down side of the object with Direct Selection Tool and color with a dark ash color Step 20Copy 3times that object we have just created previous step, arrange them as a chain and delete some parts to make it real.
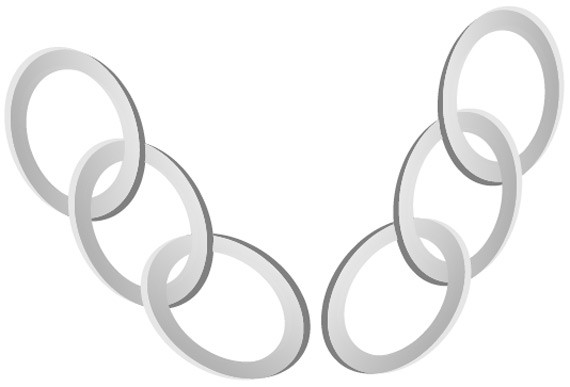
Step 21Select those three ovals, copy, paste and then change their side
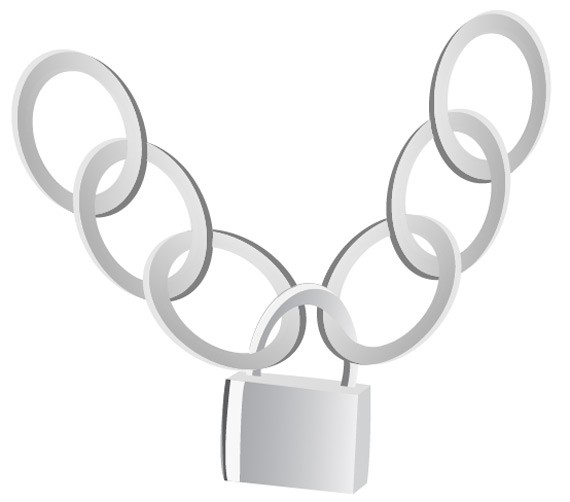
Step 22Draw a lock like this.
Step 22Color this lock and then place this lock to chain and erase unnecessary parts to make it really connected.
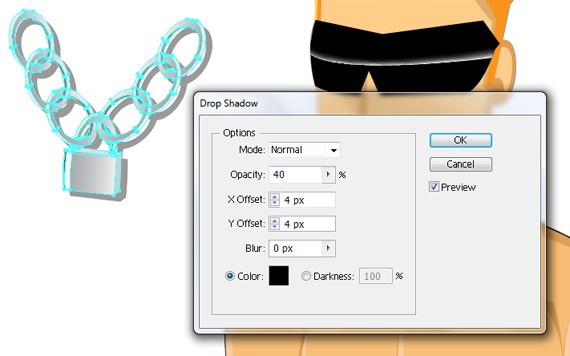
step 23Select the chain as a whole and group them, have a copy of that. Now place that in his neck. Go to Effect > Stylize > Drop Shadow…
Step 24Place the chain on his neck.
Step 25Ok, now We need to draw background. Create a new layer above the sketch layer. called background. First we draw sky. That is simple. Draw rectangle and color with Gradient Tool.
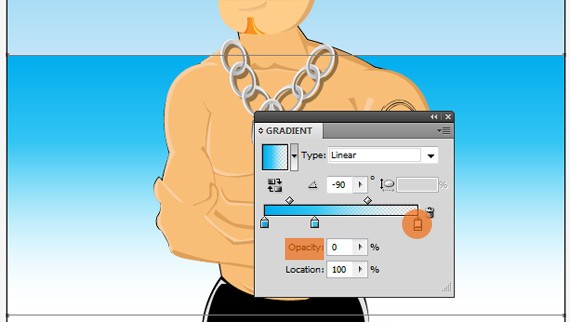
Step 26Then draw sea and sand. When you draw sea consider the following options in Gradient window. Then draw sand as well.
Step 27Draw some objects to show border of the sea.
Step 28Draw Clouds. You can draw many circles, unit them into one and color with Gradient Tool.
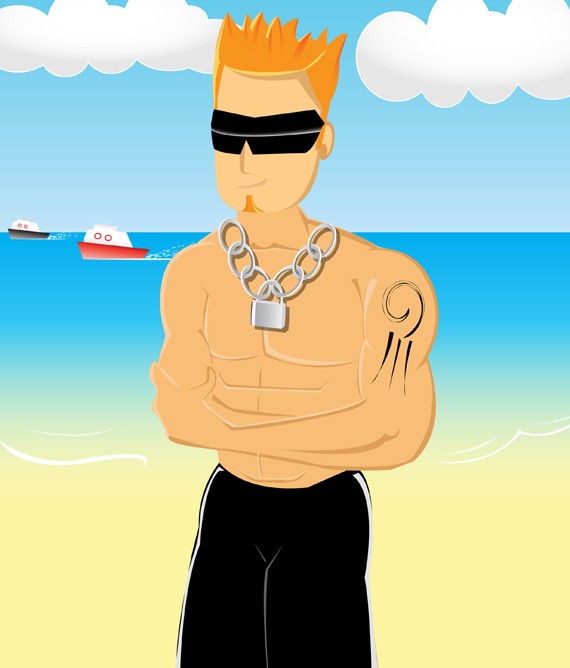
Step 30Ok, Now draw some ships in sea. Ok draw a picture like a boat and color with Gradient Tool
1. Draw a chip just like this 2. Color bottom part of the boat with red and white 3. Color to glass and window 4. Color other parts and water 5. Delete borders of the boat and give an effect of water 6. Clone this boat and have some changes to the cloned boat. That’s All!The final image is created. I hope you enjoyed this tutorial. Thank you for watching.
Got Stuck at some step? Feel free to comment and we will try our best to help you out.:) |


| You are subscribed to email updates from Graphic and Web Design Blog To stop receiving these emails, you may unsubscribe now. | Email delivery powered by Google |
| Google Inc., 20 West Kinzie, Chicago IL USA 60610 | |
0 comments:
Post a Comment