PSDTUTS Updates |  |

| Quick Tip: Create a Bas Relief Effect With Photoshop’s 3D Tools Posted: 08 Jun 2010 09:30 AM PDT
Hello everyone! In today’s quick tip tutorial I will demonstrate how to create a really nice bas relief effect using a texture, any picture, and Photoshop’s 3D tools. Let’s get started!
Resources UsedThe following resources were used in the production of this tutorial: Step 1Create a New Document in any size you want, in this case mine is 1024 x 968 px at 72dpi, RGB. Fill the Background with any dark color (Black #000000 in this case) and create a new layer above it named "Plane", then fill this layer with another lighter color, like 50% gray.  Step 2Select the "Plane" layer and go to 3D > Plane. This action will create a 3D Layer with the gray background as Diffuse texture.  Step 3Select the "Plane" 3D layer and show the 3D Tools panel (Window > 3D). Select the Scene object and under Global Ambient Color set this one: #FFFFFF (White). You can change Anti-Alias to Best for a better rendering.  Step 4Double click at the "Diffuse" Texture on the Layers Panel. A New window will appear showing the texture’s layers, then open the "Wood Texture", select it, copy it on the clipboard and paste it to the texture file into a new layer. Save the texture file and go back to your main document, you’ll see the texture applied to the "Plane" layer.  Step 5Click on the "Materials" Button on the 3D panel, then, next to the Bump Strength box, click on the tiny button next to it and select New Texture. Make the size of the new Texture layer exactly the same than your document (1024 x 768 px) and hit OK to commit.  Step 6Double Click on the brand new "Bump" texture layer created in the previous step and just like the diffuse texture, a new window will appear. On this new document paste the "Lion Statue" picture into a new layer, you can do further editing here such as removing the white borders but it’s optional since it has white background as well as the document background. Finally using the Hue/Saturation panel (Command + U) lower the saturation to -100 (you can use any other technique to make it 100% grayscale) and save it.  Step 7As an additional detail I’m using a swirl brush to paint details around the Bump texture, remember to always use a gray color for best results. Save the texture document, close it and go back to the main document, and you’ll see the bump texture applied.  Step 8Using the 3D transformation tools, rotate the layer a little bit (if you have doubts on how to use the 3D tools take a look at my Basic Guide to Photoshop’s 3D Tools). Then, on the Bump Strength box, change the value from 1 to 5 (this is very important, if you want more strength on the effect try with a larger number), and set both Glossiness and Shininess to 0% to remove undesired reflections.  Step 9If you would like to try something different, change the Diffuse Texture (Double click on the Diffuse texture on layers panel) and on the texture file, add a new layer with another texture, in this case a brushed metal. After that, save the texture layer and you’ll see the bas relief effect applied to this new texture. You can also change the Glossiness and Shininess values on the material to add some reflections.  ConclusionReally simple right? You can also try this effect with different materials and images. .  |
| Running Like Clockwork: Steampunk Art to Inspire You Posted: 08 Jun 2010 06:05 AM PDT
The Steampunk style has been a part of fantasy and science fiction artwork and literature for a few years now. Some proponents insist on keeping it entirely science-based, while others like to throw in healthy doses of fantasy. The question they all seem to be asking, though, is "what if X ran on steam?" X can be anything from computers to cars to personal jetpacks. Working prototypes of steampunk-esque machines have even been made (and used). It’s an entire subculture, defined by a propensity toward Victorian aesthetics, practicality, and steam-powered anything. Below are 80 fantastic steampunk artworks to get your gears turning and start you on your way to designing your own steampunk creations.
Steampunk by PReilly Steampunk by Sumerky Steampunk Dragon by Kerembeyit SteamPunk Octopus by Raybender Steampunk Concept by Lebbeus Steampunk Thumbelina by Hakubaikou Steampunk Airship Pilot by Homarusrex Oriental Steampunk by Superspacemonkey Steampunk Mech I by likaspapaya A Steampunk Fairytale Detail by Frankhong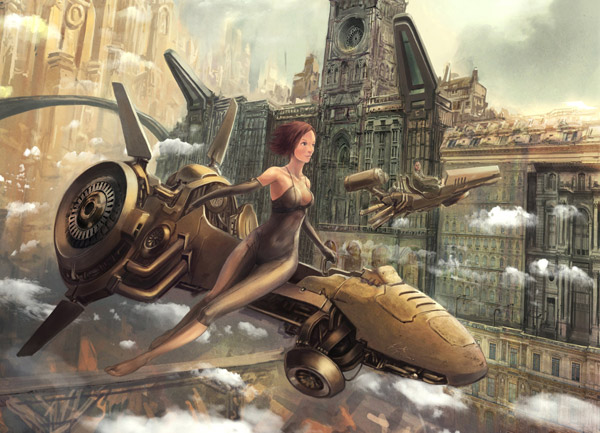 Steampunk Fairytale by AkaiSoul Escape This Steampunk City by Ftourini Steampunk Santa by CyborgNecromancer Steampunk Fairytale by Daniel-Velez Steampunk Odysseus N’ Cyclops by Chrislazzer Steampunk Lincoln by Herrenmedia Steampunk Concept by Justaman78 Steampunk Darth Vader by Simjoy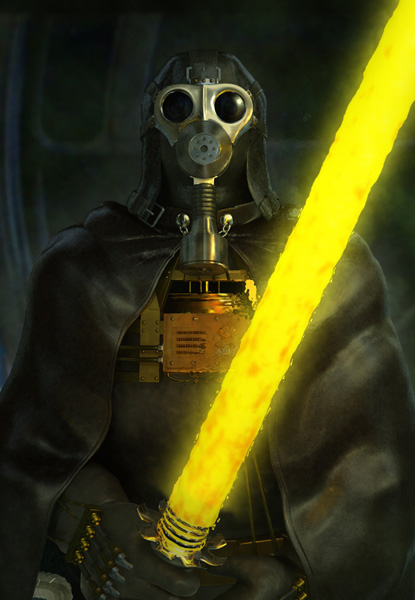 Steampunk Penguin Professor by Einen 2091, Rome: Steampunk Day by Leox92 Steampunk Mad Hatter by Crashingwave Steampunk Ship: Brassheart by Industrial-Fores Steampunk Airship by KMiklas Steampunk Paddle Duck by Ivy00 Steampunk Bot Design by Ahbiasaaja Steampunk Fairytale Goldylocks by Lavah The Kid’s Last Heist by imaginism Steampunk Robot Concept 2 by Emze Steampunk Mandalorian by Vinom11 Little Red Steampunk Hood by Leevitron Steampunk City by Activateru Steampunk Nicolai and Viktor by YoshiyukiKatana IDotW089 – Steampunk Explorer by Legato895 Big Sir – Steampunk Robot by Herrenmedia Steampunk Japan Hi Rez by Phishy HiddenYume Steampunk by Rickbw1 Steampunk Oil Rig by ZackF Steampunk Challenge: Sirens by Arenyth Bounty Hunter by Nibilondiel Steampunk Bike by VOLT-reborn Steampunk Professor Penguin by Mirana Steampunk Professor Penguin by Bendragonx Steampunk Private Investigator by DevBurmak Steampunk Guitarist by Dreamstone Steampunk Character WIP 3 by Craig-bruyn Steampunk Monster by Glaaarg Steampunk Diner-Fin by Krad-Eelav Gunslinger by Nibilondiel Steampunk Melissa by TehTortle Noah’s Ark by Loboto Steampunk Chef Wilgam by Lycorisu Steampunk Motorcycle by Klortho Steampunk Airship by TheOneWithout-a-Gun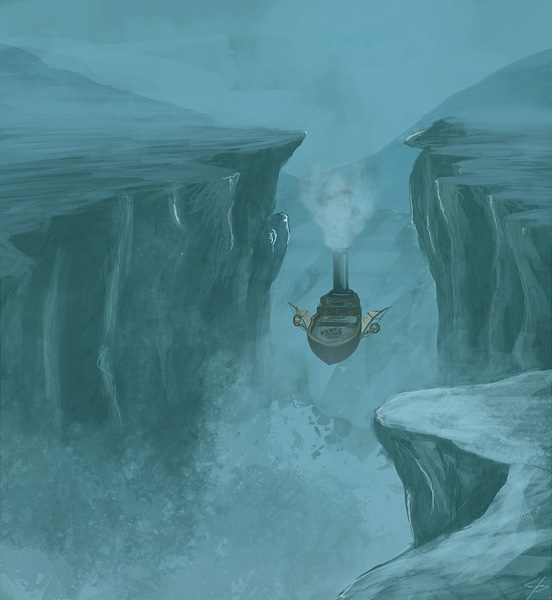 Hammer Time by Yigitkoroglu Steamy Robot Love by Ekuneshiel P.N.Caster – Airship Provisioner by Ghostfire Gunner by Hunterkiller Storm Slayer – Steam Golem by Zeo-x Control Room WIP by Malaveldt Locomotive by Likaspapaya LuftFlotte by Remton Mechanoid de Nuevo by Dian3 Alice in Steampunkland by Strayedclimaca The Smugglers by Ultra0kelvin Steampunk Teatime by CyborgNecromancer Harbour by JohnMalcolm1970 Vol Hivernal by Remton SteamPunk Dalek Coloring by Mulddyr Armada by Remton 30th by Voxmortem Strange Island by Raybender And You Are? by Xpsam Hero Canal, London by Fitzhywel Burn it to the Ground by BlueRogueVyse Airship Pilot by Hakubaikou Steampunk City by 0800 Sybera by Remton City in the Clouds by ApneicMonkey Steampunk City by Kekel A Novel Not Yet Written by Vermin-Star Steampunk TutorialsHere are a handful of tutorials for creating your own steampunk-esque artworks. Make A Steampunk Gear Using Photoshop Patterns and Effects – A tutorial that covers how to create realistic-looking gears in Photoshop by combining patterns with effects like Bevel and Emboss and Drop Shadows. How to Create a Steampunk Style Illustration in Photoshop – A tutorial for creating a steampunk-esque photomanipulation. Create a Dark Steampunk Digital Painting – A fantastic digital painting tutorial from ForCG. 20 Steps to Create a Steampunk Cyborg in Photoshop – Another photomanipulation tutorial. Create a Steam Powered Typography Treatment – A Psdtuts+ tutorial for creating steampunk-inspired type. |
| You are subscribed to email updates from Psdtuts+ To stop receiving these emails, you may unsubscribe now. | Email delivery powered by Google |
| Google Inc., 20 West Kinzie, Chicago IL USA 60610 | |
0 comments:
Post a Comment