PSDTUTS Updates |  |

| Quick Tip: Colorize a Comic Strip With Photoshop Posted: 15 Jun 2010 09:35 AM PDT
Converting a rough sketch into a polished piece of digital art might not be as hard as you think. In today’s quick tip tutorial we will demonstrate how to import a sketch into Photoshop and color it! Let’s get started!
Step 1The first step is to sketch out your idea. You can sketch your idea to paper or you can draw directly in Photoshop. 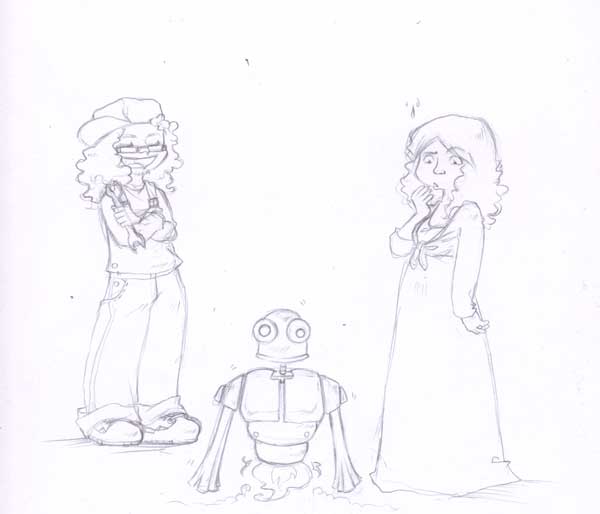 Step 2Once you have completed your sketch, you now need to ink your drawing. In this step you will need to trace over your lines with a nice black or dark blue pen and erase your pencil lines. You want to do this so you have clean lines that you can use to color your artwork later on. 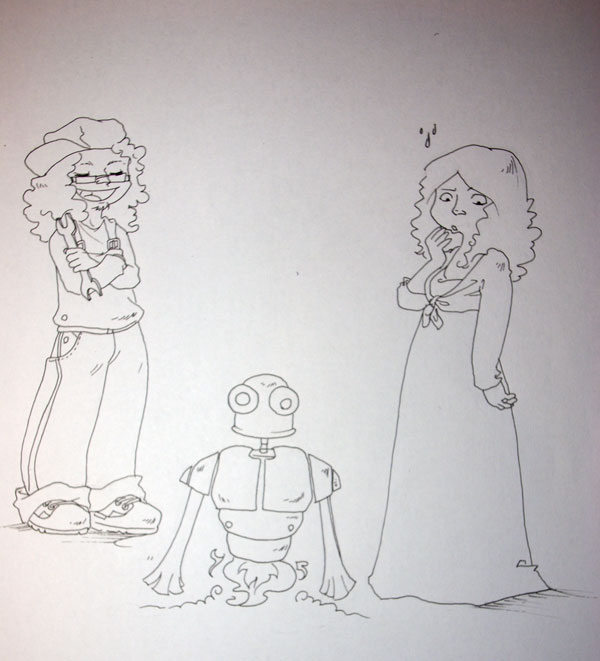 Step 3Now scan your artwork into Photoshop. Scan it in at 300 dpi, RGB, TIFF or JPG in grayscale if possible. 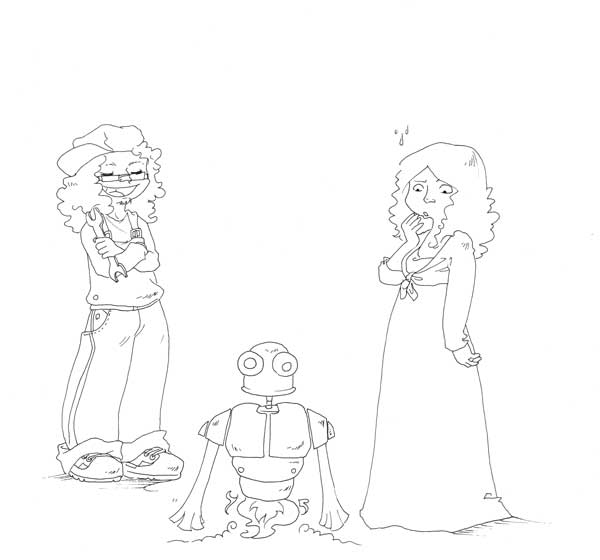 Step 4Once you have imported your sketch into Photoshop, crop it (if necessary), desaturate it (Image > Adjustments > Desaturate) and open the Levels panel (Image > Adjustments > Levels) and adjust it as shown. The key here is to increase the amount of contrast and remove any unnecessary artifacts. You may also need to zoom in and erase any dust or specs left over from the scan. This is also a great place to clean up any of the line work. Use a black brush to do this. 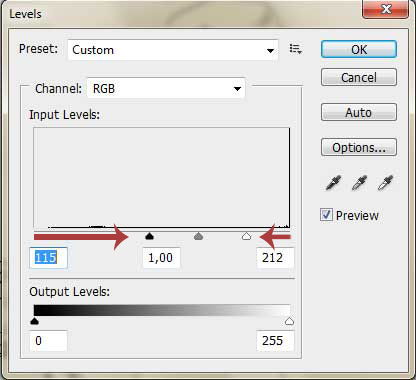 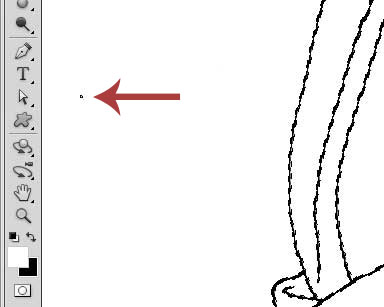 Now let’s organize our layers. What we will do in this step is place the scanned artwork at the top of our layer stack, lock it, and set its blending mode to multiply. This will allow us to color the layers below it without having to extract it from the white background. Finally, organize your layers as shown below. Your layer stack may not look identical. The key here it to organize your layers so you can find them later on. 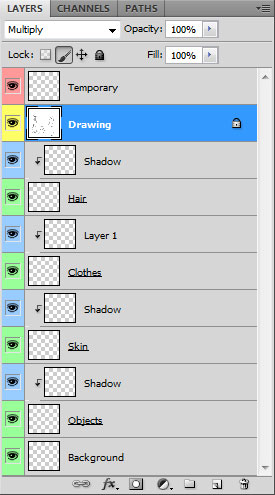 Step 5Now we can start to add color to our artwork. Select a hard brush and zoom in to a comfortable magnification. Start brushing in color where necessary but be careful not to color outside of the lines. Keep your keyboard handy so you can quickly flip between the Brush (B), Eraser (E), and Hand Tools (Space Bar). A tablet will seriously help you color your artwork; so if you have one, use it. 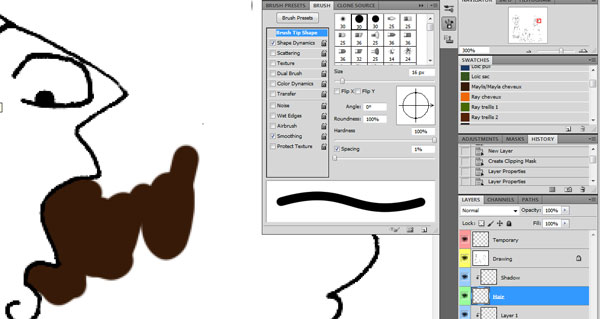 Feel free to use the magic wand tool to select and fill large areas. To do this, select the Magic Wand Tool (W) in Continuous Mode, Tolerance set to 100, with the Sample All Layers selected. Click inside the area you want to fill and then click Select > Modify > Expand and choose 1, 2 or 3 pixels, depending on the thickness of the pen you used. Now select Edit > Fill and choose the color you want. The image below shows the selection in mask mode (in red). Note : don’t use Fill in mask mode, because it will select the whole picture instead of colorizing the selection.  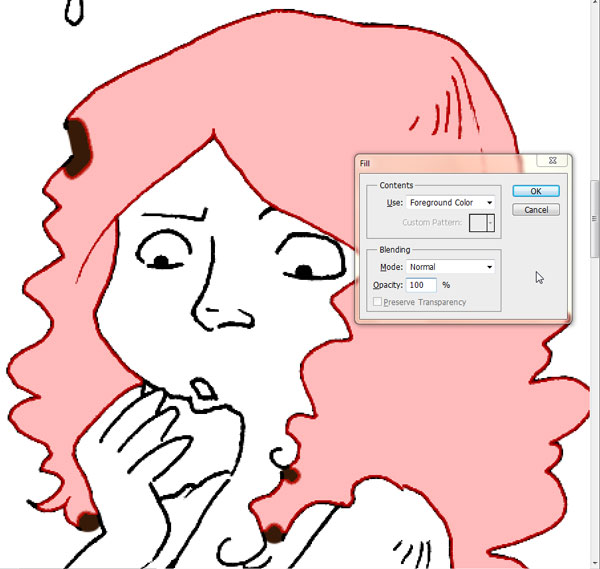 Step 6Now add some text to your artwork if necessary. Feel free to draw in some nice speech balloons. I used the Manuscript Font below. 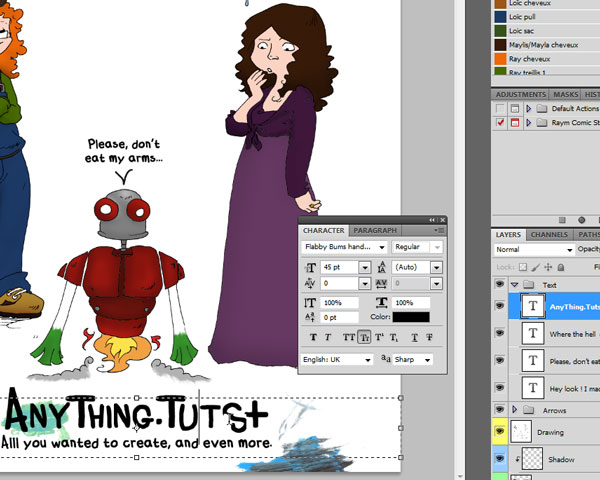 Step 7You can add some shadows and highlights to your artwork in this step. Shadows and Highlights can be tough to master so feel free to experiment here. There are several ways to produce shadows and highlights. The Pen Tool may be useful if you want to produce a hard shadow or highlight. A Soft brush on the other hand will produce a nice soft lighting. Use clipping masks with their blending modes set to multiply or screen to produce a nice, non-destructive effect. 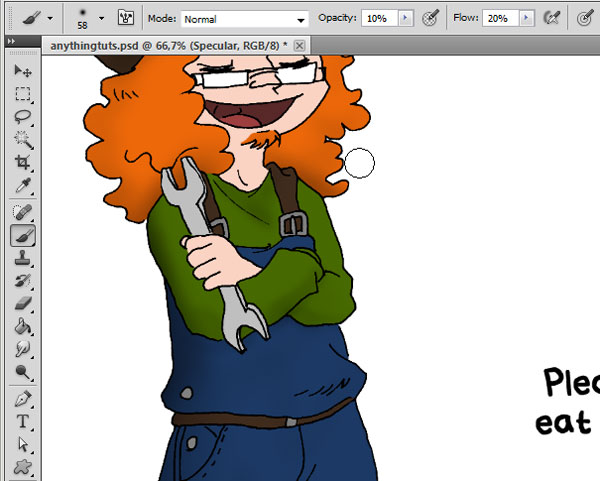 Final ImageTake a look at the final image below. 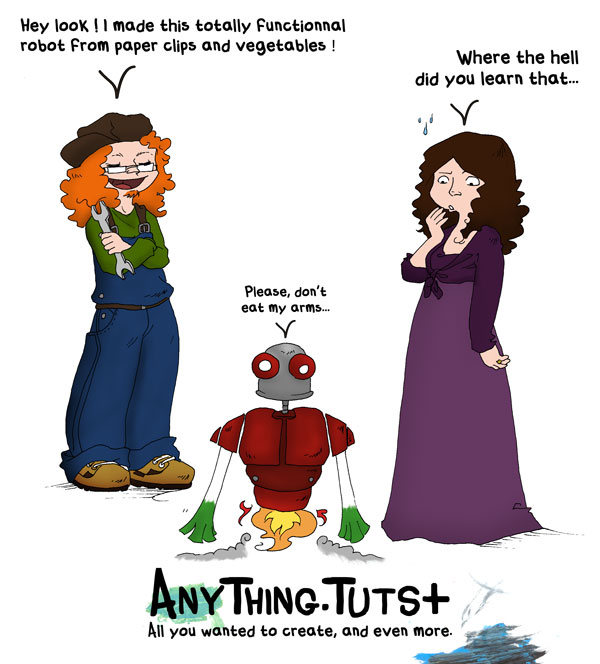 Time Saving TechniquesYou can save time by using some of the shortcuts listed below.
Enhance The WorkspaceKeeping the swatches palette open while you color is always useful. Especially if you are coloring a series of comics and want to have some standard colors for the skin and clothing. The navigation panel is also helpful, as it will allow you to adjust the magnification and pan throughout your artwork on the fly.  Use ActionsActions are also quite helpful if you find yourself repeating the same processes over and over again. Plus Members will find a set of actions included in their download as an example. Descriptions of these actions are below. 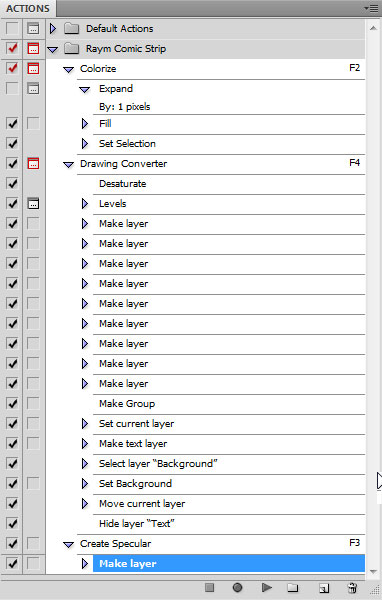 The Colorize Converter ActionThis action will expand a selection by 1 pixel, fill it with the foreground color and deselect it. To perform this action, simply select an area to fill and press play. The Drawing Converter ActionThis action will clean up your artwork as demonstrated in Step 4 and also automatically produce your color layers. All you need to do is import your artwork into Photoshop and activate the action. The Create Specular ActionSpecular light is the reflection of the light by an object. In colorization, it means that this is the brightness point of the object. Because I don’t put a Specular Light Layer on every layer, I created an action that allows that. Just by pressing the F3 key, this Action creates a new Specular layer, makes it a Clipping Mask, and put it in Overlay Mode. Then, you can just take a white brush to draw your specular lights. ConclusionColoring artwork can be easy and fun. I hope you learned something new in this tutorial and I look forward to writing some more. If you want some more tips about preparing line work for color check out this great tutorial Preparing Line Drawings for Coloring in Photoshop. |
| From the Silver Screen to Your Computer: Movie Fan Art to Inspire You Posted: 15 Jun 2010 06:00 AM PDT
Movies, as we all know, are a huge part of almost everyone’s life. Whether you hate them or love them, movie posters, cover art, and trailers can be found just about everywhere. As designers, we take frequently take inspiration from the movies we see. Today we have a wonderful collection of eighty superb pieces of movie fan-art. We’d love to know which are your favorites. Let us know in the comments!
A Clockwork OrangeA Clockwork Orange A Clockwork Tattoo A Clockwork Orange Closeup AlienAlien Queen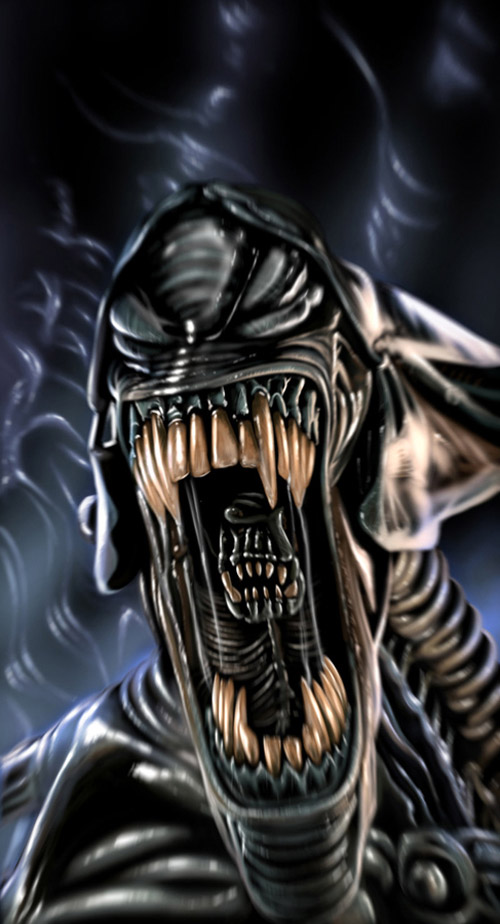 Alien Front Alien Queen AvatarAvatarAvatarAvatarAvatarBatmanBatman Batman Batman Dawn of the DeadDawn of the Dead Dawn of the Dead Donnie DarkoDonnie Darko Donnie Darko: Colegio Donnie Darko GladiatorGladiator Gladiator Gladiator The GodfatherGodfather The Godfather The Godfather The Green MileThe Green Mile The Green Mile Mr Jingles Harry PotterHarry Potter: Nostalgia Harry Potter Harry Potter: Hermione Harry Potter Kill BillKill Bill A Bill To Kill Kill Bill: Gogo Yubari Kill Bill: The Bride King KongKing Kong King Kong vs. Spinosuchosaurus King Kong Lord of the RingsLord of the Rings: The King Lord of the Rings The Lord of the Rings Lord of the Rings: Ringwar The MatrixThe Matrix Matrix The Matrix Reloaded Pirates of the CaribbeanAt Worlds End Pirates of the Caribbean Pirates of the Caribbean Pirates of the Caribbean PredatorPredator Predator Predator Pulp FictionPulp Fiction Pulp Fiction Pulp Fiction SawSaw Saw Jigsaw Puppet Shaun of the DeadShaun of the Dead Shaun of the Dead Shaun of the Dead The Shawshank RedemptionShawshank Redemption The Shawshank Redemption Red and Andy Sin CitySin City Sin City Sin City SpidermanSpiderman 2 Spiderman Spiderman Star WarsStar Wars Saga Star Wars Insider Cover Star Wars: Happy 30th The TerminatorTerminator Terminator Terminator T700 TwilightTwilight Twilight Twilight |
| You are subscribed to email updates from Psdtuts+ To stop receiving these emails, you may unsubscribe now. | Email delivery powered by Google |
| Google Inc., 20 West Kinzie, Chicago IL USA 60610 | |
0 comments:
Post a Comment