PSDTUTS Updates |  |

| Quick Tip: Create an Animated Banner Ad in Photoshop CS5 Posted: 17 Jun 2010 09:50 AM PDT
Animated Gif files have been the butt of many jokes within the design community. That is because animated gifs are famous for being a bit cheesy and notorious for cluttering up a page. Used properly however, animation can draw interest to an otherwise overlooked area of a page. Today, we will demonstrate how to use Photoshop to create an animated gif in Photoshop CS5. Let's get started!
Step 1Create a new document 250 x 250 px and set the resolution to 70 px with the background color set to #f2f2f2. 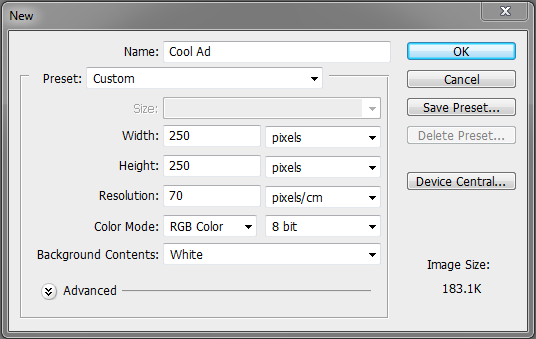  Step 2Place a logo in the top center of the canvas.  Step 3Write a tag line under the logo.  Step 4Draw a rectangle box and set the color to #90909. 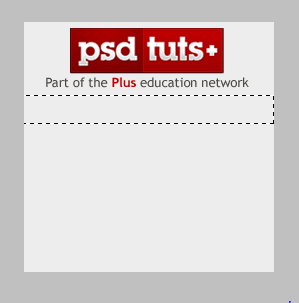 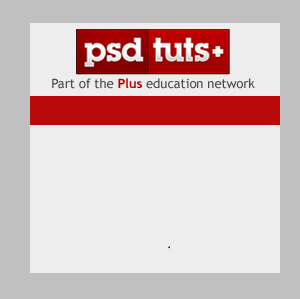 Open the layer styles dialog box and check Drop shadow. Reduce the distance and size to 2px.  Now add a gradient overlay and set the blending mode to Multiply with an opacity of 28%. 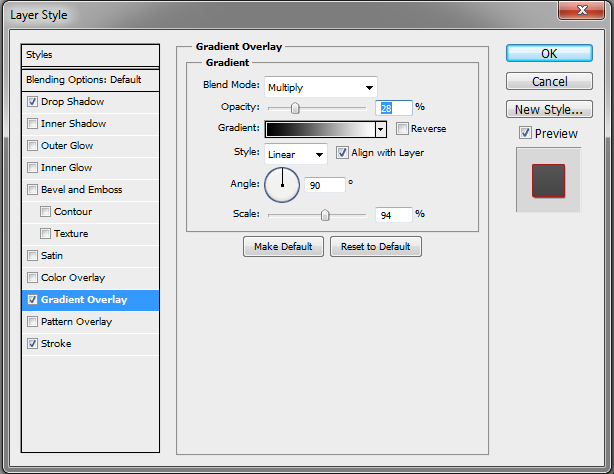 Add a stroke and reduce the size to 1 px. Set the color to #a31b1b.  Step 5Add some bullet points. In our case we added the text: Tutorials, Articles, Tips, Freebies, Basix, Videos, Premuim, as shown. 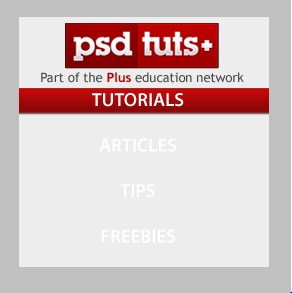 . .Rasterize the text layers and create a clipping mask. 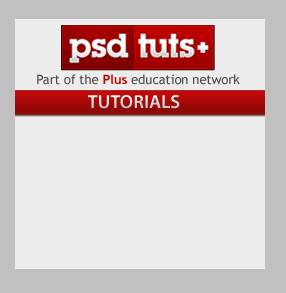 Step 6Now place an eye-catching image. In our case we used the premium program icon for Psdtuts but feel free to use whatever suits your purpose. 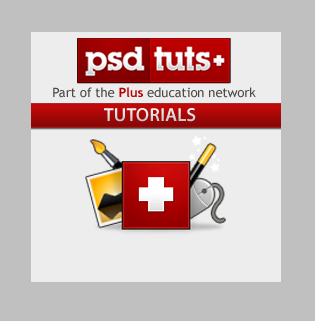 Step 7Draft some more supporting text as shown below the image you placed in Step 6. 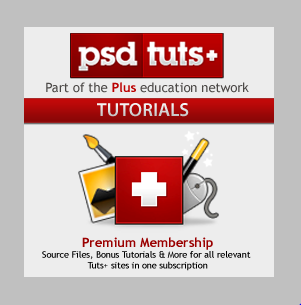 Step 8Create an oval Box and set the color to #fdfcfc. 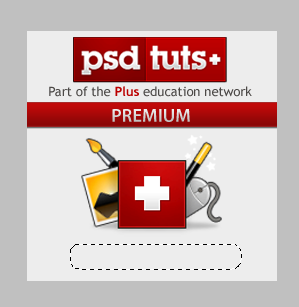  Open the layer styles dialog bix and apply a drop shadow. Reduce the distance and size to 1 px. 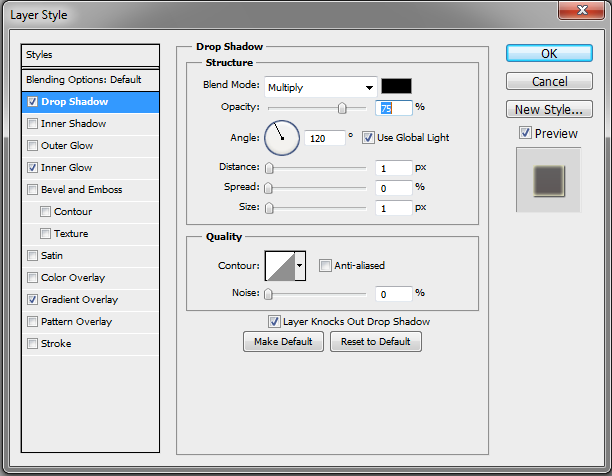 Check Inner glow and leave it as it is. 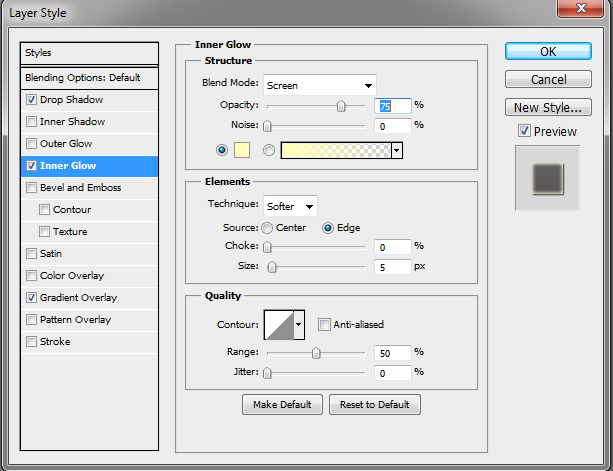 Add a Gradient Overlay with the Opacity set to 6%. 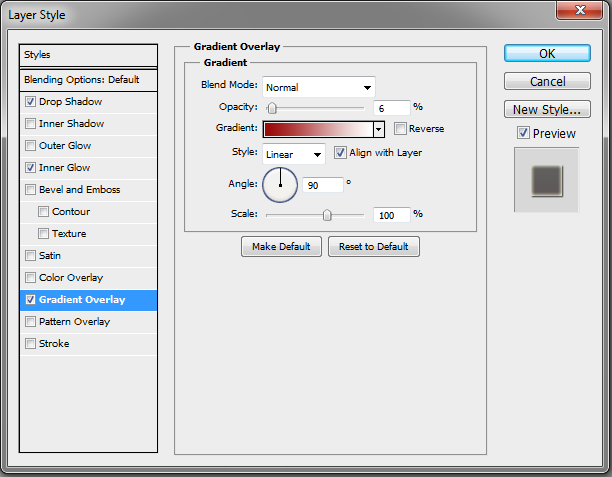 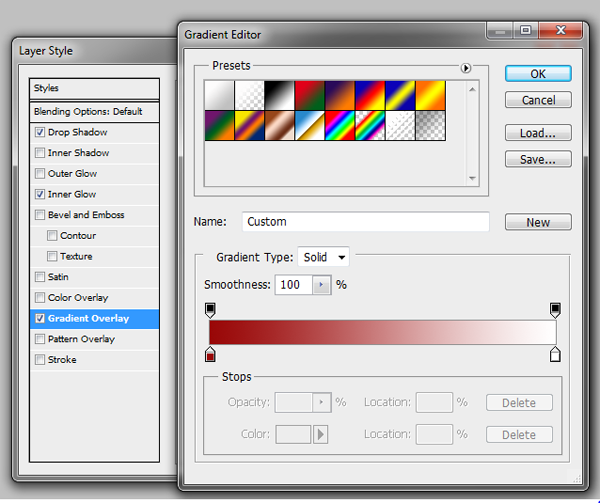 Step 9Now that we have finished creating all our layers, we are now ready to start work on the animation. First, open the Animation panel (Window > Animation). I will use the Timeline Animation panel (and not the frame animation). Note: This feature is only in Photoshop Extended. Now set all your layers to visible but reduce their opacity to 0%. 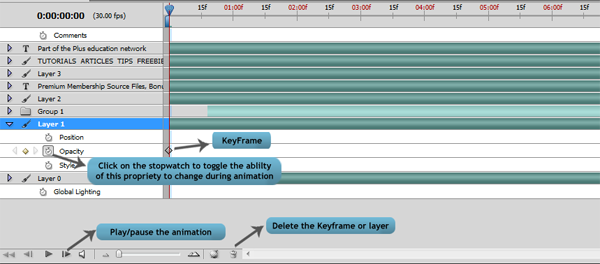 Step 10Refer to the image below for instructions on how to insert keyframes and where to increase opacity.        Step 11Your timeline should look similar to the example below. 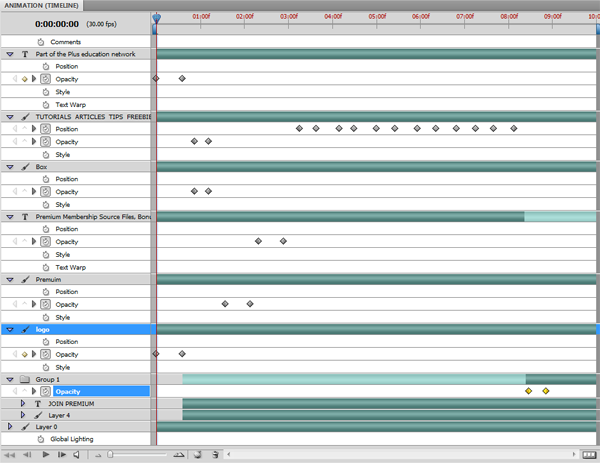 Step 12We have now completed our animation. Press play to see the result. Feel free to tweak it where necessary. To save your banner, go to File > Save for Web & Devices. Then use the settings from the following image and click Save. 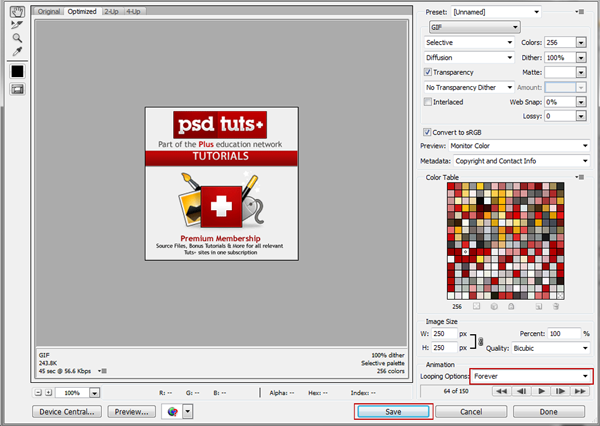 Final ImageThat's it! You're finished!  |
| Create Spectacular Smoke and Splash Effects – Psd Premium Tutorial Posted: 17 Jun 2010 05:55 AM PDT
Today, we have another Psd Premium tutorial exclusively available to Premium members. If you want to take your design skills to the next level, then we have an awesome tutorial for you. Learn more after the jump!
This Premium Tutorial is Filled with Creative TipsToday I’ll walk you through the creative process of applying some cool liquid and smoke effects to both typography and images. You’ll also discover how to combine 3D renders with Photoshop’s Displace filter to produce those stunning "break away" effects that are currently in vogue. This is a comprehensive tutorial that weighs in at almost one hundred steps, so let’s get started! Professional and Detailed Instructions InsidePremium members can Log in and Download! Otherwise, Join Now! Below are some sample images from this tutorial. 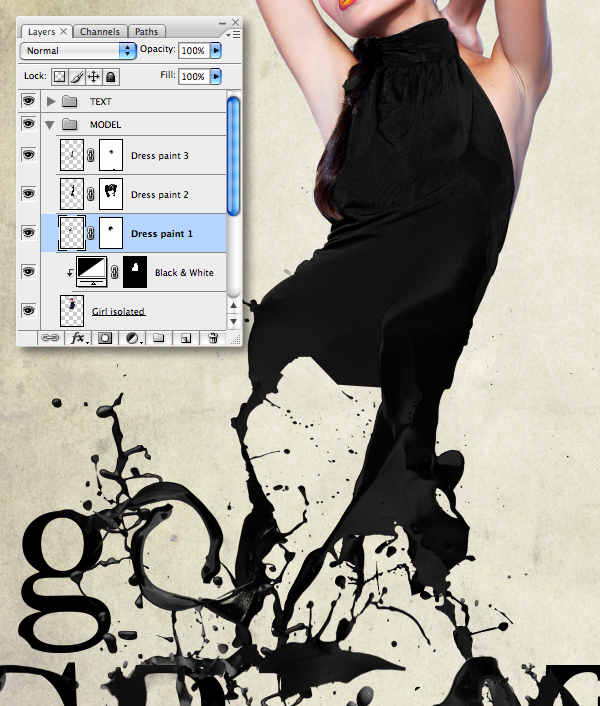   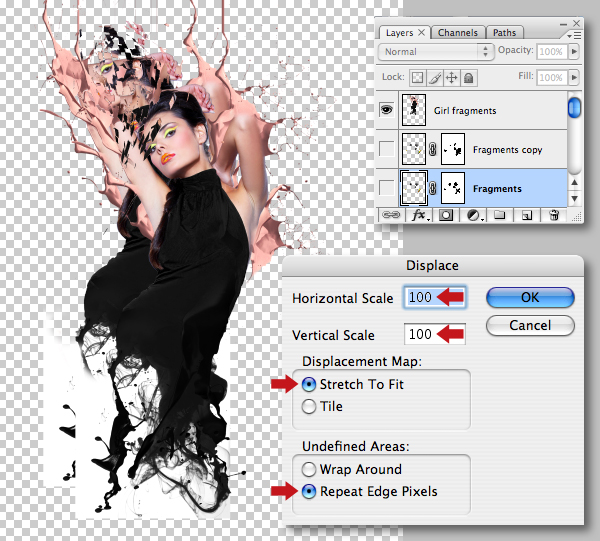 Psd Premium MembershipAs you know, we run a premium membership system here that costs $9 a month (or $22 for 3 months!) which gives members access to the Source files for tutorials as well as periodic extra tutorials, like this one! You’ll also get access to Net Premium and Vector Premium, too. If you’re a Premium member, you can log in and download the tutorial. If you’re not a member, you can of course join today! |
| You are subscribed to email updates from Psdtuts+ To stop receiving these emails, you may unsubscribe now. | Email delivery powered by Google |
| Google Inc., 20 West Kinzie, Chicago IL USA 60610 | |
0 comments:
Post a Comment