PSDTUTS Updates |  |
| Quick Tip: Draw an Ink Painting in Photoshop Posted: 24 Jun 2010 09:35 AM PDT Sometimes all you need to create a quick graphic in Photoshop is a piece of paper, a pen, and a scanner. In today’s tutorial we will demonstrate how to convert a hand drawn sketch into an ink-style painting in Photoshop.
Step 1First, create a simple drawing in pen or pencil and scan it into your computer. Open Photoshop and separate the drawing from the background by going to Select > Color Range and clicking on the part of the image in the preview that you want to select. You may want to experiment with the "Fuzziness" settings to see what looks best. Generally for hand drawn objects a setting between 90 and 170 works well. Then click "OK" and copy (Cmd/Ctrl + C) and paste (Cmd/Ctrl + V) the drawing onto a new layer. Make sure to name it appropriately so it does not get lost. 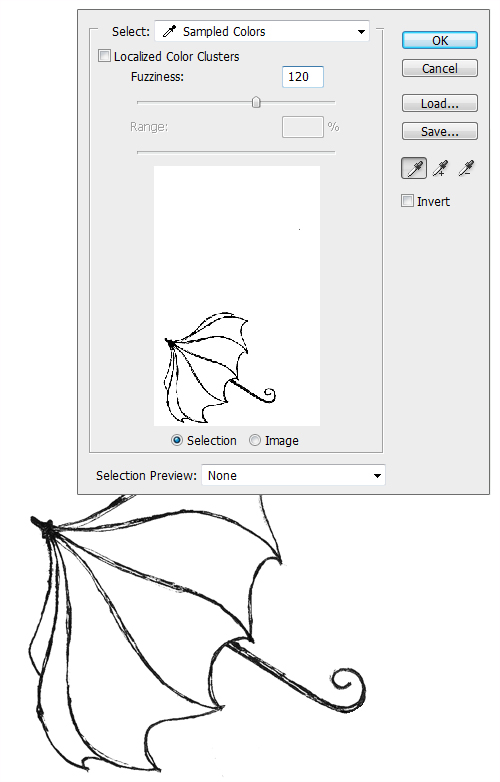 Step 2Now choose a pastel (#ffddff) background for the image and start shading in the drawing. Create a new layer and call it "Shading". Then chose a hard round brush, set the Opacity to around 20% and press F5 for further refinement. In Shape Dynamics set Size Jitter to 50% and leave everything else in that section at 0%. In Scattering set Count Jitter to 100%, Count to 1 and Scatter to 75% (both Axes). In Other Dynamics set both Opacity and Flow Jitter to 20% (Pen Pressure). And most importantly put a check in the "Wet Edges" box. The size of the brush you use depends greatly on the image that you are working on; sizes 15 and 10 were used on the image below. Use larger brushes first to make the light base. Then go back over the spots you think should be darker with a smaller brush, you may repeat the process decreasing the size of the brush you use for as long as it seems appropriate. 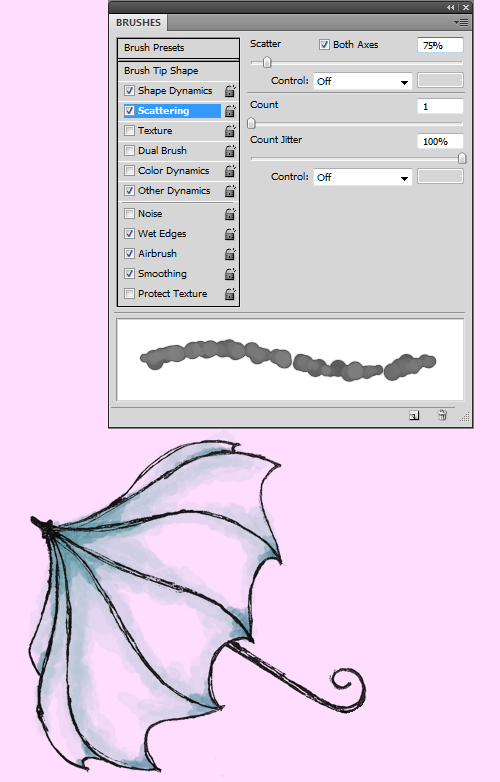 Step 3After the shading is done it’s time to work on the highlights. Create another layer on top of "Shading", called "Highlights" and use a medium sized brush to draw in the highlights in white.  Final StepNow come the final touches. In the image below, I’ve made the pavement with the pen tool and added shadows and highlights to it. I’ve also drawn a darker shadow under the umbrella, all using the same brushes and the same technique of layering as before. And finishing the picture I’ve added some falling petals in pink. This was done again with the same technique and brush though increasing the "Scattering" in the brush settings to 500%.  |
| Create a Surreal Matte Painting in Photoshop – Psd Premium Tutorial Posted: 24 Jun 2010 06:00 AM PDT Today, we have another Psd Premium tutorial exclusively available to Premium members. If you want to take your matte painting skills to the next level, then we have an awesome tutorial for you. Learn more after the jump!
This Premium Tutorial is Filled with Creative TipsIn these days of digital special effects, Adobe Photoshop is a key ingredient to the creation of matte paintings. This tutorial will take you through the steps to make your own matte painting using photographic and painted elements. This image was originally created as a background for a Flash animation. Photoshop CS3 was used, but any Creative Suite version should work. Professional and Detailed Instructions InsidePremium members can Log in and Download! Otherwise, Join Now! Below are some sample images from this tutorial. 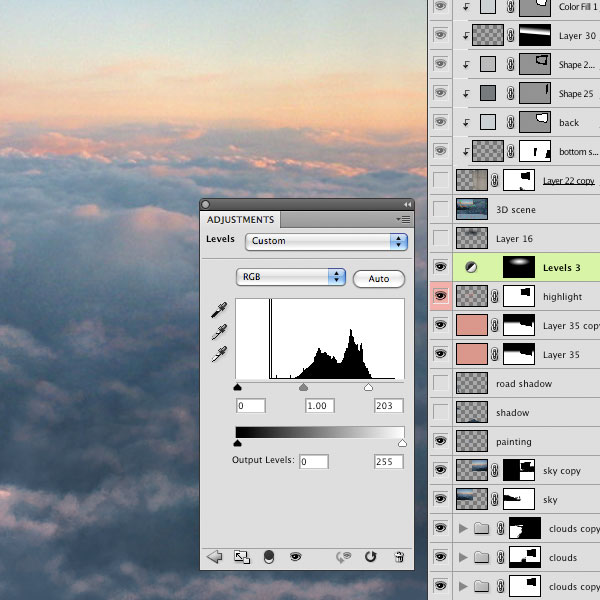   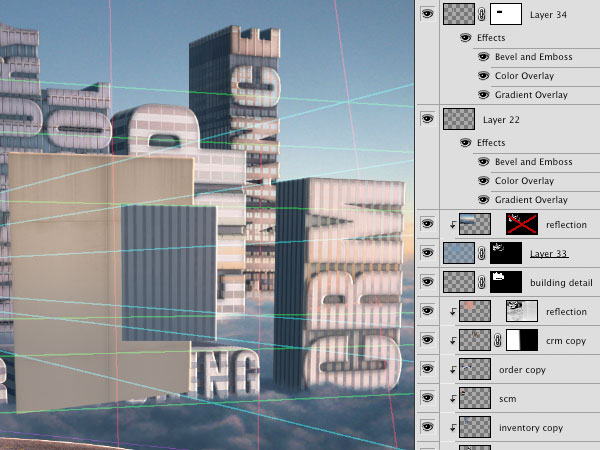 Psd Premium MembershipAs you know, we run a premium membership system here that costs $9 a month (or $22 for 3 months!) which gives members access to the Source files for tutorials as well as periodic extra tutorials, like this one! You’ll also get access to Net Premium and Vector Premium, too. If you’re a Premium member, you can log in and download the tutorial. If you’re not a member, you can of course join today! |
| You are subscribed to email updates from Psdtuts+ To stop receiving these emails, you may unsubscribe now. | Email delivery powered by Google |
| Google Inc., 20 West Kinzie, Chicago IL USA 60610 | |

0 comments:
Post a Comment