Abduzeedo - graphic design | design inspiration | tutorials - |

| Posted: 23 May 2010 10:58 AM PDT
This post is part of our daily series of posts showing the most inspiring images selected by some of the Abduzeedo's writers and users. If you want to participate and share your graphic design inspiration, just send us, via email, the image with the link from where you found it, also use "Daily Inspiration" in the subject, and don't forget to send your Abduzeedo username; or via Twitter sending to http://twitter.com/abduzeedoIf possible use the HTML code: <p class="imgC"><a href="Link to the page you found the image"><img src="Link to the Image" /></a></p> Do you want to see all images from all Daily Inspirations? Check out http://daily.abduzeedo.com 3r1c
THE CHILDREN OF THE CLONE from superbrothers on Vimeo. Adrian PicioreaEliot WilliamsEustaceFabiano
audiobullys - only man from EL NINO on Vimeo. FabioRio (trailer) from Animatieblog on Vimeo. GiselehmaxkayJames Dolanjan kallwejtJeh
kaethorLagwdLeszek JuraszczykMarcio Goldzweig
motasem elsayedNicholas SparksOsbjefPatryk MogilnickiPaul VirlanRodrigboySINLOGOSpEEdyRoBySumit PaultiltshiftTyroneMichaelvisual-idiotVia TwitterSend your suggestions via Twitter to http://twitter.com/abduzeedo using #abdz in the end of the tweet. @erickpatrick
@ewynn91@djbennett999@allrox@nenuno        |
| Speed of Light Effect in Pixelmator Posted: 23 May 2010 05:49 AM PDT
In this tutorial, I will demonstrate how to create a very nice abstract effect, using the super cool Travelator filter. I will make use of some of the Quartz Composer filters in order to show the many different exciting effects that can be achieved with them.Step 1Open Pixelmator and create a new document. Let's go ahead and use a size of 1920×1200 pixels. Next, fill the background layer with black. Step 2Add another layer and go to Filter > Quartz Composer > Generator > Travelator. Use 0.25 for the pace and 0.30 for the depth. Also, move the controller to the center of the document. Step 3Add another layer on top of the others, and using the Paint Bucket Tool (N), fill the new layer with black. After that, go to View > Show Brushes. Select the smoke brush, then use the Brush Tool (B) and the color white, paint some smoke in the center of the design. Use the image below as a reference. Step 4Go to Filter > Blur > Zoom Blur. Enter 70 as the amount, and once again move the controller to the center of the image. These steps will create a nice flare effect. Step 5Change the opacity of the layer created in the previous step with the flare to 20%. Also, change the Blending option to Screen. Step 6Use the Type Tool (T) to add text. First, I added the title “Speed of Light,” in Adobe Garamond Italic with a 42 pt font size. Next, I included a short paragraph using Helvetica Neue Light in 14 pt font. Use the image below to compare the alignment. Step 7Now, let’s import a texture of old paper. I utilized a texture (courtesy of Shutterstock). Insert this texture on top of the other layers, and then change the Blending option to Overlay. Step 8Add another layer, this time underneath the text layers, then go to Filter > Generator > Stripes. Use 2 for the width and 0 for sharpness. Step 9Go to Edit > Transform > Rotate 90º CCW. Then go to Edit > Free Transform. Resize the width so that it fills the whole screen. Step 10Change the stripes layer Blending to Color Dodge and the opacity to 10%. Step 11Go to Filter > Blur > Gaussian Blur. Use 5 as the Radius. The blur will lessen the intensity of the stripes. ConclusionThis tutorial was very simple, and only a few filters were used; nevertheless, the outcome is beautiful. The next tutorials I will prepare for Pixelmator will focus on exactly that, simplicity in terms of procedure that yields stunning results. Download the Pixelmator FileClick here to download the Pixelmator file used for this tutorial    |
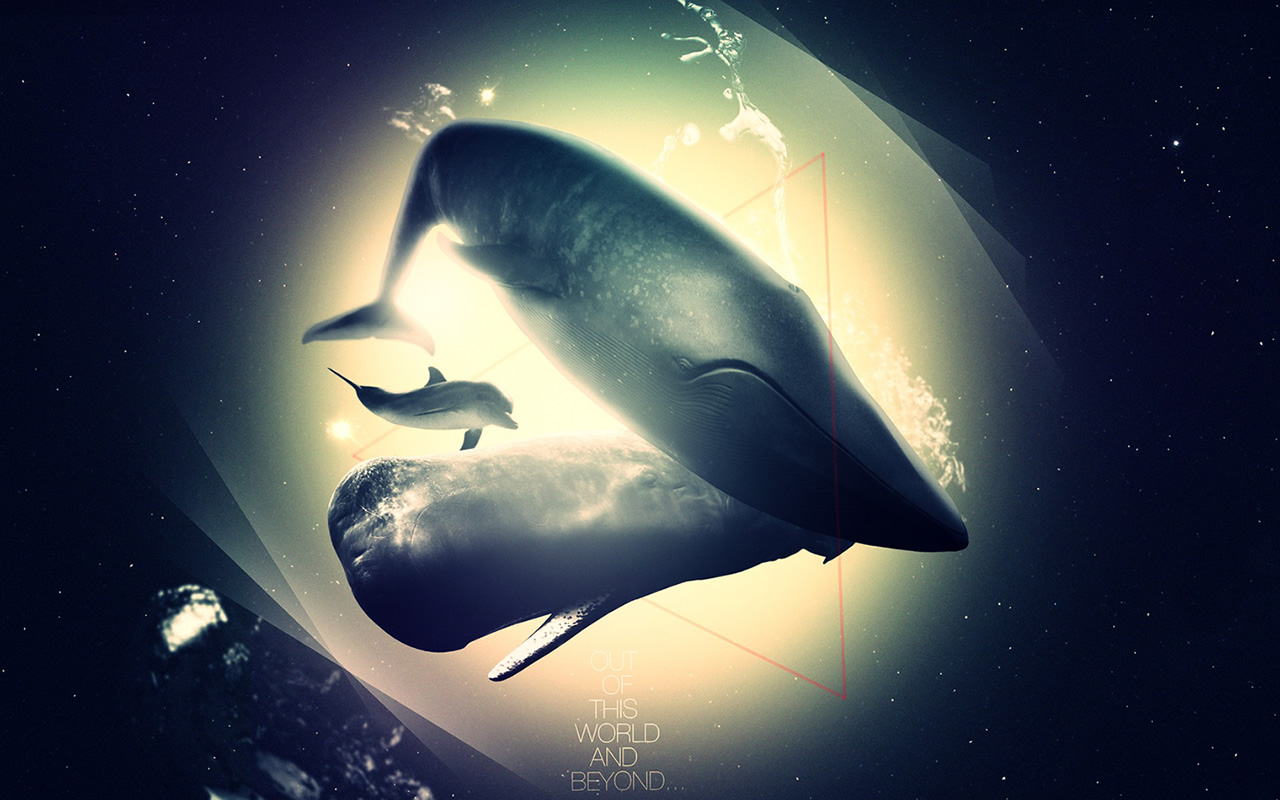
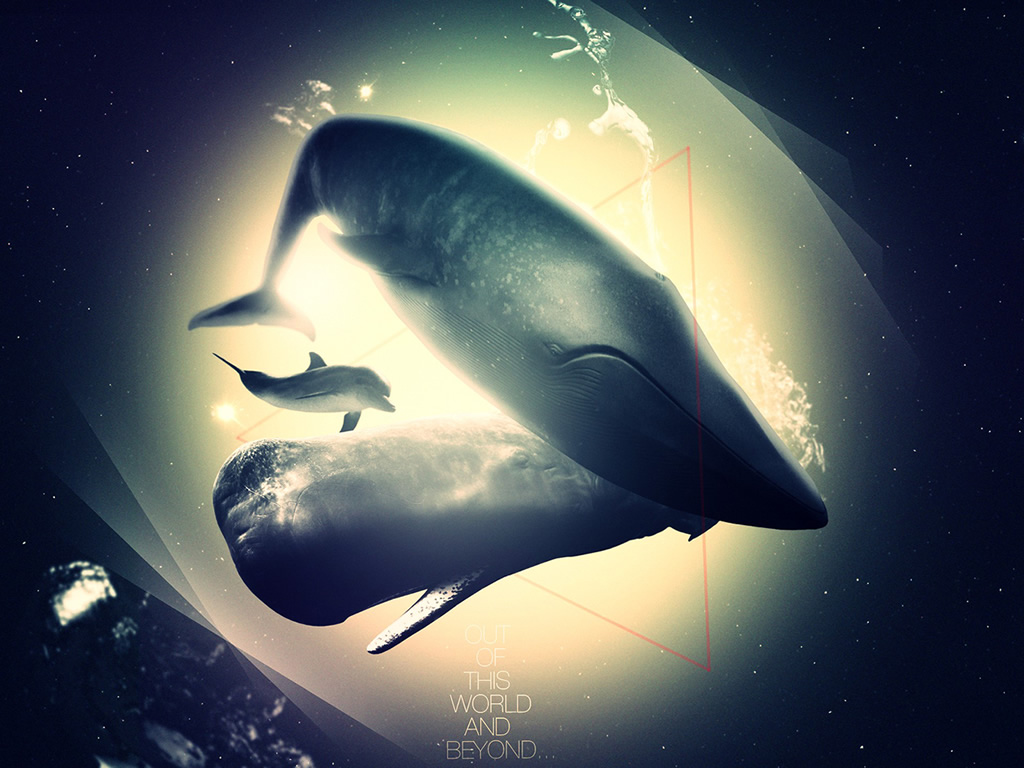
| Wallpaper of the Week #101 - Sept Design Posted: 22 May 2010 08:00 PM PDT
The wallpaper of this week is an image created by Ankhbayar a.k.a Sept Design, a freelancing Mongolian visual designer and art director currently based in South Korea. Sept has deep passion for design and he has make living by making and art direction for clients of all sizes.For more information visit Sept Design website at http://www.sept-design.com/
Resolutions:    |


| You are subscribed to email updates from Abduzeedo | Graphic Design Inspiration and Photoshop Tutorials To stop receiving these emails, you may unsubscribe now. | Email delivery powered by Google |
| Google Inc., 20 West Kinzie, Chicago IL USA 60610 | |
0 comments:
Post a Comment