1stwebdesigner |

| How to Create a Sleek Wii Controller Posted: 01 May 2010 09:52 PM PDT
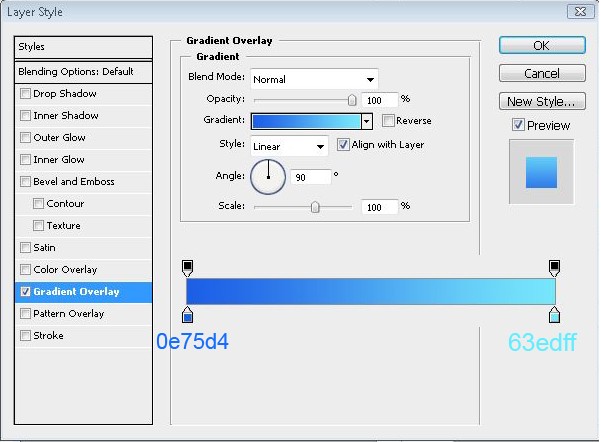
Step 1 – BackgroundLet’s start by creating a new document of 30 by 50 inch. Then create a layer, fill it (with any color) and add this Gradient Overlay in the blending Options.
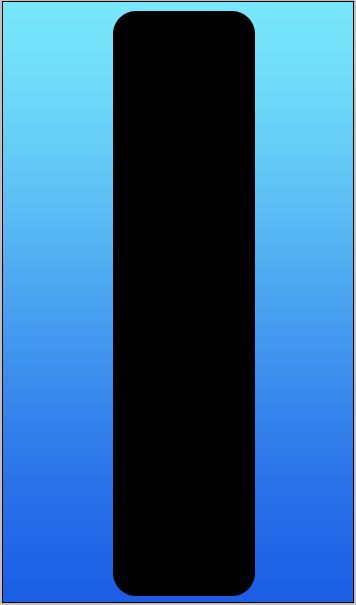
Step 2 – The Wii ShapeCreate new layer, select the Rounded rectangle Tool (U). After then, set radius to 22px and create the Wii shape.
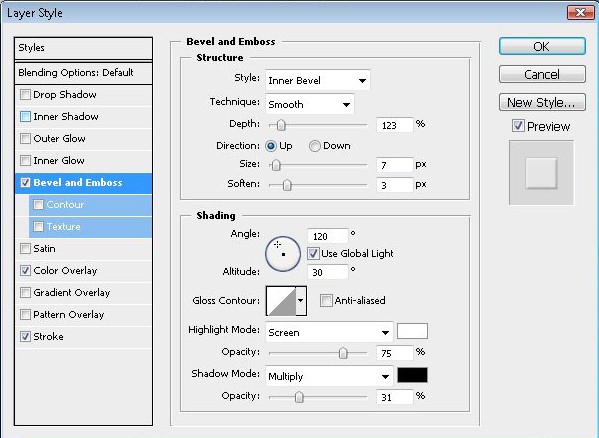
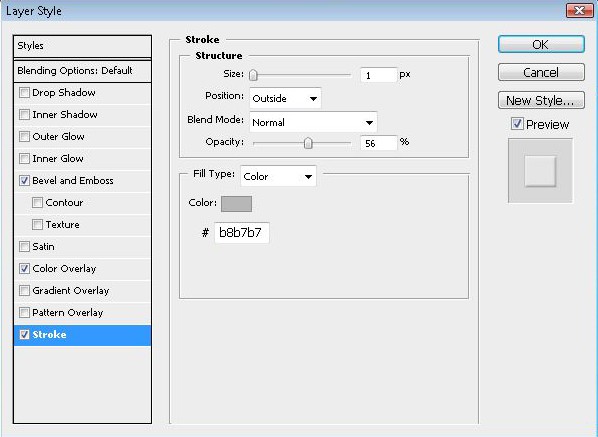
I have used following blending options which you can see to get exact result.
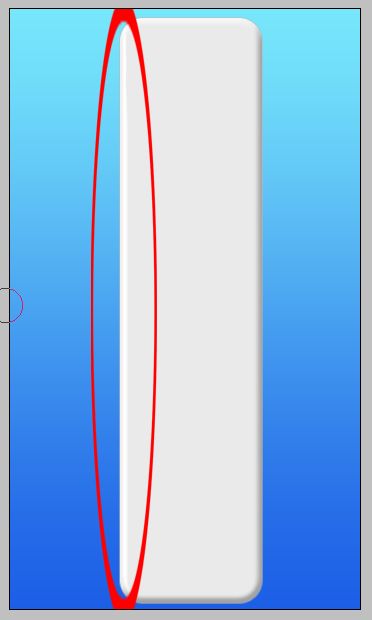
Step 3 – GlowFor a little bit glow, create a new layer and then draw a straight white line like I did.
Select the new layer, now hold down CTRL and click on the Wii Body layer thumbnail OR select the Wii layer and go to Select, Load Selection and hit okay. Now select white then go to the Brush Tool (B) and select the Hard Round brush. Change the Master diameter to about 600 px and click one time like I did to create an inner glow effect.
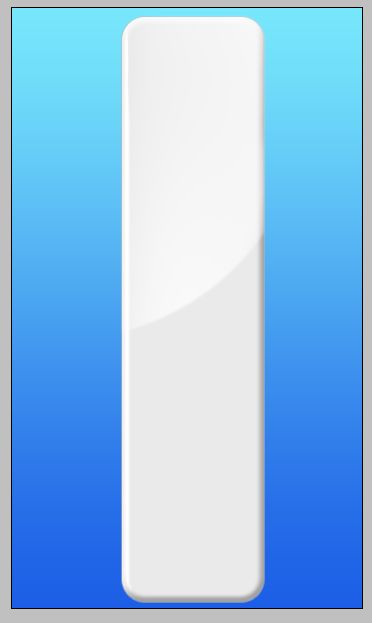
Now deselect your selection by holding down Ctrl + D. Go to the layer and set the Opacity to about 50% then select your eraser (E) set its Opacity a little bit down like you want and erase a little bit of your glow like I did.
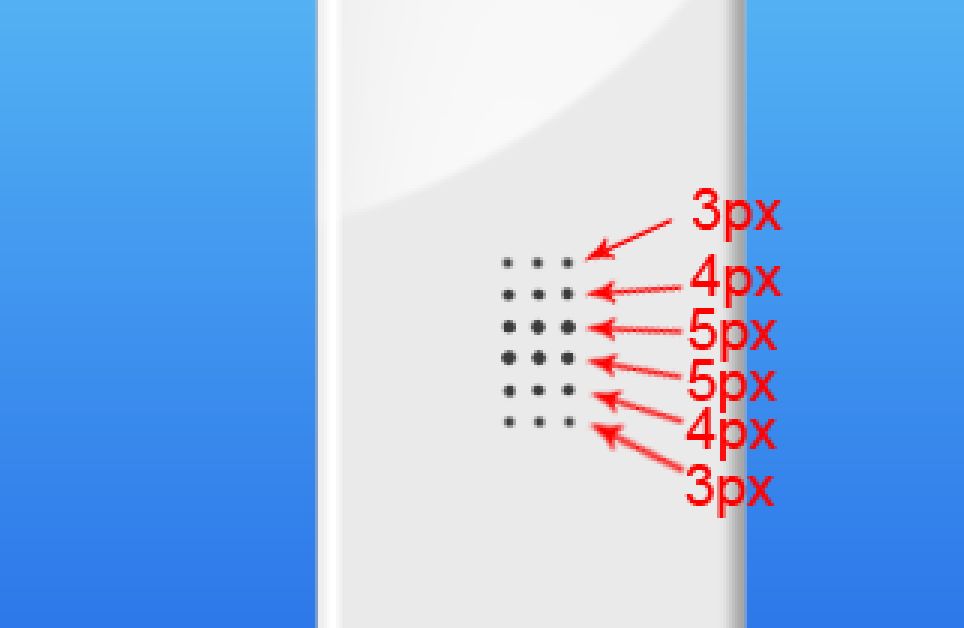
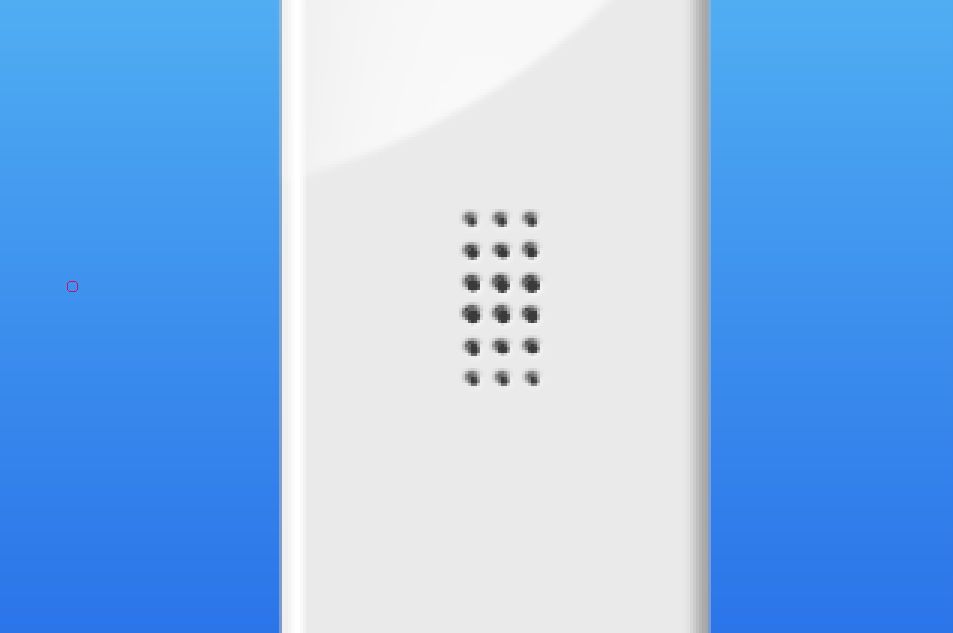
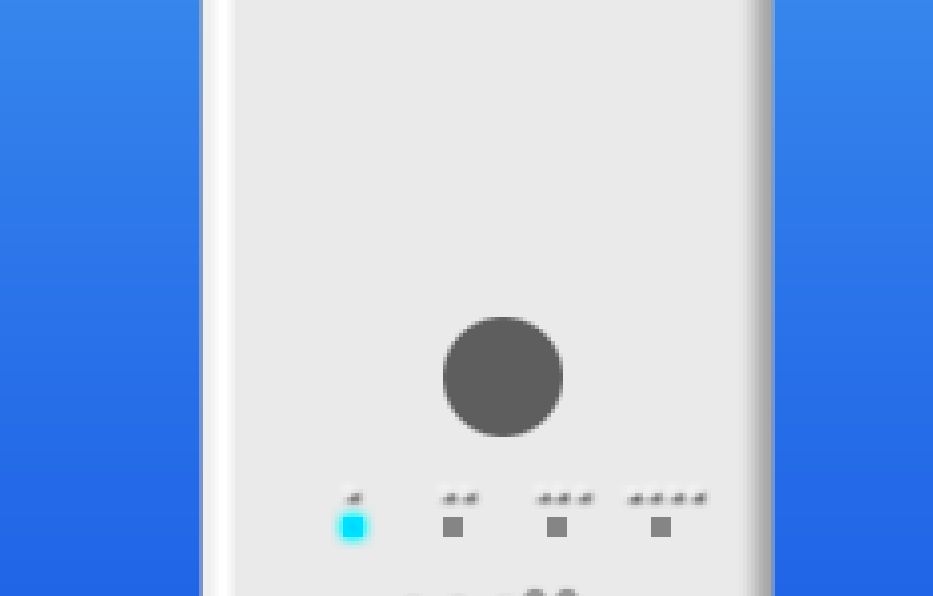
Step 3 – SpeakersCreate a new layer. Set your color to the color code: #3a3a3a and create something like this using your brush tool. (in the picture you can see the sizes of pixels i used to create the circles).
Now duplicate the layer (Ctrl + J) then set these blending options for the duplicated layer.
And now create the duplicated layer below the other layer. so it will be like this…
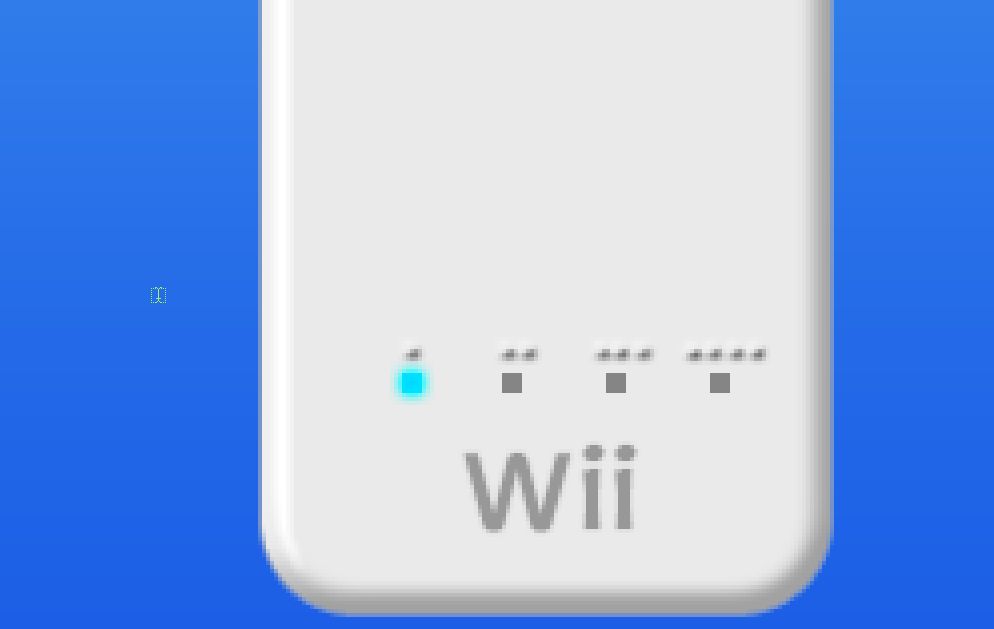
Step 4 – Player LEDsYour speaker is done. Now let’s begin with the LEDs. So create a new layer and at the bottom of the Wii create 1 square using the color (858585#) and duplicate it twice.
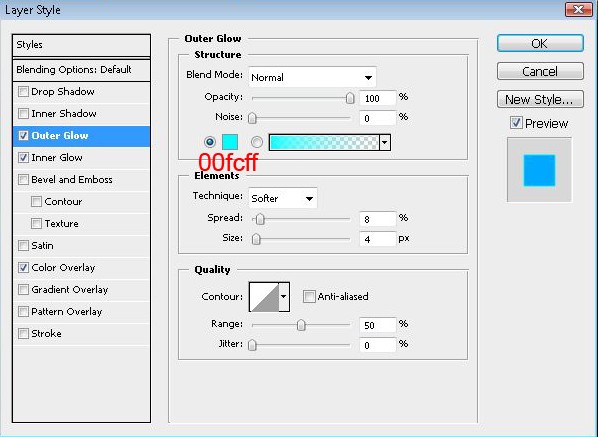
To give a glow, create a new layer, create a square and add this blending options for it.
This is what you will get.
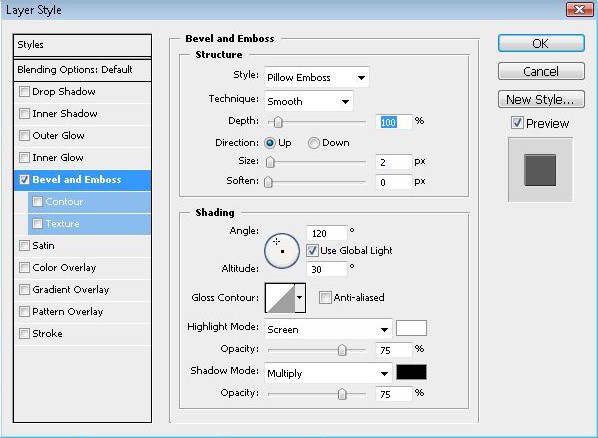
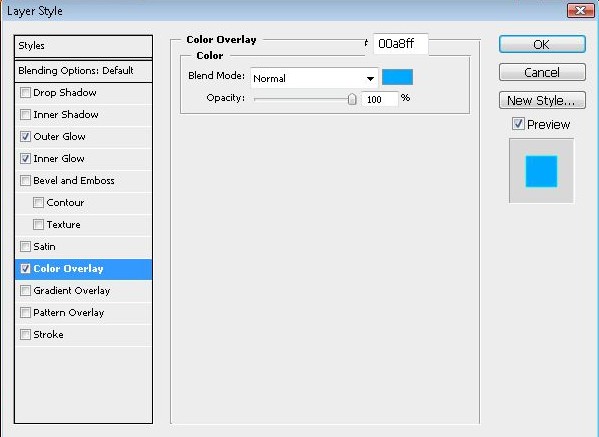
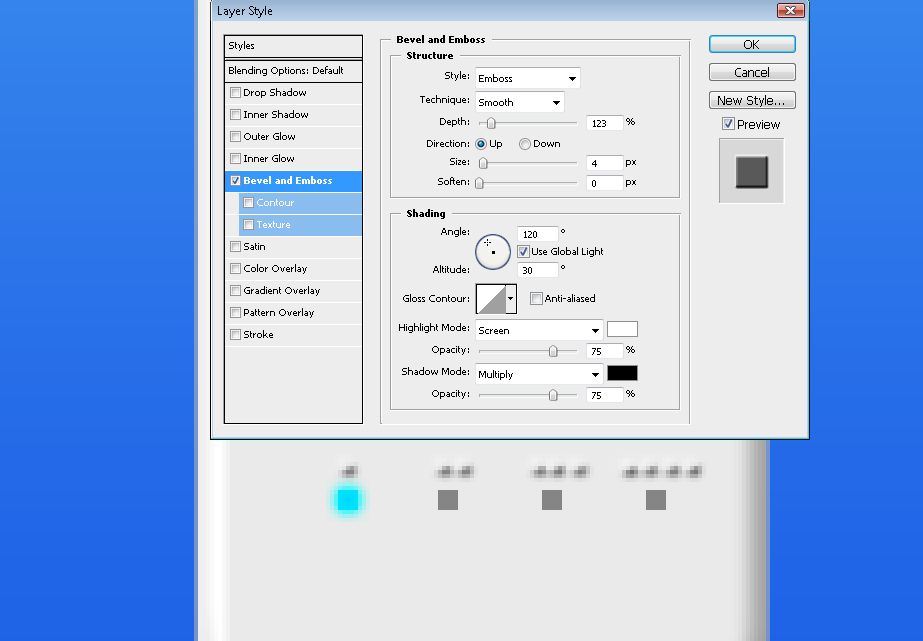
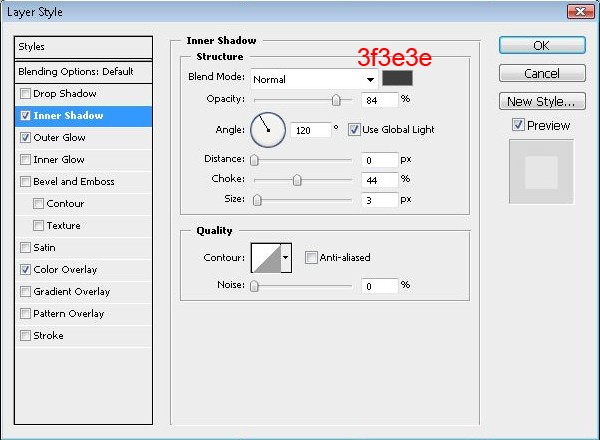
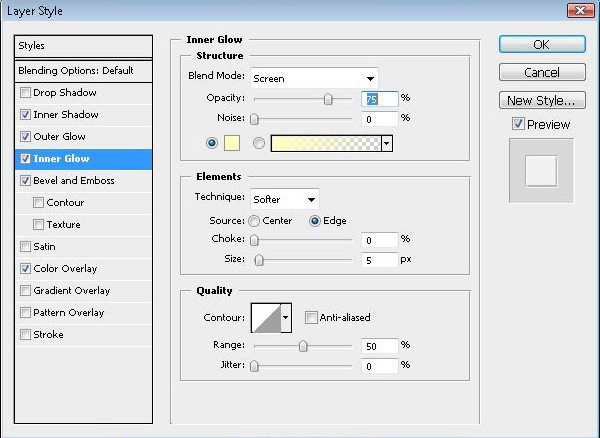
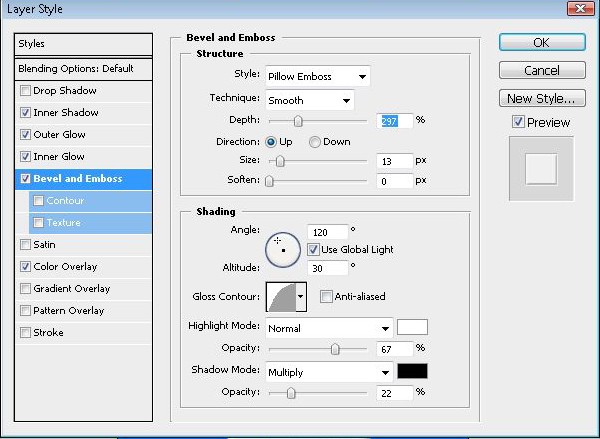
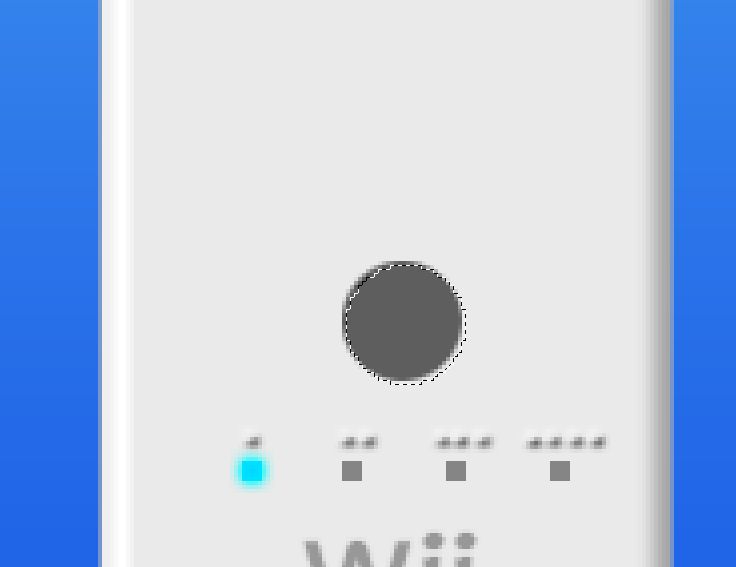
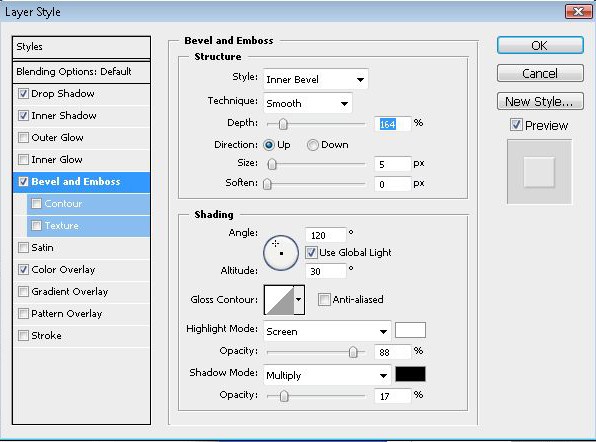
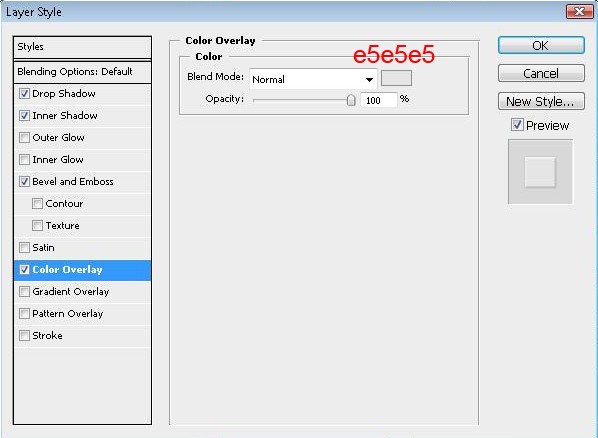
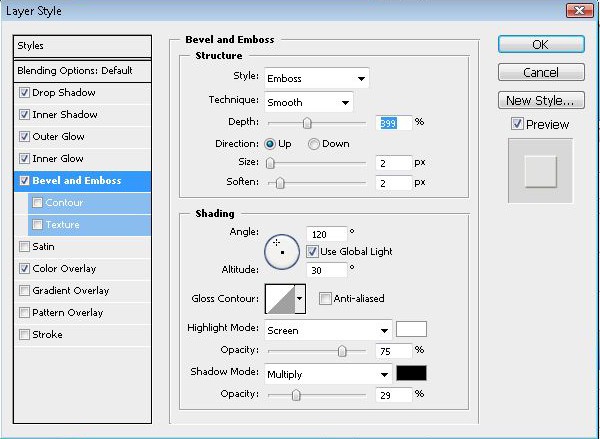
Now create a new layer and set the brush tool to 3px For the first square set 1 circle, for the second set 2 circles, for the third set 3 circles and for the fourth set 4 For this you need to select the same color of the Wii Body. Now because you can’t see what you are doing because it’s the same color of the Wii, select the Color Overlay in its Blending Options to see what you are doing. After you finish Deselect the Color Overlay and add this Bevel Emboss. Below is the screen shot of blending options.
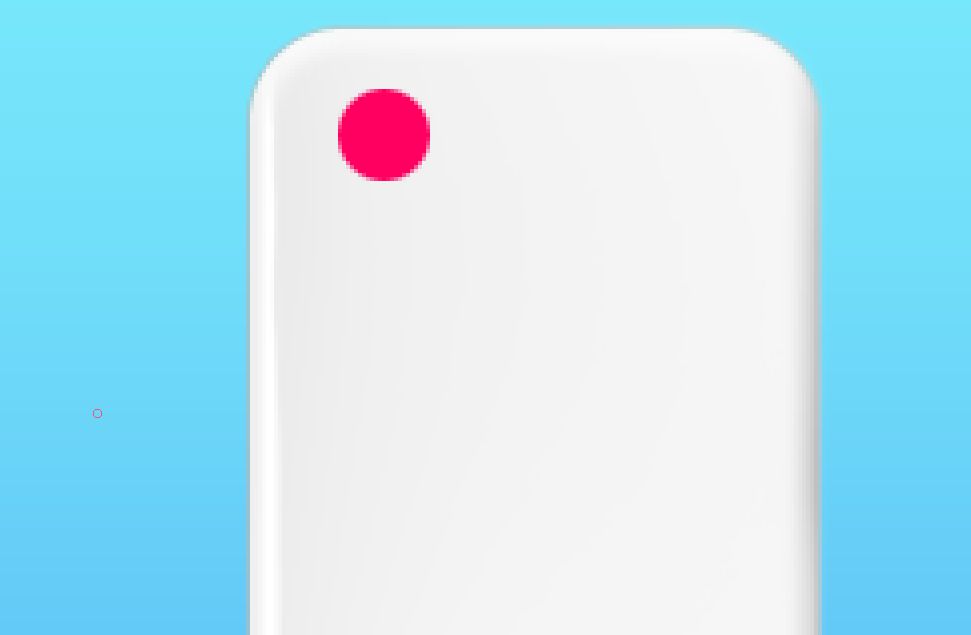
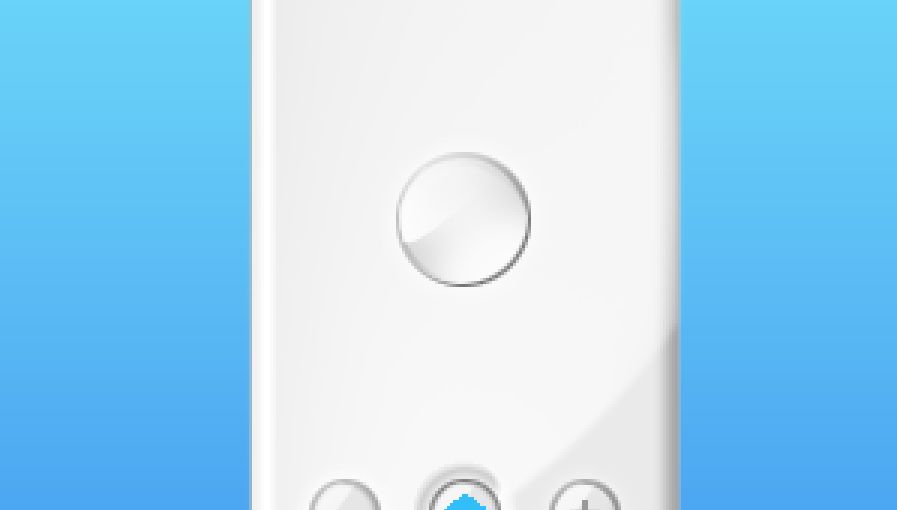
Step 5 – Power buttonFor the power button create a new layer and create a small circle like i did using your preferred tool. (the color doesn’t matter)
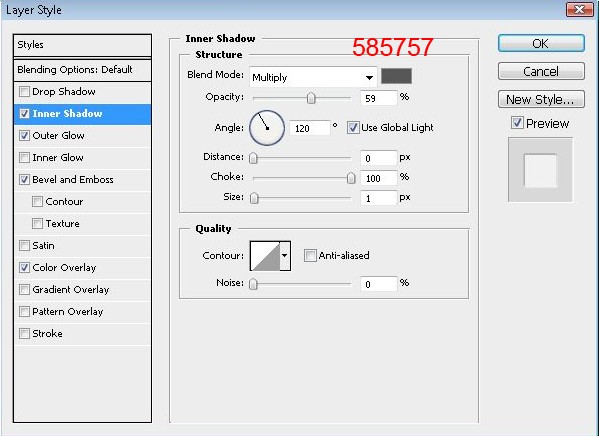
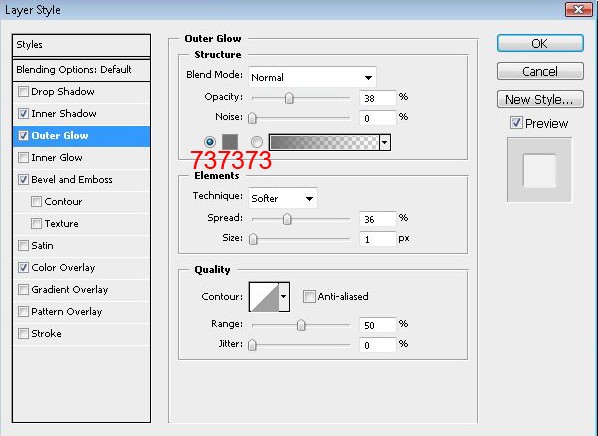
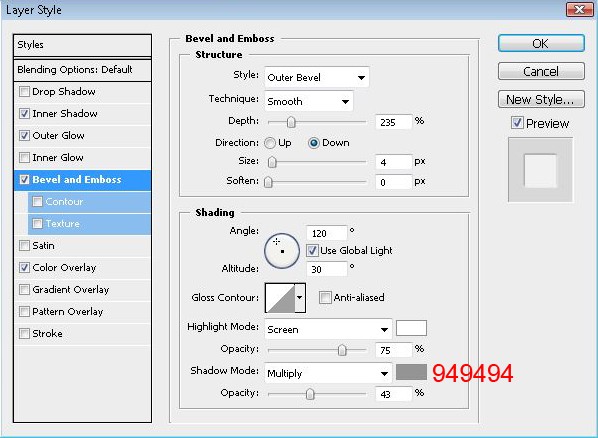
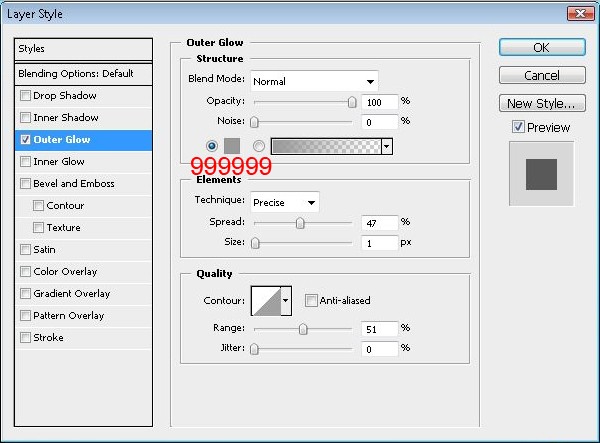
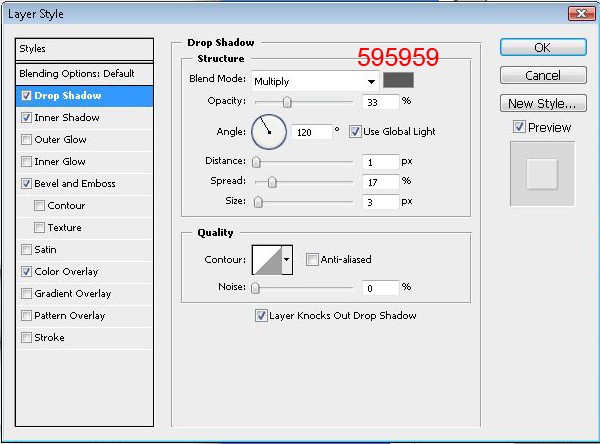
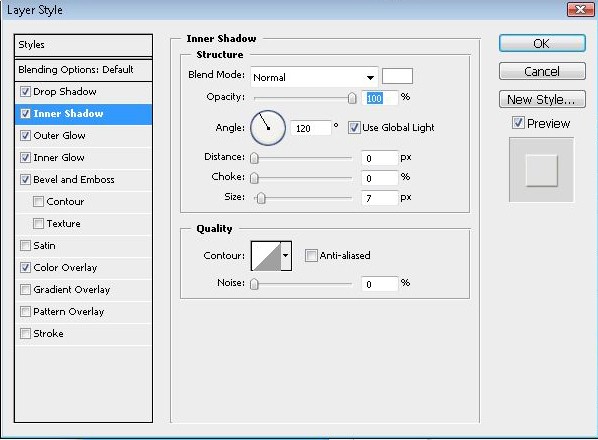
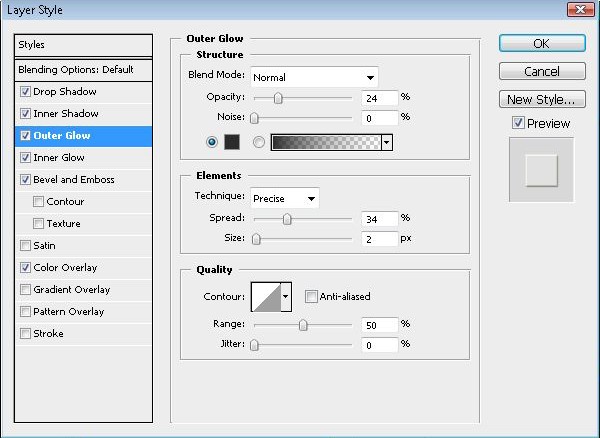
and add following Blending Options for it
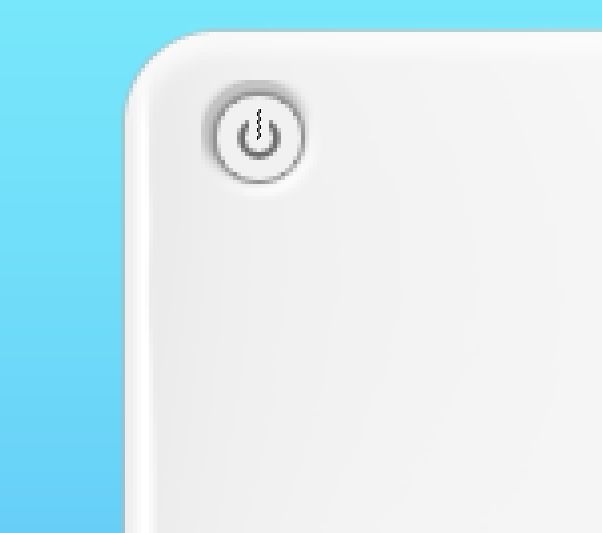
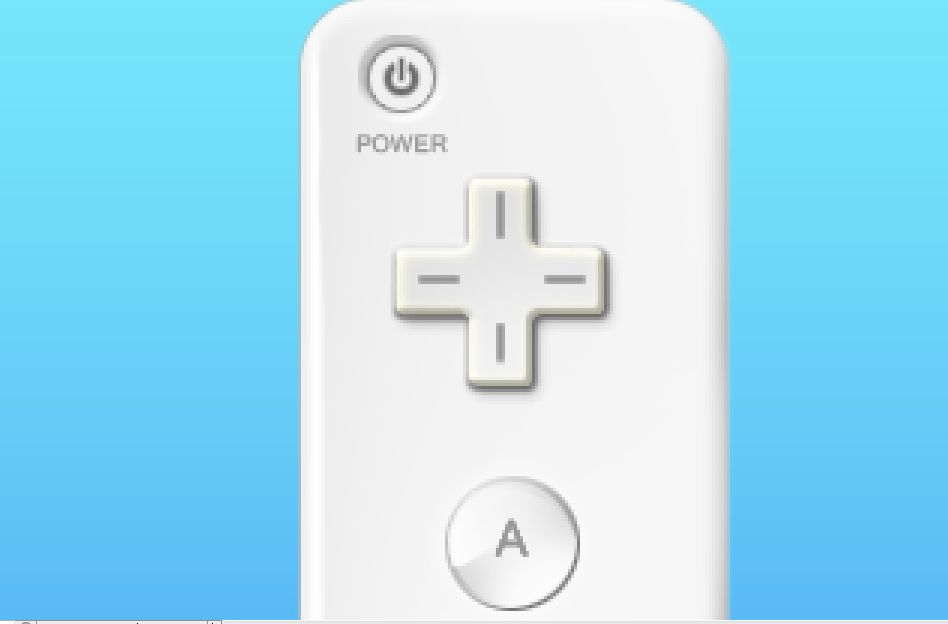
Now you should have something like this…
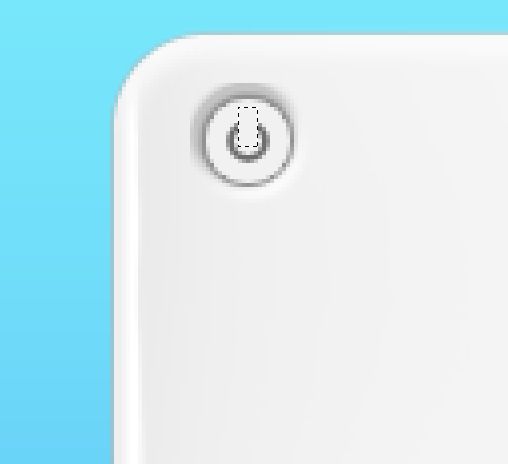
Now to create the POWER symbol create a new layer, select a gray color , create a small circle and fill it like below
then create a smaller rounded selection
and delete it.
Create a selection of a vertical rectangular
and delete it
now create a smaller vertical selection and fill it
if you did it good, you should have something similar like this. then set these blending Options.
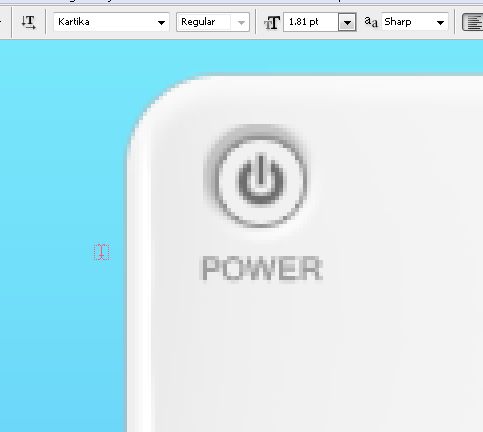
Now select the Text Tool (T) and write POWER using the font: Kartika (the color i used for the font is 8a8888#)
Step 6 – LogoLet’s go down again to write the Wii logo. The logo is just a text, so write “Wii” using your text tool with the color #989898 and using the Font: Sony Sketch EFF.
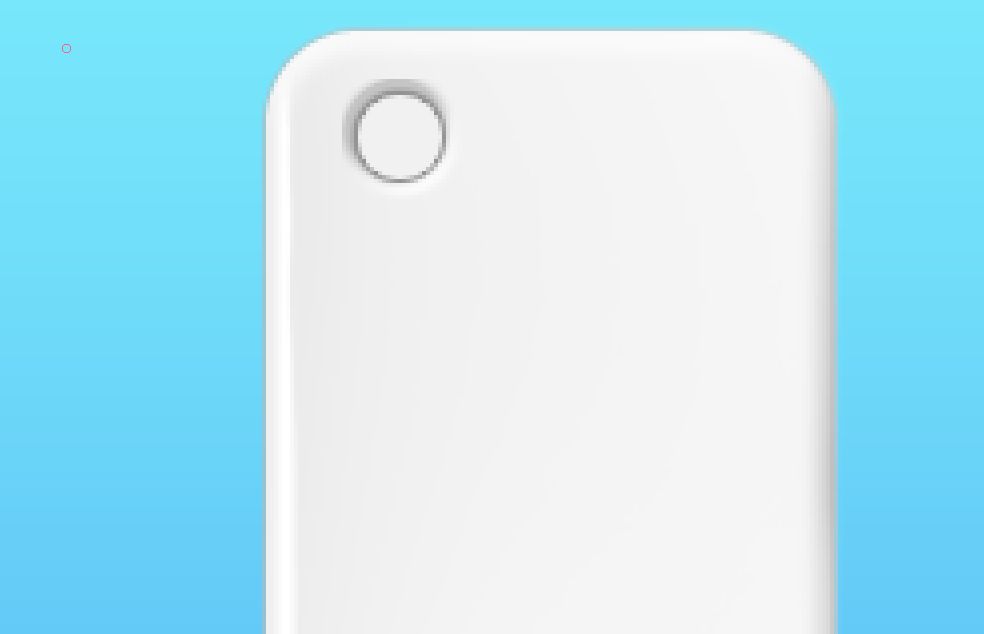
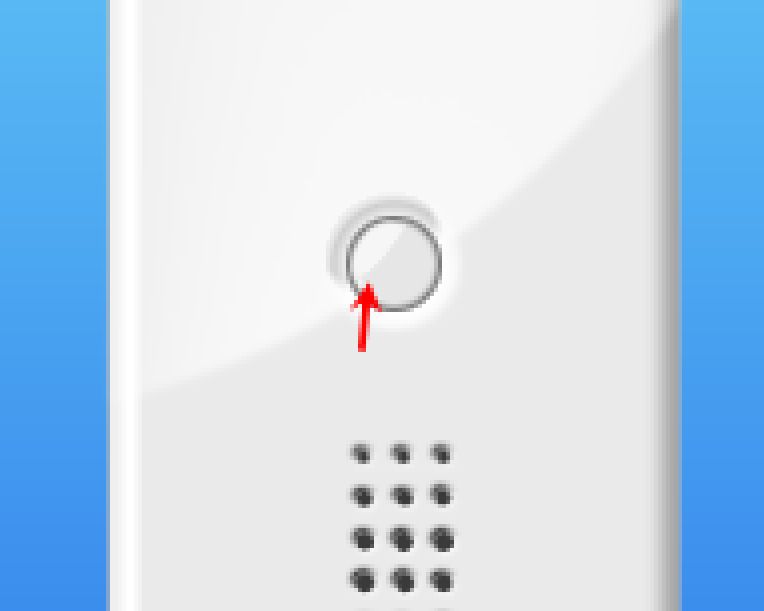
Step 7 – Home buttoncreate a new layer and create a circle similar like this above the speaker
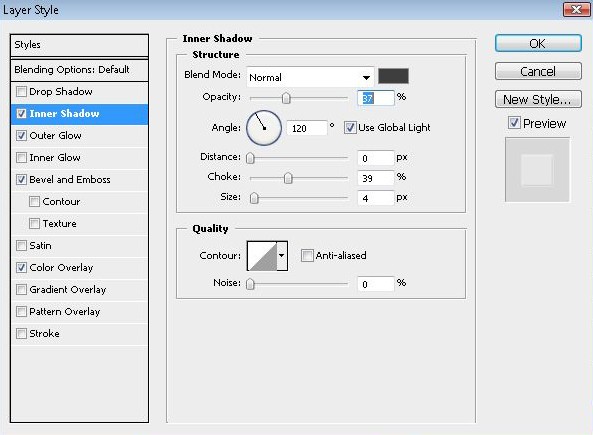
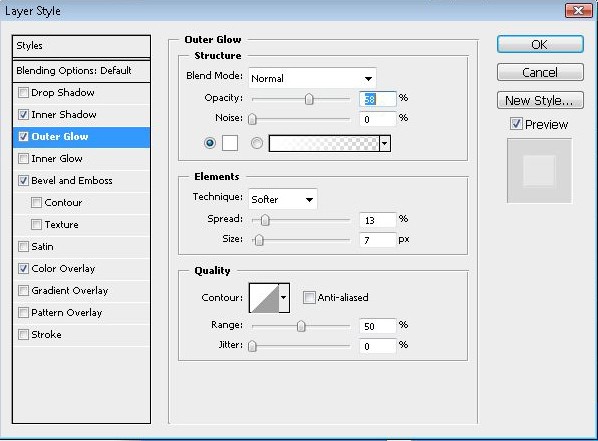
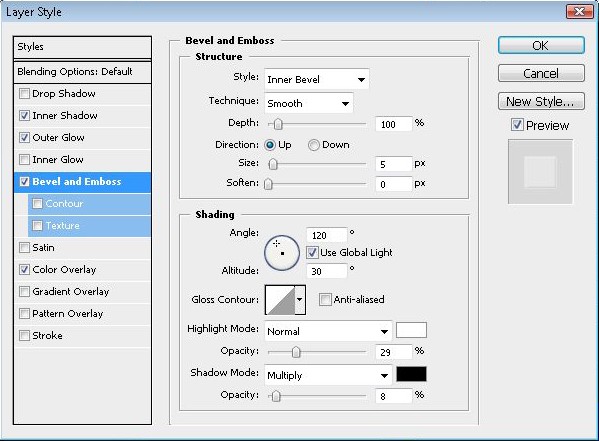
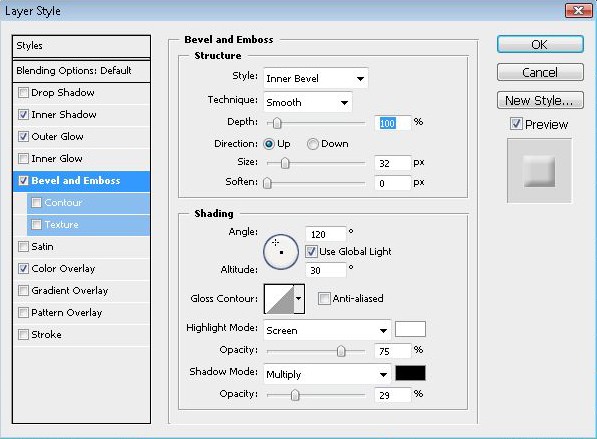
then add these blending Options.
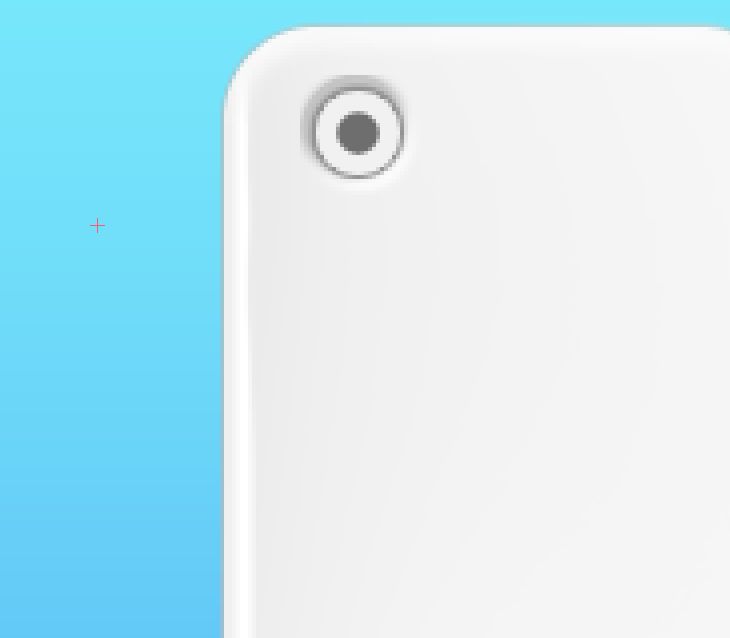
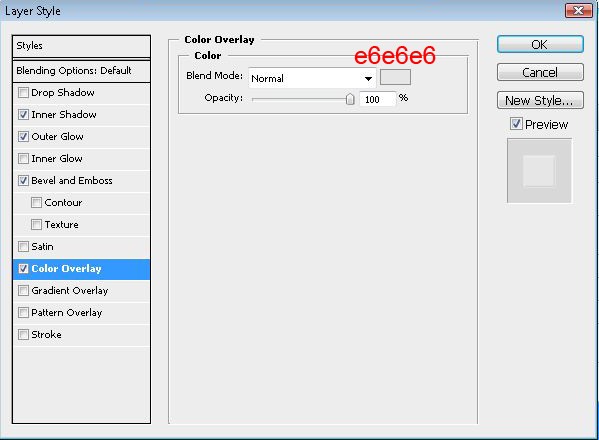
Now duplicate this layer and set this Blending Options for the duplicated layer WITHOUT deselecting the other settings.
then set the duplicated layer behind the original layer. Now create a selection around on one of the 2 layers, create a new layer, select “white” and brush like we did in the previous step. (STEP #3
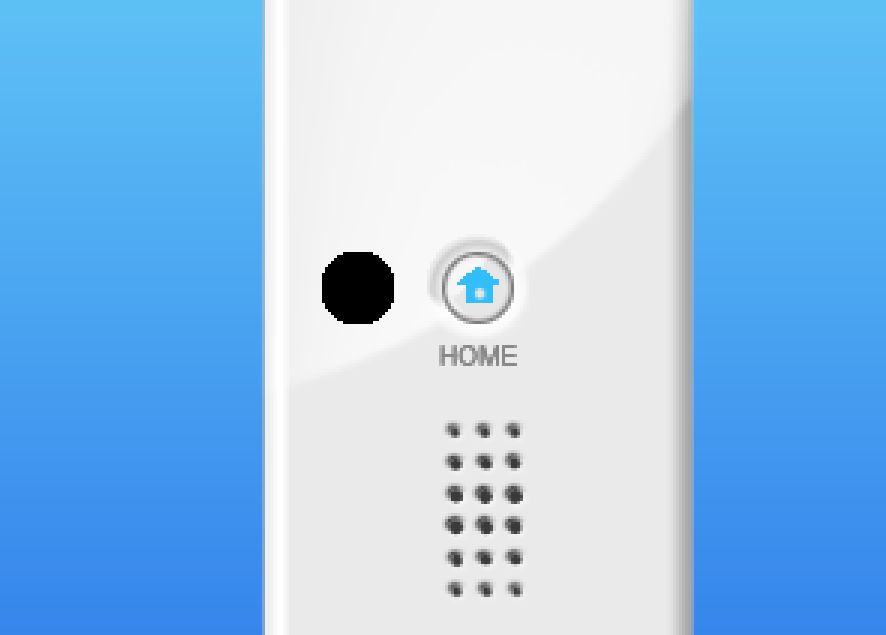
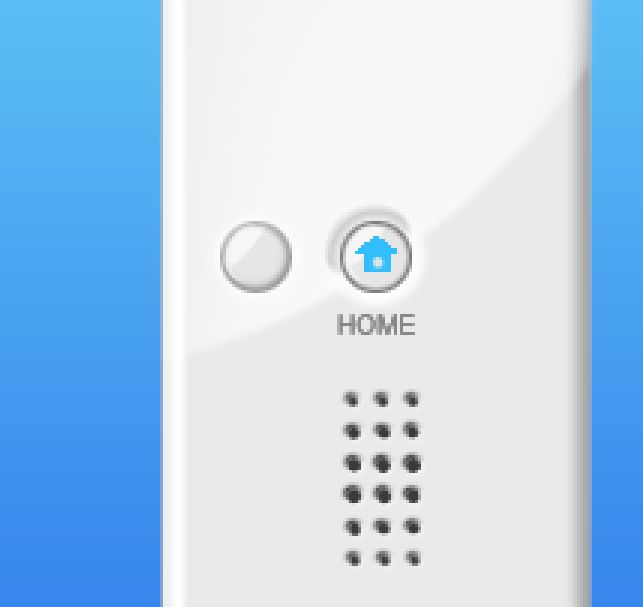
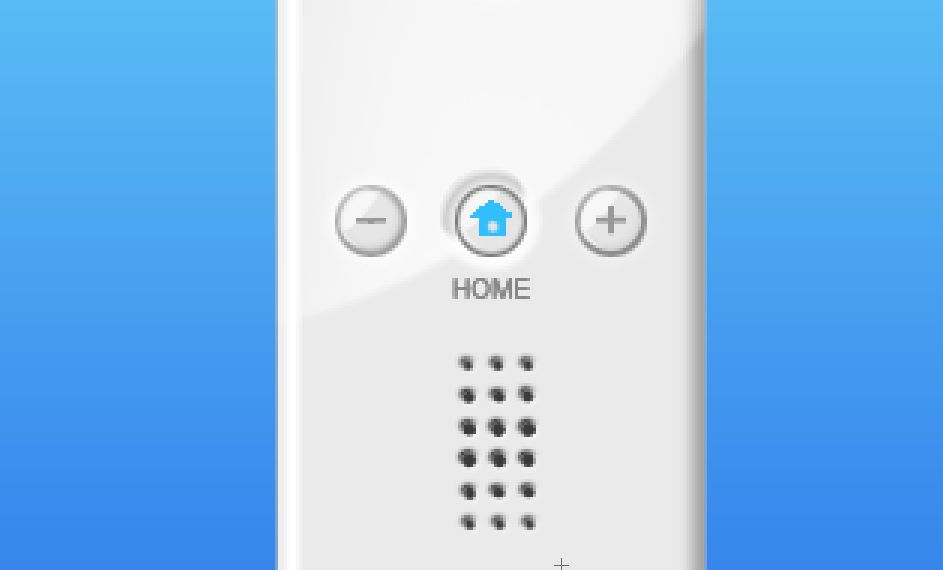
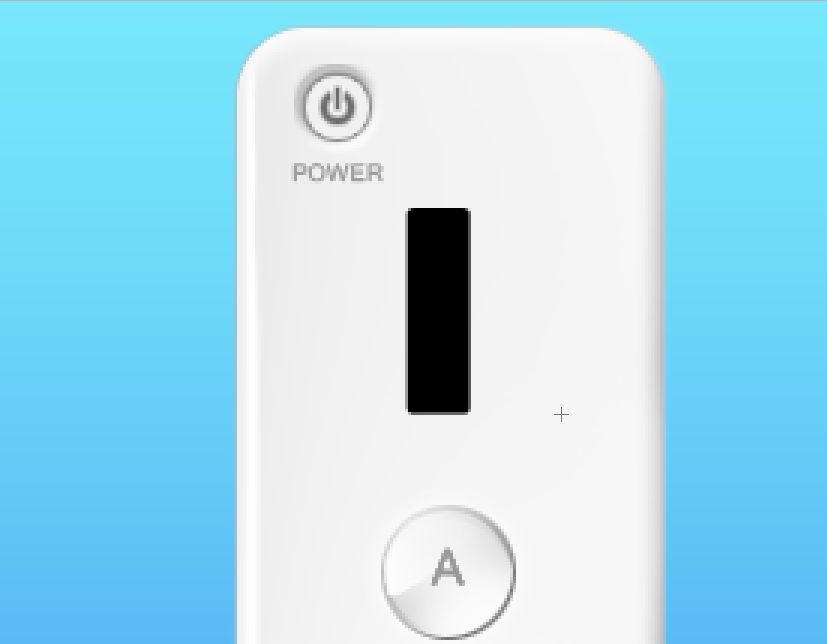
Now create a new layer and create a small house and fill it with the color #31befa Write below the button, the word “HOME” using the font: Kartika OR Simplified Arabic with the color 878686#. Step 8 – Minus (-) Button
And add these blending options for it.
then as we did in the previous step. you can do it to create a glow effect.
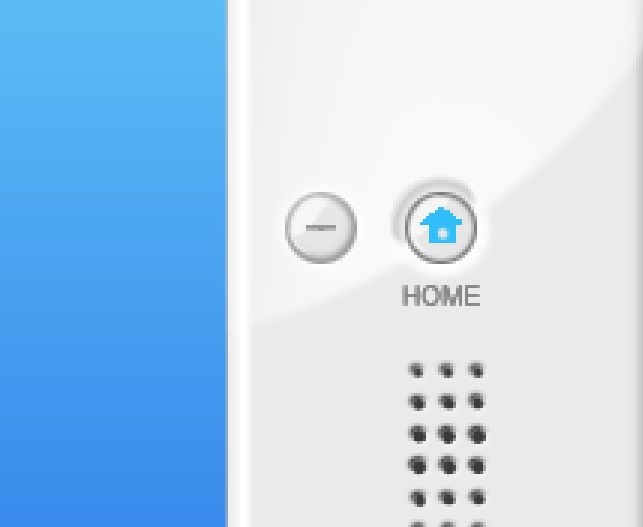
Then create a new layer and create a small horizontal rectangle line with a gray color
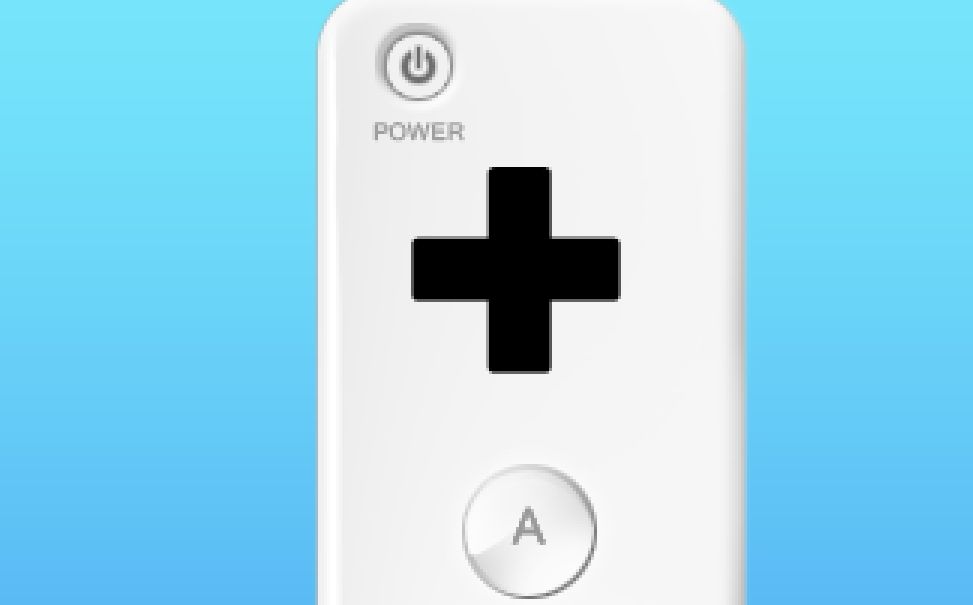
Step 9 – Plus (+) Buttoncreate a new layer, and create a circle like this, but this time at the right side of the HOME button and do the same settings as we did in the previous step. but now create a “Plus at the end.
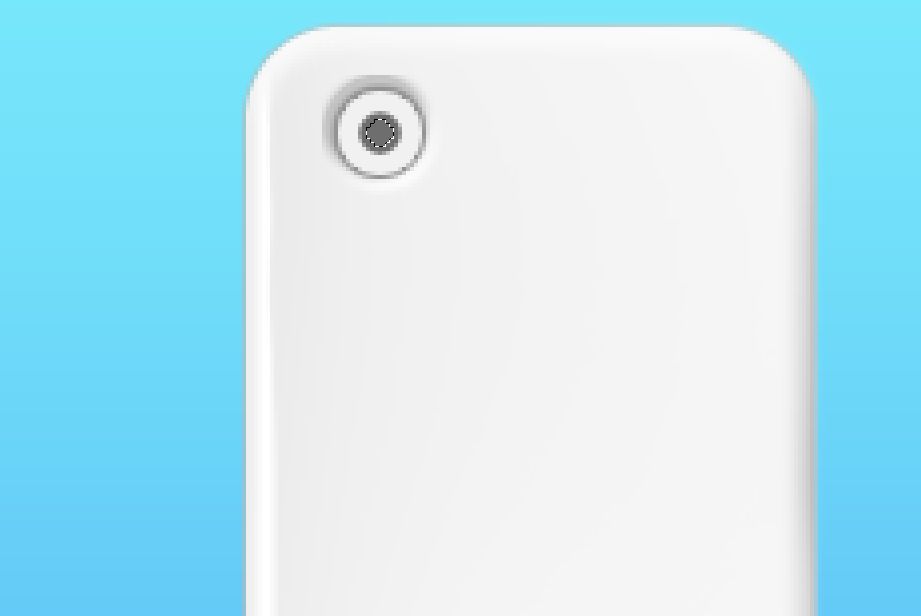
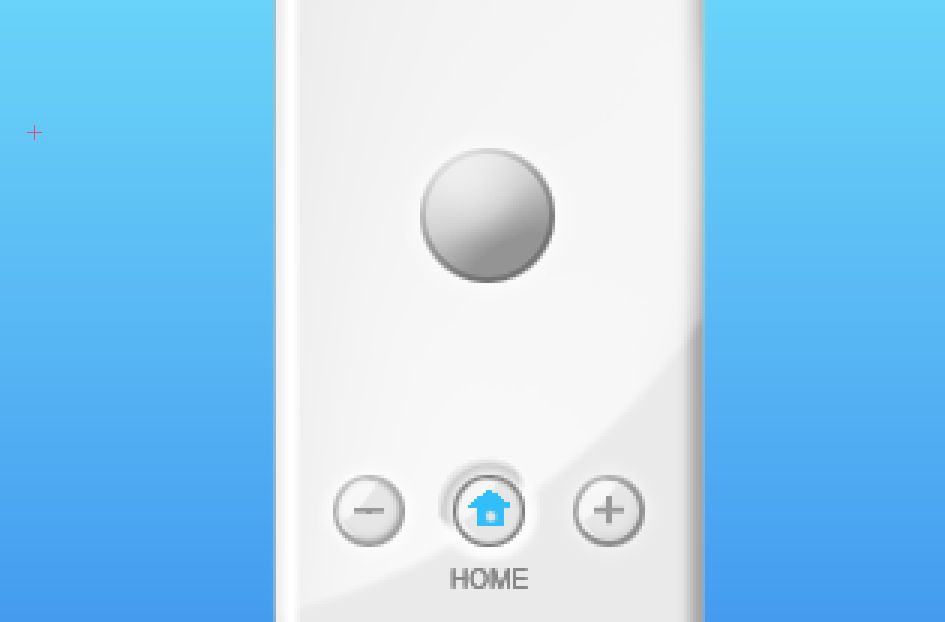
Step 10 – the A buttonNow create a new layer above the home button and create a bigger circle and fill it.
then add these blending options.
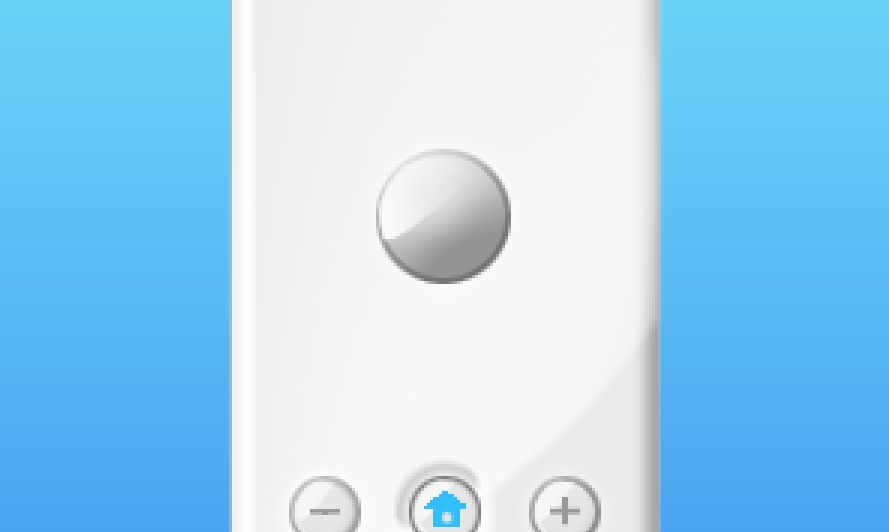
Now you should have something like this.
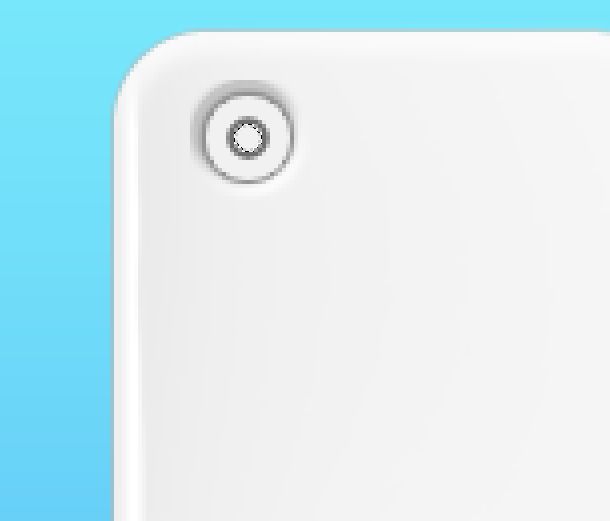
Then create a new layer and create a glow effect like i did below
now create a new layer create just a little bit smaller selection than the button, fill it with white and erase some parts like i did
Now write a Capital Letter “A” with Grey color. For the font use: Simplified Arabic.
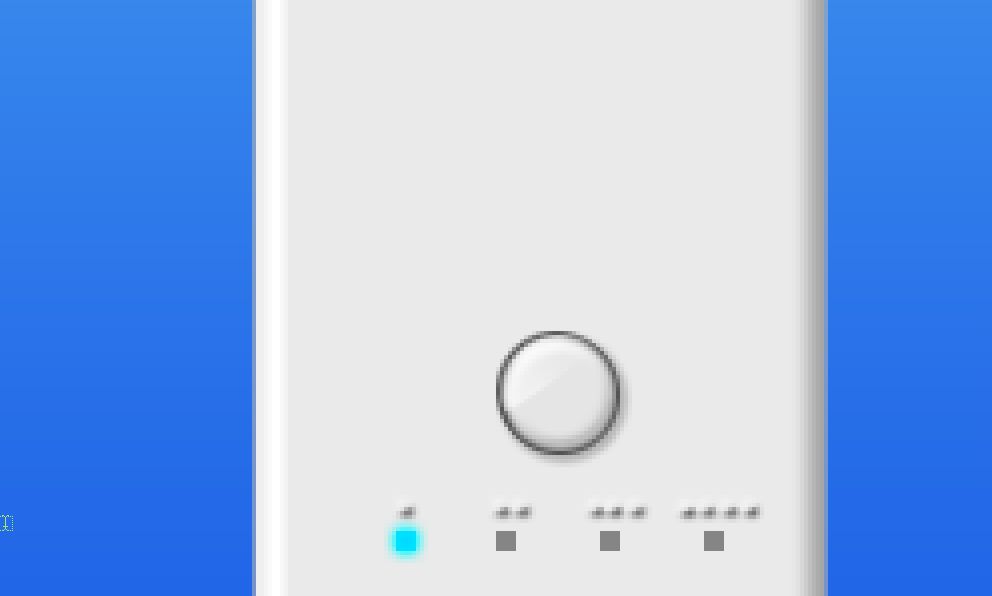
Step 11 – the 1 and 2 buttonsNow create a new layer, create a circle and fill it with gray.
then duplicate it and move the duplicated a little bit add the right (The selection is created just to show you what i mean)
After that, add these blending options.
And create a glow effect for it.
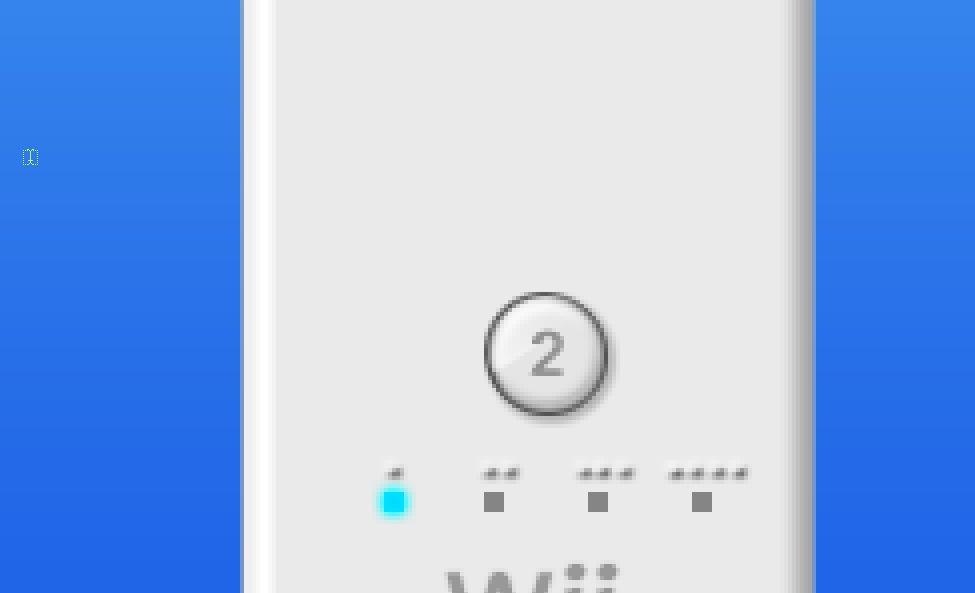
then write number “2″ on it. i used the font Kartika.
now duplicate this layers and write “1″ in place of “2″. you can move the gray circle layer of the other layer a little bit to make it looks different.
Step 12 – The Control PadTo create the control pad shape select the rounded rectangle tool set it to 2px. Create new layer and follow the picture steps… create a vertical one…
then a horizontal one.
then add this blending option.
Now if you want, you can create a new layer and brush a little bit on it for a cool glow. Then create a new layer again to create the 4 lines like this.
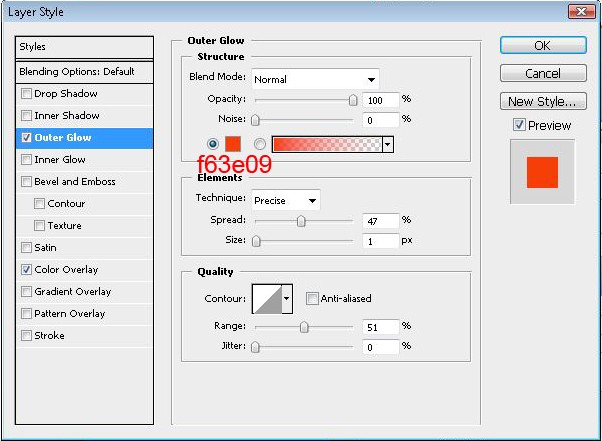
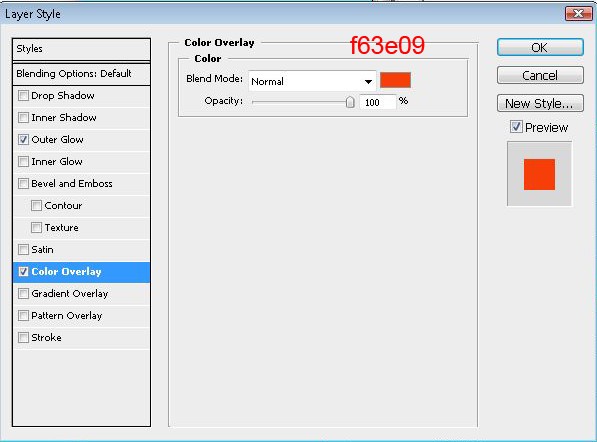
Step 13 – OptionalTo make this Wii controller like a real one, you can go back to the Power symbol and change the gray color to red. so let’s go to the Power symbol layer, and change this blending options
Now to get some shadows and some glow, create a new layer and brush with a dark gray color over here.
Step 14 – ReflectionNow for the final step, let’s select all the other layers except the background and holding down “ctrl” or “shift” and selecting them. Then right click on one of them and select “merge layers. Then duplicate the layer (Ctrl + J) and go to Edit, Transform, Flip Vertical, set it below the other layer. and bring the opacity a little bit down. and this is the end.
Let me know if you have some questions and I will answer you in comments section. |


| You are subscribed to email updates from Graphic and Web Design Blog To stop receiving these emails, you may unsubscribe now. | Email delivery powered by Google |
| Google Inc., 20 West Kinzie, Chicago IL USA 60610 | |
0 comments:
Post a Comment